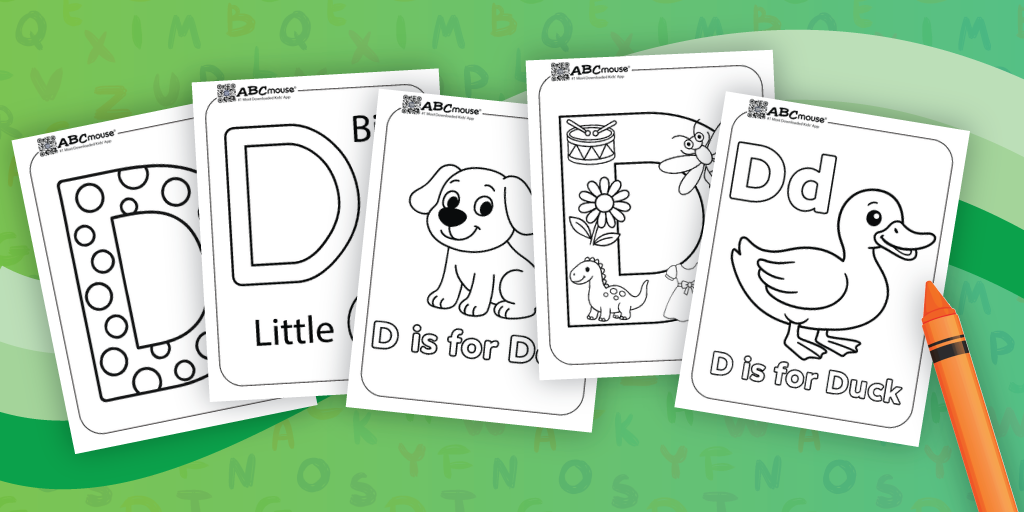
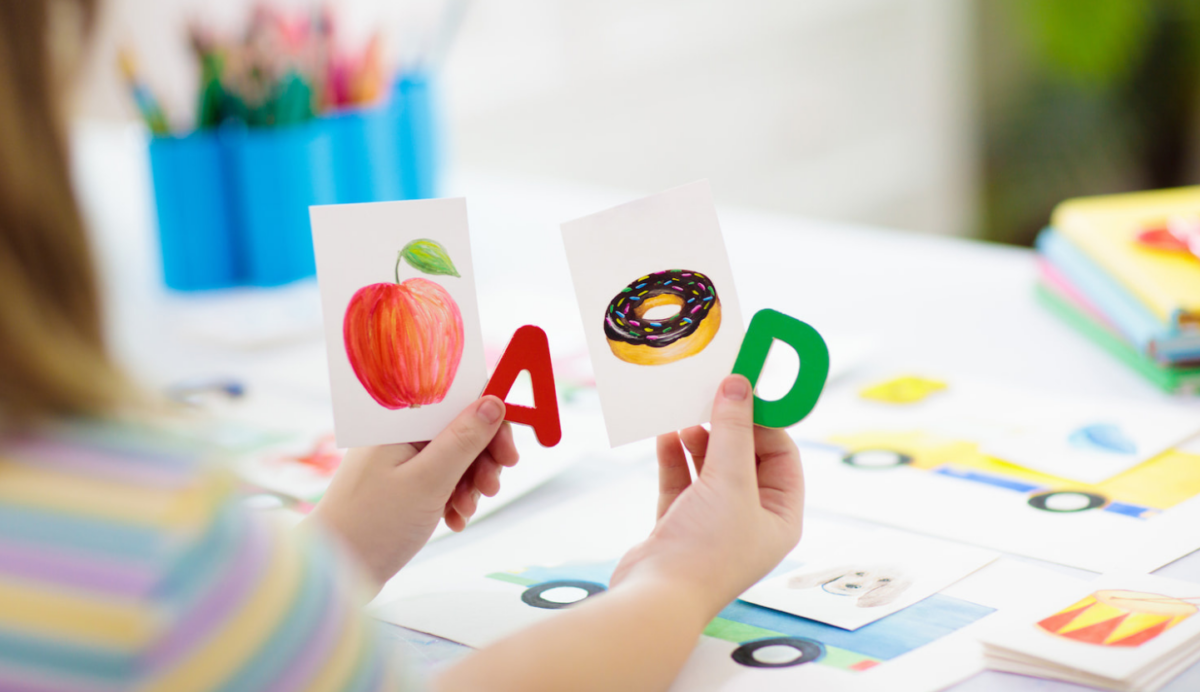
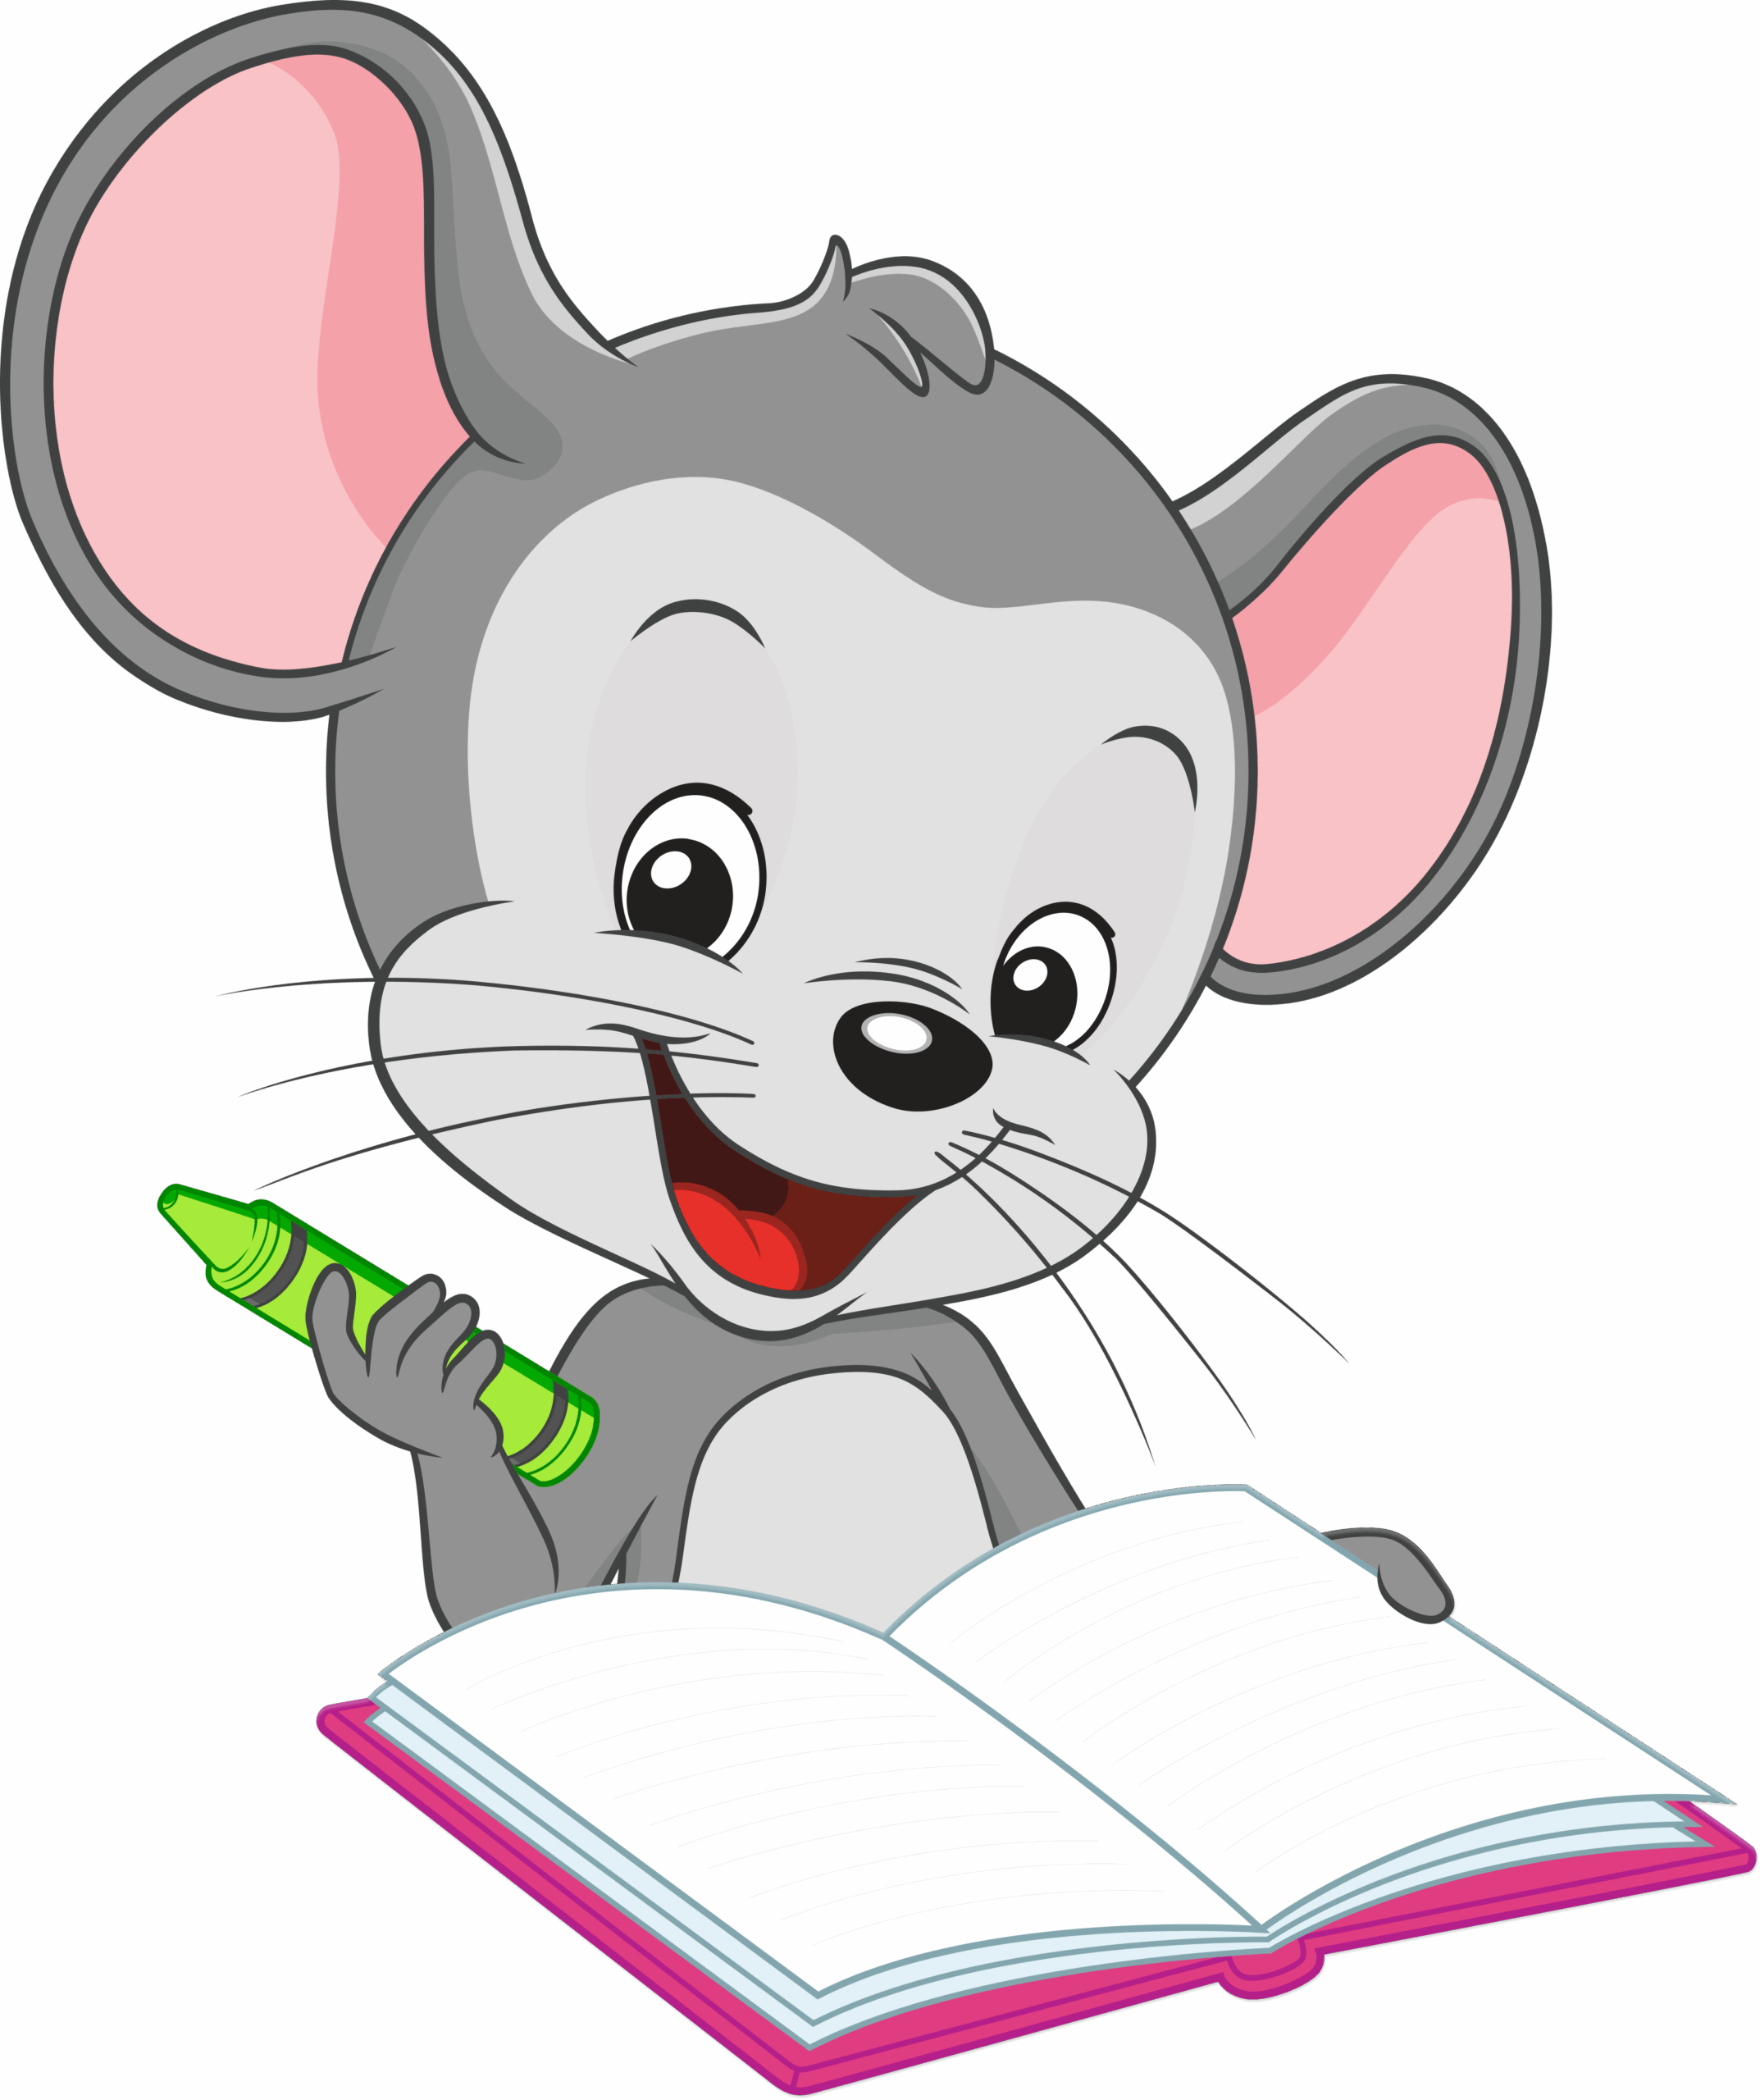
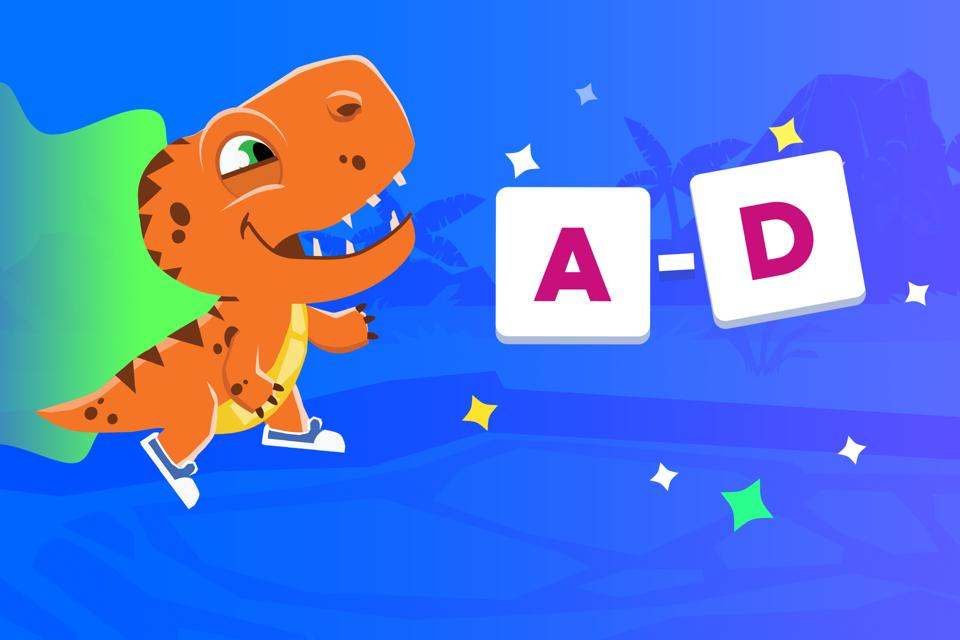
Letter D Coloring Pages for Kids (FREE Printables)
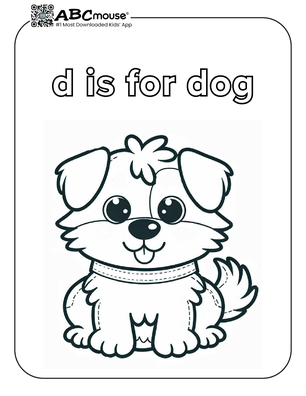
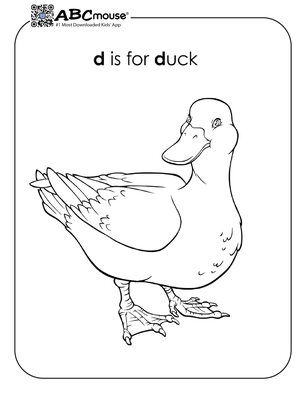
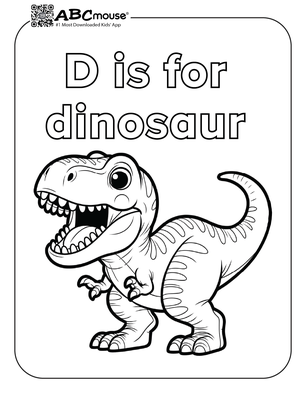
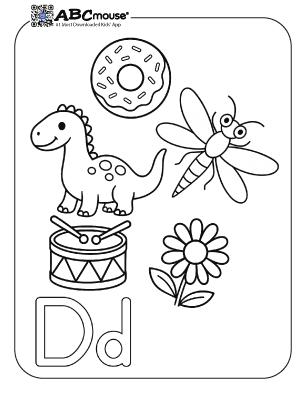
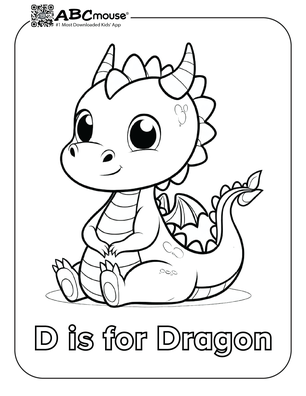
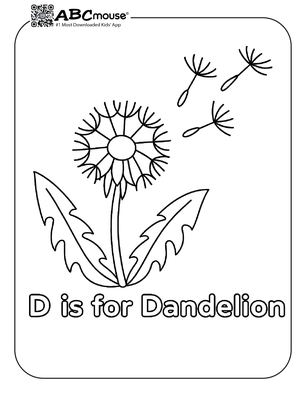
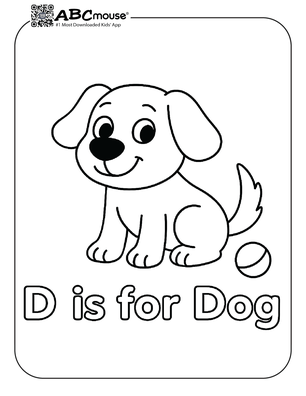
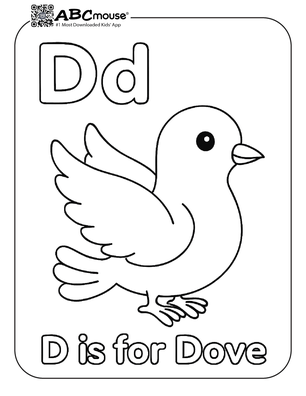
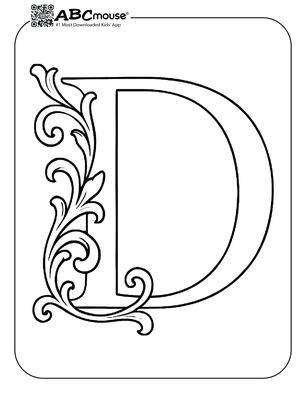
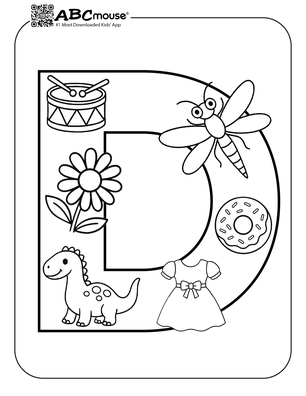
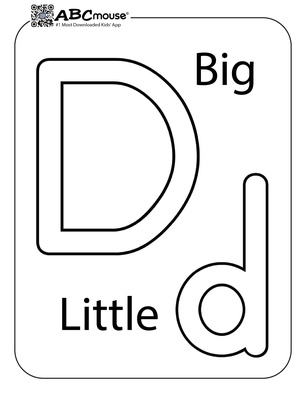
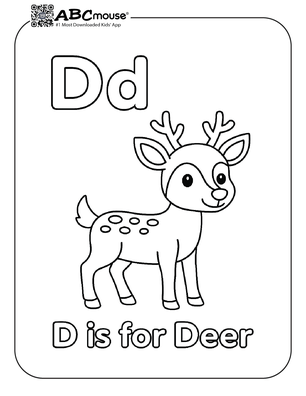
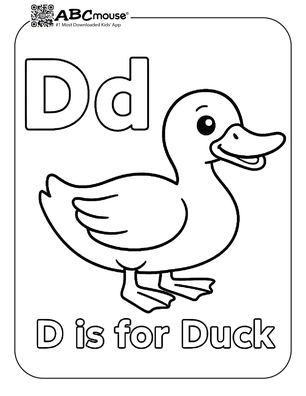
These letter D coloring pages provide a fun and simple way to help young children learn the letter D. Each page highlights the letter and features fun D-themed objects or cute characters like dogs, ducks, and dinosaurs to help children connect the shape of the letter with its beginning sound.
Print the letter D coloring pages out and keep them handy for a playful, low-prep activity that builds letter recognition skills. These pages are a fun and easy way to develop early literacy as kids explore the alphabet one letter at a time!
Overview of the Free Printable Letter D Coloring Pages
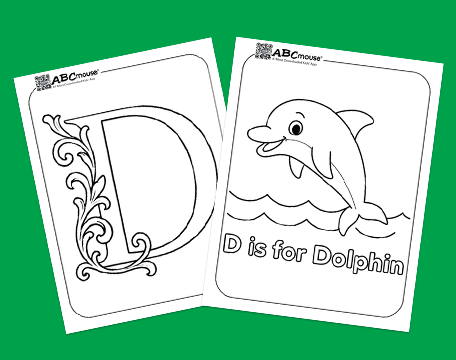
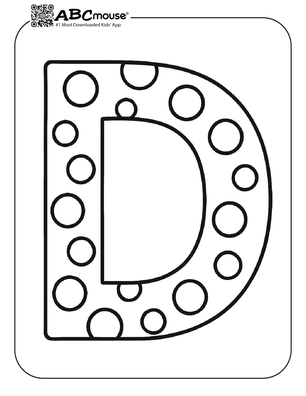
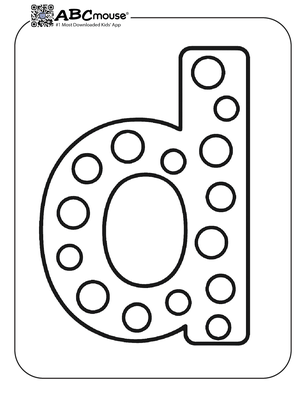
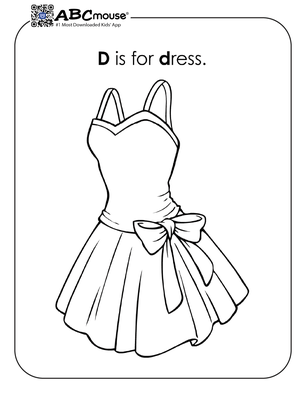
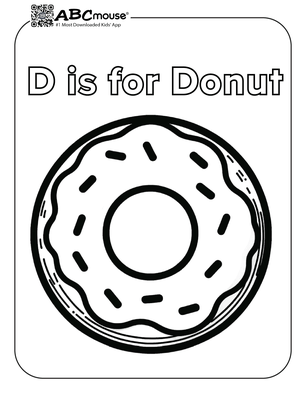
Pick your favorites from the letter D coloring pages below, or download the complete set using the button above. These pages focus on the /d/ sound and showcase kid-friendly images like drums, dogs, and donuts to make learning extra fun. Don’t forget to check out the letter D activities at the bottom for even more hands-on learning!

Fun Activities for Learning the Letter D!
Recommended for: Toddlers, Preschoolers, & Kindergarteners
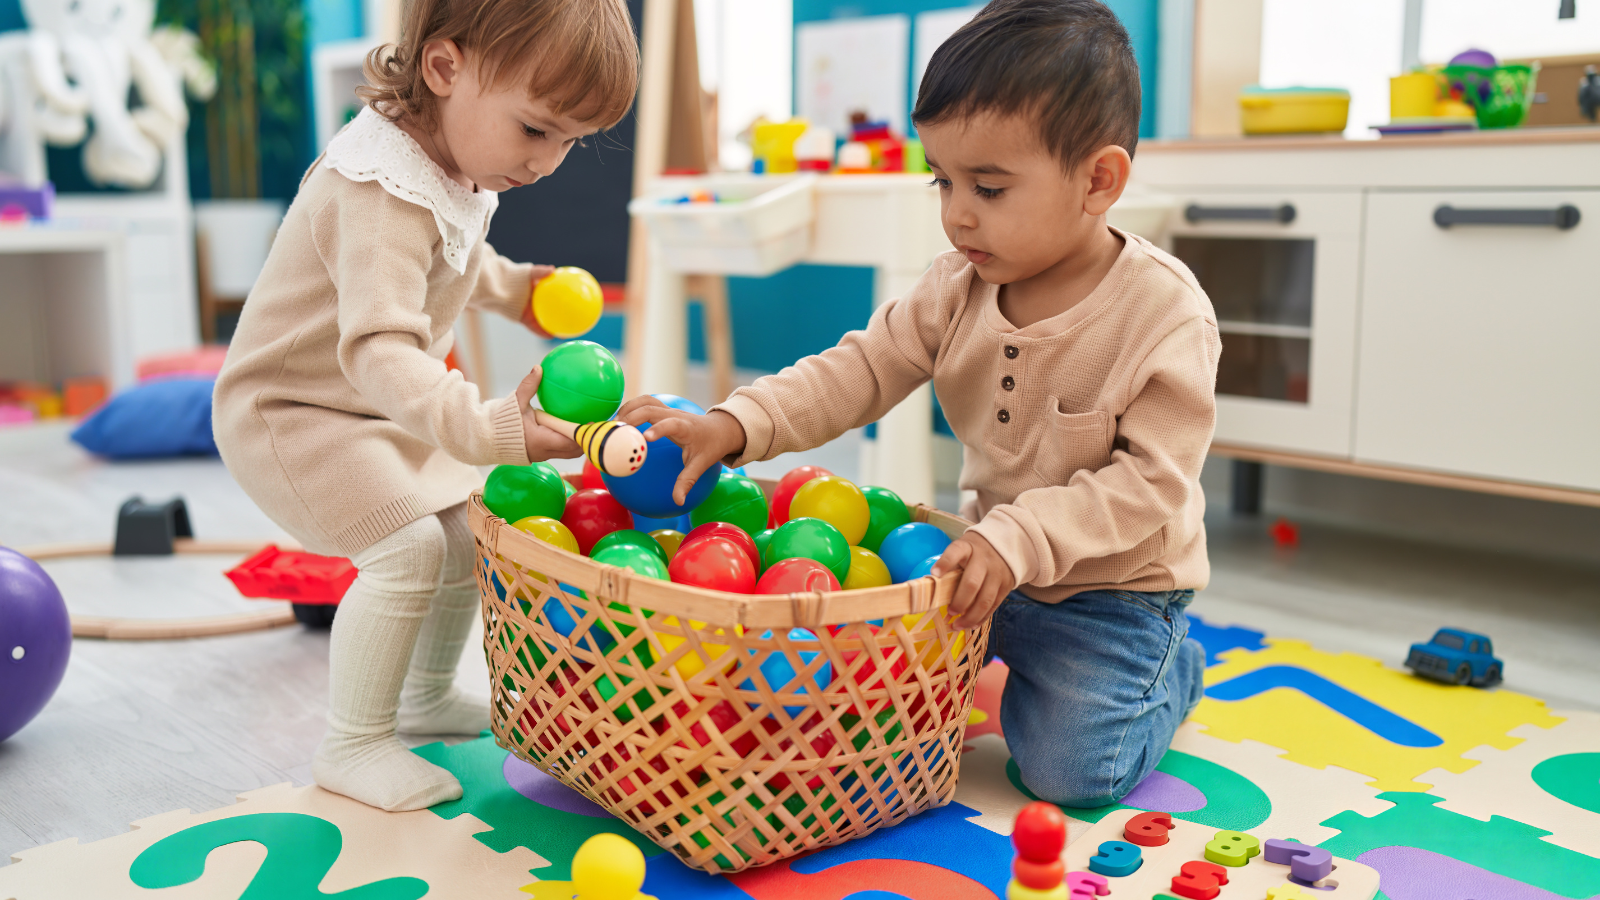
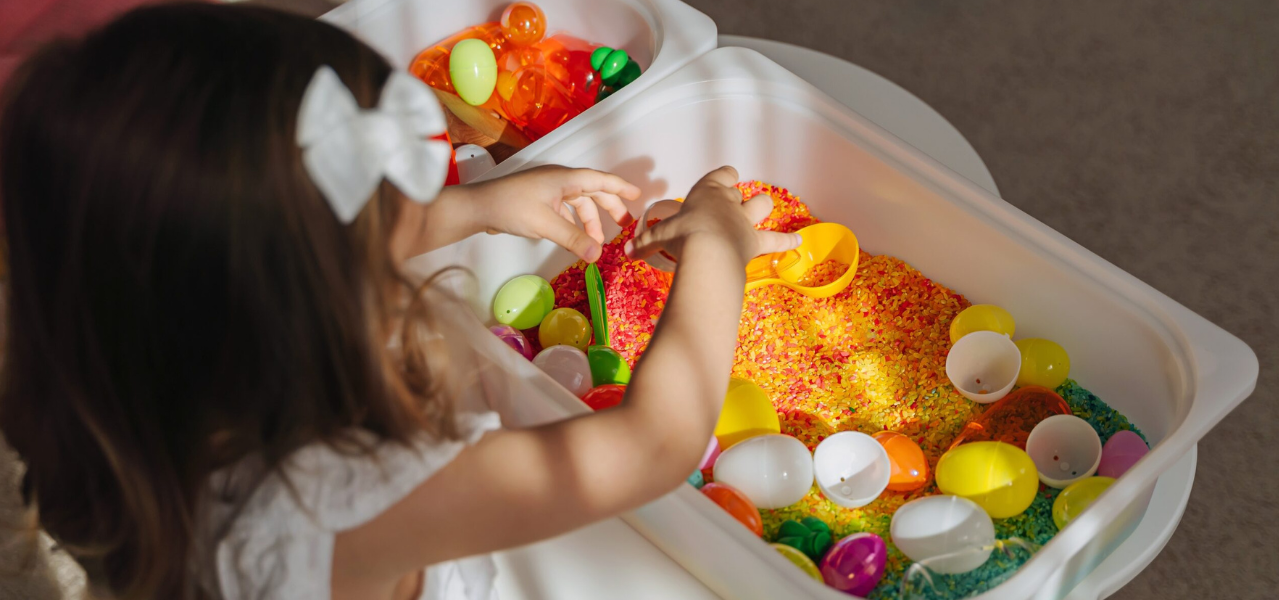
⭐ Dig for Letter D Objects
Fill a shallow plastic bin with kinetic sand, shredded paper, or dry beans, oats, or pasta to create a “D is for Dig” sensory bin. Hide letter D foam letters, toys, or objects like dinosaurs, ducks, mini-dolls, and dice inside. Let your child dig and discover, saying the /d/ sound as they pull each item out. You can even make it into a game—how many letter D items can they find in a minute?
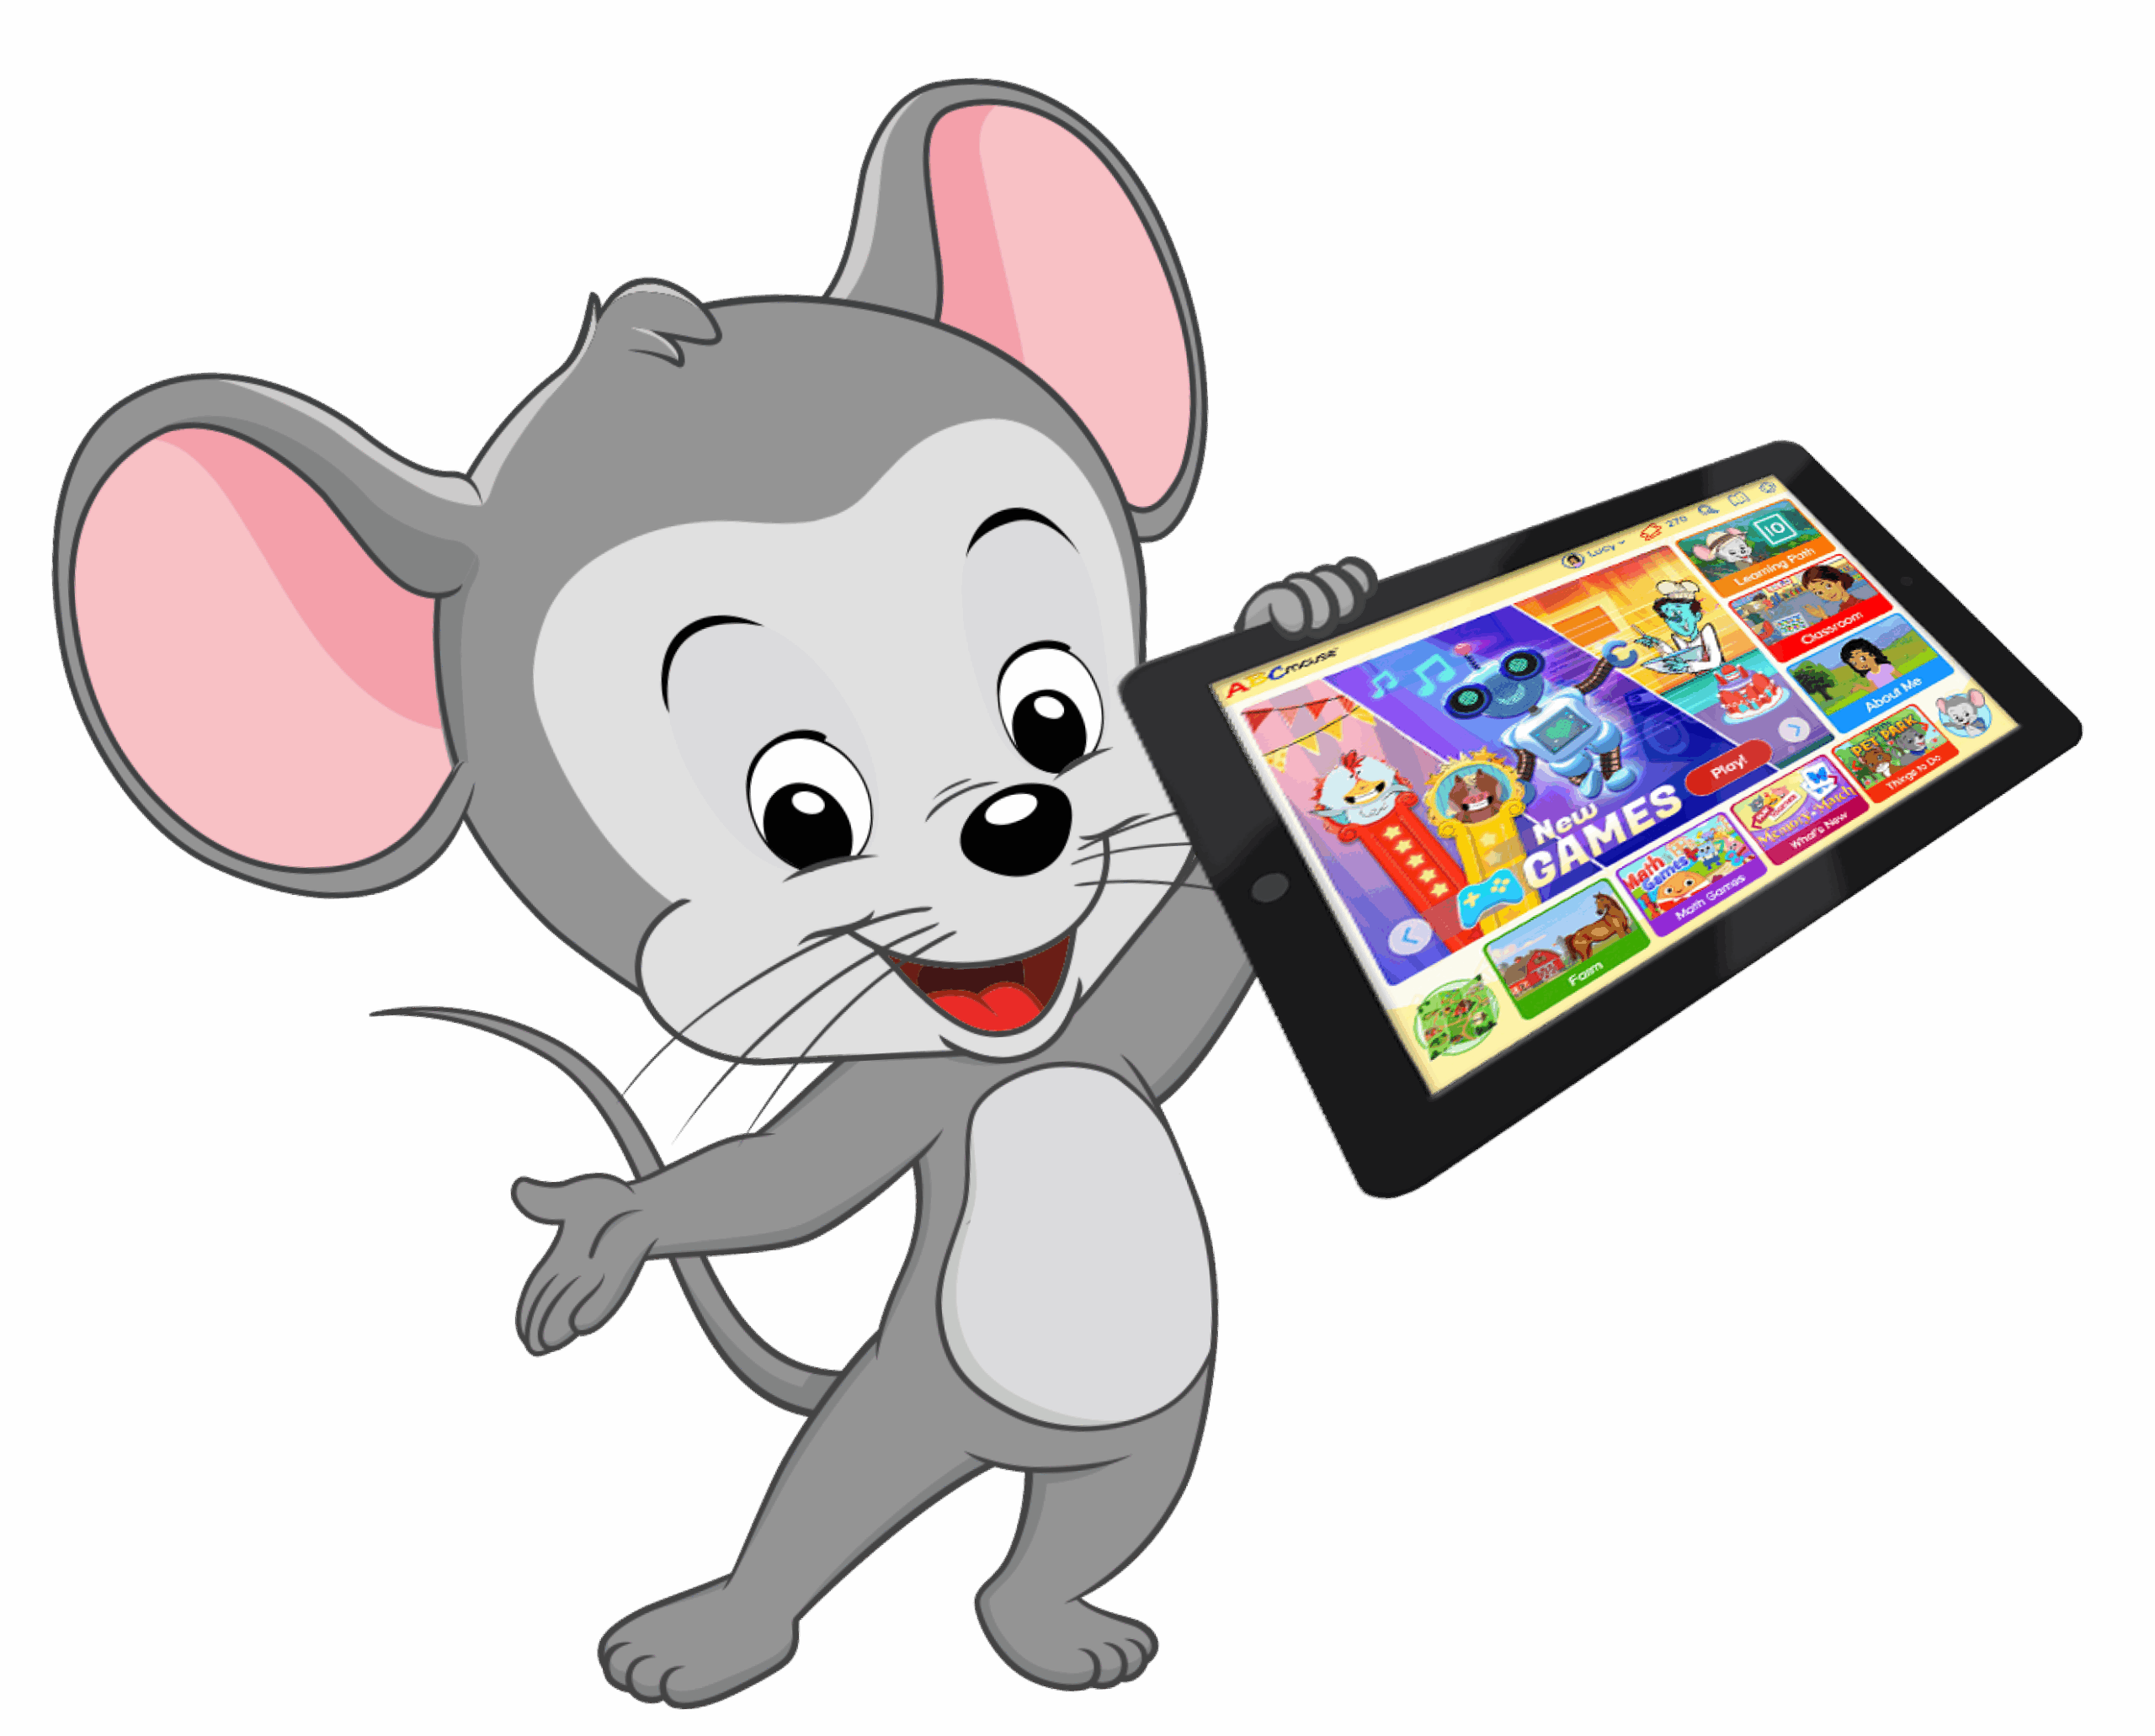
⭐ Free Online Letter D Tracing Game

Try a fun and colorful letter D tracing game on ABCmouse.com!
Kids can follow the dotted lines to form uppercase and lowercase Ds using rainbow colors. It’s a great way to develop handwriting and letter recognition skills.
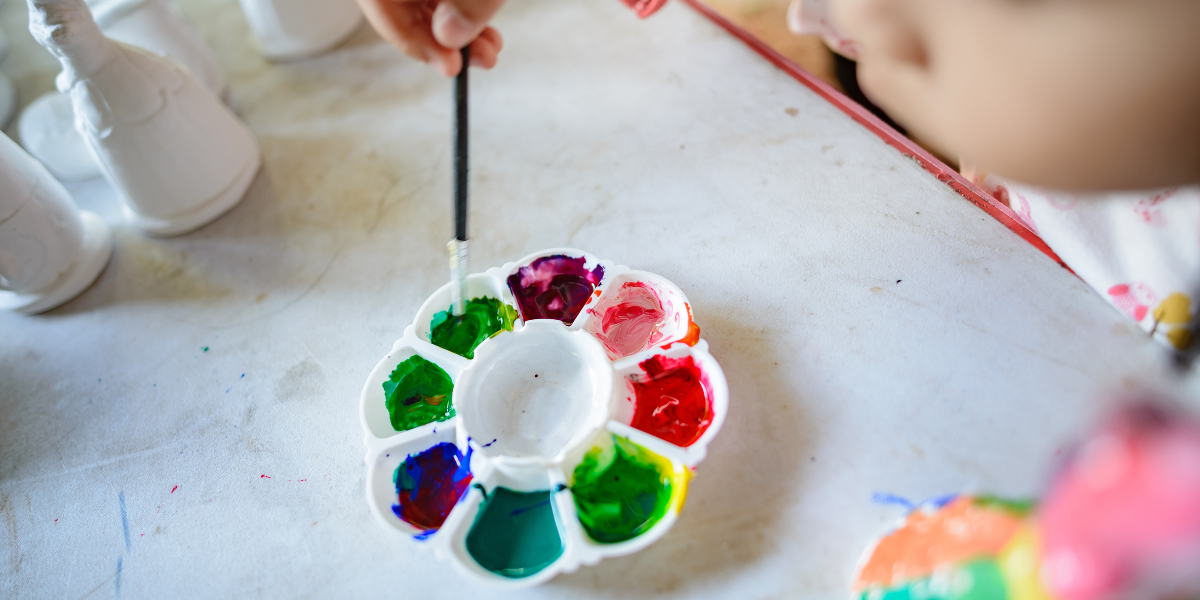
⭐ D is for Dot Art
Grab some dot markers or a cotton swab and paint, and let your child decorate a large printable letter D with dots. Say “D is for dots!” as they fill it in. For more fun, add drawings or stickers of things that start with D—like a donut, dog, or drum—around the letter.
More Free Printable Coloring Pages

Looking for More Printable Activities?

Share
The 6 Stages of Play in Child Development (And How to Support Each One)
Learn how to engage with your child during each stage of play and the difference between unoccupied, solitary, parallel, and cooperative play.
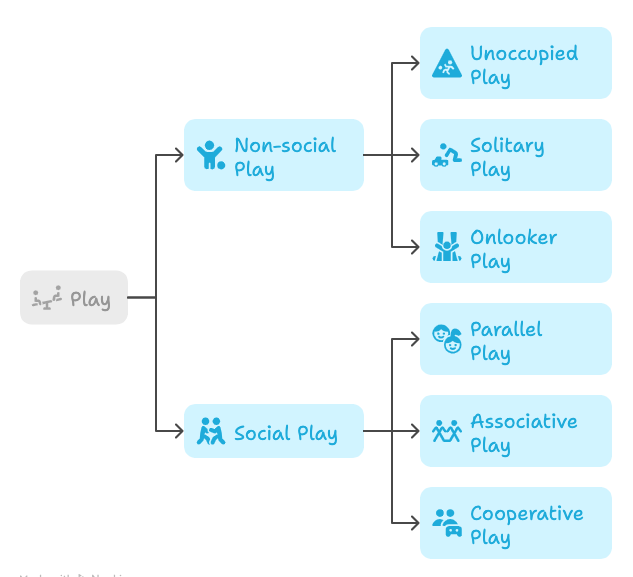
What Are the Stages of Play in Early Childhood Development?
Nearly one hundred years ago, sociologist Mildred Parten developed the theory of the 6 stages of play in early childhood social development. She observed a group of preschool children aged 2 to 5 and noted the different ways in which they played socially and non-socially. In her doctoral dissertation, she first defined the six stages of play that are still recognized today:
The 6 Stages of Play
Parten found there were two general types of play, non-social and social, which she then broke down into the six stages of her theory.
- Unoccupied Play
- Solitary Play
- Onlooker Play
- Parallel Play
- Associative Play
- Cooperative Play
Both social and non-social stages of play have their place in early childhood development, and children generally progress through them as they grow. However, it’s not a strict hierarchy—many children move back and forth between these stages as they develop. And while Parten noted general ages at which children participated in certain types of play, these ages are guidelines rather than strict rules.
Mildred Parten’s 6 Stages of Play
Why the 6 Stages of Play Are Important
Child psychologists and early childhood development specialists may use these stages of play to evaluate and assess children for age-appropriate behaviors. An understanding of the 6 stages can help parents encourage age-appropriate play styles and recognize when a child might need further guidance or professional help. Knowing the stages also helps parents avoid pushing their kids into types of play they might not be ready for.
For example, expecting a 2-year old to regularly play cooperatively with others is unrealistic. But if a 5-year old still only mainly engages in solitary play, this could indicate a need for further observation or support in developing social skills. To learn more about your child’s play stages, watch them in group settings with other children and look for the behaviors associated with each stage.
The 6 Stages of Play: Explanations, Examples, and Tips for Parents & Teachers
Mildred Parten’s 6 stages of play explain how children use play to learn about the world around them, expanding outward from understanding their own body and its movements to learning to function in social groups.
Note: The ages given here are guidelines only. It’s normal for children to move back and forth between stages and progress at their own speed. If you have any concerns about your child, consult an expert.
What Is Unoccupied Play?
Unoccupied play refers to a type of free, self-directed play where infants engage with their surroundings and their own bodies without any set objective or adult guidance.
Most Common at Age: Birth to 3 months
Characteristics of Unoccupied Play:
- Seemingly random movements, often repetitive
- Watching others closely, but not interacting
- Reaching for an object without necessarily grabbing it
Examples of Unoccupied Play:
- Kicking legs and waving hands
- Watching a crib mobile or ceiling fan spin
- Splashing water in the bath
- Grabbing their own toes
- Pointing at people or things
What Unoccupied Play Looks Like:
Babies begin to play from the moment they’re born. Their earliest play involves their body itself, as they try out different movements to see what the results will be. Though these behaviors may seem meaningless to adults, they’re actually a very important part of early motor skills development. Infants are learning how to process sensory input from the world around them, gathering information from what they see, hear, and feel.
How Parents/Teachers Can Support Unoccupied Play:
- This is the age at which experts strongly recommend “tummy time,” which helps strengthen shoulder and neck muscles. Simply place your child on their stomach for a few minutes each day. As they get older, you can place toys nearby for them to focus on and reach for.
- Provide safe, stimulating places for infants to explore. Give them room to wiggle and move, and provide new objects to look at, sounds to hear, and other sensory experiences like sensory mats or mirrors.
- It’s okay not to interact with your infant constantly! In fact, they need time for unoccupied play on their own, allowing them to process their bodies and environment at their own pace.
What Is Solitary Play?
Solitary play—also called independent play—is a developmental stage where a child plays on their own, without engaging or interacting with others.
Most Common at Age: 3 to 24 months
Characteristics of Solitary Play:
- Independent
- Highly focused
- Experimental
- Often repetitive
- Unaware of or unresponsive to other children playing nearby
Early Examples of Solitary Play:
- Stacking blocks
- Throwing items away over and over again
- Shaking a rattle or squeezing a squeaky toy
- Banging objects together or on a hard surface
Older Examples of Solitary Play:
- Coloring or drawing by themselves
- Looking through a book
- Singing to themselves as they play with stuffed animals or dolls
What Solitary Play Looks Like:
This is the stage at which play becomes more recognizable to parents. Children start to interact with toys and other objects, often in a repetitive way. They become extremely focused and tend to ignore others around them, including other babies and even parents and caregivers. This is completely normal! Kids are now starting to develop concentration, imagination, and problem-solving skills. Solitary play at this age is vital to development, as children take their first independent forays into the world.
Note: Solitary play continues throughout childhood. Many kids are content when they’re playing on their own at any age. But as children get older, they should combine independent play with more social forms of play. Even if they prefer to play by themselves, it’s important for them to develop the social skills needed to play and interact with others. However, some solitary play is perfectly fine at any age.
How Parents/Teachers Can Support Solitary Play:
- Be tolerant of noise and mess. Toddlers haven’t mastered gross and fine motor skills yet, and they can’t always control their movements or voices. When you can, let them play and express themselves freely. (This doesn’t mean children don’t need guidance and boundaries, even at this age. It just means knowing when it’s worth reining in a child’s behavior and when to just let them do their own thing.)
- Allow kids time to play on their own and in any way that they like as long as it’s safe. Don’t feel the need to step in and show them how something works—let them experiment and figure it out on their own. Observe their play, rather than trying to direct it.
What Is Onlooker Play?
Onlooker play, sometimes called spectator play, is a stage of development where a child watches others play but doesn’t join in themselves.
Most Common at Age: 2 to 3 years
Characteristics of Onlooker Play:
- Closely watching other children or groups of children playing
- Laughing, cheering, or otherwise responding to the action
- Asking questions or making comments to players or others nearby
Examples of Onlooker Play:
- A toddler watches other kids playing tag, closely focused on the action
- Child asks a group of children playing with playdough, “What are you making?”
- A preschooler listens as a group nearby pretends to run a restaurant and laughs when one child pretends to serve “mud soup”
What Onlooker Play Looks Like:
Onlooker play is a transition stage between non-social and social play. Kids spend time watching others in their general age group, observing their actions but making no effort to join in. They might ask questions, laugh with or cheer for the players, or make comments to others about what’s happening. For now, though, they’re content to sit on the sidelines.
Parents may sometimes worry that onlooker play means their toddler is too shy to get involved, but that’s usually not the case. Generally, kids are just subconsciously waiting until they feel confident that they understand the “rules.” They learn so much through these observations, developing an awareness and understanding of how social groups function.
As with solitary play, kids return to this stage from time to time as they get older. This can happen when they’re meeting new groups of people, learning how a game or toy works, or just want to know more before deciding to join in. By the time your child reaches school age, they should spend less time in onlooker play and more in social forms of play instead.
How Parents/Teachers Can Support Onlooker Play:
- Recognize that watching others is an important way to learn. Kids pick up many social-emotional skills simply by observing those behaviors in the people around them. Model good social behavior, and point it out when you see it too. “Look at those kids sharing toys in the sandbox! That looks like fun.”
- Don’t push your child to join in. Most kids will make their own moves toward social play when they’re ready. Sit with them and watch, answering any questions or responding to comments. If they ask if they can join in, gently encourage them to ask, “Can I play with you?”
- Know that even older kids engage in onlooker play from time to time, especially in new situations. For example, a fifth grader who’s new at school might watch others playing soccer on the playground for a day or two before asking to join in. Give kids space to build comfort and confidence, and try not to step in unless it’s truly needed.
What Is Parallel Play?
Parallel play is a developmental stage where toddlers play next to one another, often doing similar activities or using the same toys, but without interacting or influencing each other’s play.
Most Common at Age: 2 to 3 years
Characteristics of Parallel Play:
- Independent but not solitary
- Little or no interaction between children
- Minimal sharing or cooperation
- Comfortable with other kids playing nearby
- Some observation and imitation of others
Examples of Parallel Play:
- Four kids finger painting at the same table, but each is only focused on the pictures they’re making. They don’t talk to each other about their work.
- Two children playing in the sandbox, digging their own holes and making their own structures. One quietly watches the other fill a pail with sand and dump it over to make a tower, then does the same themselves, but doesn’t say anything to the other child.
- Three kids play in the same room. One sings quietly to themself as they put together a puzzle, one builds structures out of LEGO® bricks, and the third draws pictures with crayons. A fourth child comes in, sits down nearby, and begins to look through a picture book, comfortable with the presence of the other kids.
What Parallel Looks Like:
Parallel play is another transition stage, but this stage has a more actively social aspect. In parallel play, kids play side-by-side with the same toys or activities, but don’t directly interact with one another.
Sometimes they watch each other or imitate what they see, but they’re still more focused on their own play. Parallel play is an important bridge between solitary and social play.
Walk into an early preschool classroom, and you’re likely to see a lot of parallel play. Three kids might be playing with blocks, but they’re all building their own structures. They’re more likely to talk to themselves than with others, or just play quietly. It may seem like solitary play, but these children are actually developing important social skills. They’re becoming comfortable around others and learning new ideas by watching and imitating.
The more a child engages in side-by-side play, the more they learn to tolerate the presence of others. Parallel play actually helps them fine-tune their concentration, since they may need to tune out other actions and noises while they play. It also develops their spatial awareness, giving them the ability to move around in crowded spaces without running into each other.
Older kids may participate in parallel play too. A new kid on the playground might watch others kicking a ball around, then start kicking around another ball on their own nearby. It’s a subtle way to express interest in more social play before taking more deliberate steps to join.
How Parents/Teachers Can Support Parallel Play:
- At younger ages, playgroups are often all about parallel play. It may seem like there’s no point in getting kids together just so they can play on their own, but it’s actually a valuable experience. Children must become comfortable with having others nearby, especially those their own age. Start playgroups early to encourage your child to tolerate social situations, even if they don’t interact.
- In groups, provide multiple versions of the same toys so kids can play side-by-side. For instance, have several sets of crayons and coloring books, more than one puzzle, or separate bins of building blocks kids can use.
- Provide plenty of space for kids to play near each other without crowding each other out. When kids play more active games, help them learn how to move around a space while being aware of others. “Your jumping game looks like fun! Why don’t you move over here a bit so you don’t run into Olivia and her block towers?”
What Is Associative Play?
Associative play is a stage of social development where children play near each other, interact, and share materials, but their play isn’t coordinated around a shared goal or structured activity.
Most Common at Age: 3 to 4 years
Characteristics of Associative Play:
- Shared materials or toys, but separate goals
- Increased interaction and conversation
- Play is usually unstructured
- Often includes preferred playmates
- Kids begin to share and resolve conflicts as they play
Examples of Associative Play:
- Two kids share a set of building blocks, chatting while they work, but each still building their own structures. From time to time, they comment on what the other has built.
- Four children coloring pictures talk to each other about what they’ve created, sharing the contents of a crayon box and asking each other for the colors they want. When two kids both want to use the red crayon at the same time, they eventually figure out that they need to take turns.
- One child shows another how to throw sticky balls at a target, offering tips for getting closer to the center. They take turns, but don’t keep score or compete in any way, just enjoying each other’s company and the challenge of the game.
What Associative Play Looks Like:
This is the first stage where kids truly begin to regularly interact while they play. Kids talk, share toys, and demonstrate and imitate activities and games. However, at this stage, children don’t fully organize or collaborate during play—in other words, they don’t have a clearly defined shared goal. It’s essentially parallel play, but with interaction between kids.
Older preschool classrooms host a lot of associative play. This is a huge social leap for early childhood development—showing an interest in what others are doing and joining in the activity in their own way. To reach this stage, kids need language and communication skills, social awareness, cooperative skills, some degree of empathy and self-control, and tolerance for those different from themselves.
Older children return to associative play from time to time, especially in creative endeavors. For instance, fourth grade students might share a box of art supplies, but each make individual creations. They talk and laugh while they work, sharing ideas but ultimately focused on their own work.
How Parents/Teachers Can Support Associative Play:
- Allow time for free play without restrictive rules or structure. Provide open-ended toys that encourage use by multiple children at once, such as building blocks or art supplies.
- Encourage conversation as kids play. “Emmet, your tower is so tall! Can you tell Liam how you did that?” or “You’re doing a great job of sharing the kitchen toys! What are you both making?”
- Model social skills and awareness. “Taylor, you’re taking up a lot of space on the table, and Ashton doesn’t have much room. Could you move over a bit and try to keep your painting supplies on your side of the table, please?’”
- Teach conflict resolution skills. As kids learn to share and play together, conflict is inevitable, and adults must demonstrate and model the right behaviors. “Jaxon, you grabbed the green crayon even though you knew Emma was using it. Remember to ask first: ‘Emma, are you done with the green crayon? Can I use it now, please?’” or “Charlotte, you and Noah can’t both use the swing at the same time. What can you do while you wait for him to finish his turn? Noah, remember that Charlotte is waiting for the swing, so you get two more minutes, then it’s her turn.”
- Occasionally nudge kids into true cooperative play, but don’t insist on it. “I love the buildings you’re each making! What if you worked together to build a whole town?” or “Morgan, it looks like Lin wants to kick the soccer ball around too. Could you two try playing with it together?”
What Is Cooperative Play?
Cooperative play happens when children work together toward a common goal, using communication, teamwork, and problem-solving to complete a shared task or activity.
Most Common at Age: 4 to 5 years and up
Characteristics of Cooperative Play:
- Shared materials and goals
- Players have different assigned goals in the game
- Players agree on the rules up front or develop them throughout
- Regular communication amongst players
- More autonomous conflict resolution and compromise
- Longer play sessions that often involve creativity and imagination
Examples of Cooperative Play:
- Four children play “House” together. One is the mom, one is the grandma, and two are the kids. They invent and role play domestic scenarios together.
- Two children create a new ball game together involving bouncing a ball off the wall and ground, with complex rules and scoring. When other kids come along, they invite them to join in, explaining the rules of the game.
- Three children work together to put together a jigsaw puzzle. They agree on a plan (“First we’ll do the edges, then work on the middle”) and assign roles (“Katelyn, you work on the pink pieces of the house, and I’ll try to put together the sky.”) They chat while they work, sometimes about the puzzle and sometimes about other topics.
What Cooperative Play Looks Like:
This is the final and most social of the 6 stages of play. Children collaborate as they play, sharing the same materials or toys, following the same set of rules, and working together for a common purpose. They communicate often, verbally and nonverbally, usually to specifically advance the game.
For older children (post-preschool), this is the most common form of social play. Their games and play activities last longer, are more complex, and may involve larger numbers of participants. Kids develop more social awareness, understanding what’s expected of them and what to expect of others. They tend to resolve conflicts on their own when they can, and while they may invite adults to play, those adults must follow the “rules” developed by the children. For example, in a game of The Floor is Lava, a child might say, “No, you can’t walk there! That part of the floor is hot lava!”
The benefits of cooperative play are numerous and well-established. Children develop social skills through all the stages of play, but this is the stage where they truly need strong social skills to succeed and thrive as part of the group. They’re learning by experience and nearly all will hit rough patches from time to time. Learn much more about the benefits, challenges, and importance of cooperative play here.
How Parents/Teachers Can Support Cooperative Play:
- Provide big open play spaces and materials to spark imagination (dress-up clothes, building toys, toy food and kitchen utensils, loose parts boxes, etc.). You can also offer prompts to get them started: “Let’s pretend this jungle gym is a tree in the actual jungle!” or “What if you built a model of our town?”
- Allow kids to develop their own games and play activities. Give them room to create their own rules, asking questions to guide only if needed: “How will you decide the winner?” or “What do you think you should do first?”
- Encourage social awareness and model good behavior. “Amelia, I don’t think Sarah has a job in your store yet. Why don’t you ask her what she’d like to do?” or “Your game of Aliens and Puppies Freeze Tag looks so fun! But you keep running into the area where Quinn, Parker, and Riley are playing airport. Can you move a little further down the playground and give them some room?”
- Give kids time to resolve conflicts independently before stepping in. Then, guide them toward the right behavior. “Looks like Lane and Allie both want to be the leader. Can you take turns, or share the leader role?” or “You all agreed on the rules up front, but this particular rule seems to be causing a lot of arguments. Do you think you should consider changing it?”
- Recognize good collaboration and teamwork when you see it. “Way to go! You managed to get every member of your team through the obstacle course by helping each other! I’m so impressed!” or “Alex, I really liked the way you found a way for Miguel to join in your game halfway through. He really wanted to play, and you all had so much fun together.”
Other Types of Play
While Parten’s 6 stages describe the social aspects of play, there are many other terms that child development experts use to describe the way kids play. Experts have determined that there are 12 to 16 ways that children play. Here are a few you may hear as a parent or teacher.
Other Ways Children Play
- Attunement play
- Physical play
- Social play
- Constructive play
- Imaginative or pretend play
- Functional play
- Symbolic play
- Expressive or creative play
Attunement Play
Attunement play is one of the earliest forms of interaction between an infant and caregiver, laying the foundation for emotional connection. This type of play fosters trust, empathy, and emotional regulation, supporting healthy social and emotional development. It includes
- shared eye contact
- smiles
- facial expressions
- responding to one another’s coos, babbles, and gestures
These “serve and return” exchanges—where the baby initiates with a sound or movement and the adult responds with attention, smiles, or soothing touch—help build secure attachment.
Example: A father and baby make silly faces at each other, laughing as they do; a baby points to a toy and a caregiver brings it over, making it dance for the baby.
Physical Play
Physical play uses the body in active ways. Babies engage in this type of play from a young age, though it advances when kids can walk on their own. It helps to
- build strength and improve overall physical health
- develop gross and fine motor skills
Example: Running, jumping rope, riding a tricycle or bicycle, dancing, skipping, playing a sport
Social Play
Social play is any form of play where kids interact and talk with each other as they play together or near each other. This can involve:
- interaction related to the activity or game they’re enjoying
- conversing while playing side-by-side
Example: Team sports, parallel play, associative play, cooperative play, board games, imaginative games
Constructive Play
In constructive play, participants build or create something with a specific purpose. They may
- play collaboratively in a group
- play with one other child to build something
- play individually to make something on their own
Example: Working together to put together a puzzle, creating a large mural, building a city from blocks, writing and acting out a skit or play
Imaginative Play
Imaginative play, or pretend play, occurs when kids use their imagination heavily in an activity or game. They may
- make up stories to share with each other
- act out themselves or with toys
- invent entire new worlds with characters and storylines
Example: Playing house, school, or hospital; dressing up in play clothes; having a stuffed animal tea party; pretending to be a superhero
Functional Play
In functional play, children are learning how something works, with the essential question of, “What happens if I do this?” Here are few characteristics of this type of play:
- It often includes repetitive actions
- It’s especially common with very young children
- Kids of any age engage in functional play when they encounter something new
Example: Throwing a ball in different ways to see how high it bounces, pushing all the buttons on a toy in turn or at once, stacking objects until they fall over
Symbolic Play
This form of imaginative play turns objects or actions into whatever kids want or need them to be. For example, a red block becomes an apple for their game of grocery store or a large box becomes a space ship.
- Children use symbolic play more when they have fewer structured toys at hand
- Symbolic play helps develop stronger creativity and problem-solving skills
- Requires imaginative and abstract thinking
Example: A stick becomes a magic wand, a box is a castle on Mars, a blanket is a magic cape, a wooden spoon is a telephone
Expressive or Creative Play
In this type of play, children share their thoughts, feelings, and creativity through their activities. It includes
- Creative and joyful activities like singing, dancing, drawing, or writing
- It can also be a way to express negative thoughts or feelings: “I’m coloring black rain clouds because I’m angry.”
Example: Singing out loud to themselves or an audience, drawing pictures to share with others, writing poems when they’re sad, or putting on a puppet show

How to Support Healthy Play at Every Stage
No matter what stages of play your child currently participates in, these simple tips help ensure they’re safe, supported, and challenged in age-appropriate ways.
Support healthy play by
- Creating safe and open places to play.
- Making time for unstructured play
- Respecting all stages of play
- Following children’s lead when playing
- Joining in play when invited
- Gently encouraging children onto the next stage of play
1. Create Safe and Open Play Spaces
Kids need room to move! It’s better to have fewer toys and structures and more open space for them to use in any way they like. When you invite kids over for a playgroup or playdate, narrow down the toys they have to play with, or choose a space where they’re free to move around and play as the spirit takes them.
2. Make Time for Unstructured Play
As kids get older, you’re likely to start filling their schedule with lessons, sports, and other structured activities. Be sure you build in time for unstructured play, too! Tip: If your child finds themselves with an afternoon of free time and has no idea what to do with it, they’re probably not getting enough unstructured play time on a regular basis. Offer some suggestions, like “Let’s build a fort!” or “How about creating a village in the sandbox for your toy people?”
3. Respect All Stages of Play
As kids get older, you’re likely to start filling their schedule with lessons, sports, and other structured activities. Be sure you build in time for unstructured play, too! Tip: If your child finds themselves with an afternoon of free time and has no idea what to do with it, they’re probably not getting enough unstructured play time on a regular basis. Offer some suggestions, like “Let’s build a fort!” or “How about creating a village in the sandbox for your toy people?”
4. Don’t Over-Direct Play
Instead of, “Here, let me show you how to put those blocks together,” say, “What do you think we can build with these blocks?” Resist the urge to jump in and show them how to do everything “the right way,” and don’t get angry if they play games by different rules. Accept their lead and follow it, or simply step back and observe what they do.
5. Join In When Invited
Those moments when a child actively wants to spend time with you go by faster than you think. Join in enthusiastically, praise their creativity, and let them show you new ways to have fun!
6. Gently Encourage Children to Move to the Next Stage
The key here is gently—and only when it’s age- or developmentally-appropriate. The best way to do this is by modeling behavior. “Let’s ask those kids if we can play tag, too,” or “Can Maria share your crayons and draw her own picture?” Do not force your child to move on. If you’re worried that they aren’t progressing through the social stages of play as they should, talk to your child’s teacher or pediatrician.
Why These Stages Matter for Learning and Development
Child development experts now consider play so essential that Unicef’s Convention on the Rights of the Child includes it as article 31: “That every child has the right to rest and leisure, to engage in play and recreational activities appropriate to the age of the child and to participate freely in cultural life and the arts.”
An April 2012 report on The Importance of Play states: “The evolutionary and psychological evidence points to the crucial contribution of play in humans to our success as a highly adaptable species. Playfulness is strongly related to cognitive development and emotional well-being.” The report also noted that play has an important role in language development, self-regulation, and metacognition (learning how to learn).
Perhaps Fred Rogers, beloved television host of the show Mr. Rogers’ Neighborhood, summed it up best: “Play is often talked about as if it were a relief from serious learning,” he wrote. “But for children, play is serious learning. At various times, play is a way to cope with life and to prepare for adulthood. Playing is a way to solve problems and to express feelings. In fact, play is the real work of childhood.” Decades of research all point to the same conclusion: all stages of play matter.
Stages of Play FAQ
What are the 6 stages of play development?
The 6 stages of play include unoccupied, solitary, onlooker, parallel, associative, and cooperative play and are based on the research of sociologist Mildred Parten. Parten developed her theory of the six stages of play based on her 1929 doctoral dissertation, which was published in 1932 and identified six stages of play based on her observations of preschool children aged 2 to 5. She grouped these into non-social and social categories, noting that children typically move through them as they develop, though not in a fixed order. The stages remain widely recognized today, with age ranges serving as flexible guidelines rather than rigid benchmarks.
What’s the difference between solitary play and parallel play?
In solitary play, children play independently and alone. They are completely focused on their own activity or game and may not even realize others are there. In parallel play, kids play side-by-side with each other. They still focus on their own play and don’t communicate much with those nearby. However, they are aware of other children and may occasionally watch and imitate what they do. Parallel play is important because it helps children develop social awareness and become comfortable in social environments.
When do kids start playing together?
Around the age of three, children begin associative play, sharing toys and play spaces but without any structure or shared goals. They begin learning how to share and compromise, making room for others to play while still staking out space for themselves. At the same time, they may engage in onlooker play, watching other children or groups closely to learn more about what they’re doing.
By age four or five, most children begin to join in cooperative play. They’ve developed enough social awareness and emotional intelligence to learn and follow the rules, take turns, and navigate conflict. Adults offer guidance, but children begin to play more and more independently as they get older.
Remember that ages are only guidelines when it comes to the stages of play. Kids move back and forth freely between stages. If you’re concerned that your child hasn’t begun playing cooperatively with other children by the time they reach school age, talk to your child’s pediatrician or teachers.
How can I encourage my child to move to the next stage of play?
Model the behaviors you’d like your child to try. You might say, “Your blocks look like a lot of fun! Do you mind if we sit down and play with them too?” This could encourage a child to begin exploring parallel or even associative play.
Don’t push your child to advance if they’re not ready. Some kids need to spend more time as onlookers before they’re confident enough to join in. If you feel like your child needs a nudge, though, it’s okay to ask, “Why don’t you ask if you can play catch too? Do you want me to come with you when you go talk to them? If not, I’ll be right here if you need me.”
How do I know if my child’s play is age-appropriate?
You can use the ages listed here as very general guidelines, but remember that children move back and forth through the six stages at their own pace. If you’re concerned your child isn’t showing any of the behaviors usually associated with their age, talk to a professional like your pediatrician. It could indicate a delay in social development, which can often be helped through therapy or other interventions.
Legal disclaimer: Any information, materials, or links to third-party resources are provided for informational purposes only. We are not affiliated with and do not sponsor/endorse these third parties and bear no responsibility for the accuracy of content on any external site. All information provided in this article is current as of May 2025.
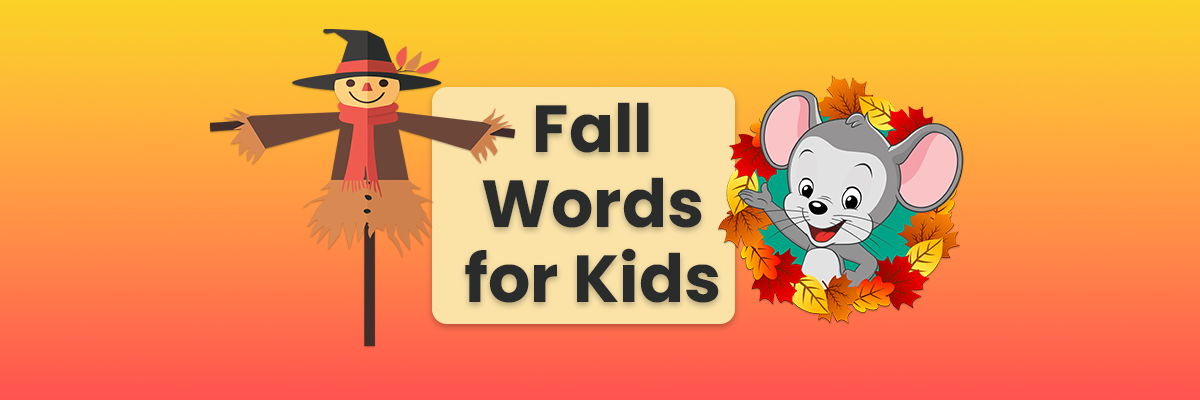
200+ Fall Words for Kids (Free Printable Lists)
Exploring fall-themed words is a great way to help young children grow their vocabulary and build a stronger connection to the world around them.
Fall is a season filled with transformations—leaves change, the air turns crisp, and animals prepare for winter. Learning fall-related words helps children describe the sights, sounds, and sensations around them, and also helps build their vocabulary, language skills, and awareness of the natural world.
Practicing with new words and learning their meaning is a great way to build early literacy skills.

Fall Words with Simple Definitions
Some of the words on this list may be unfamiliar to young children. Here are some basic definitions to help them learn what they mean.
autumn – the season between summer and winter when the weather gets cooler and the leaves change color. It’s also called fall.
burgundy – a dark red color that looks like red grapes or autumn leaves.
cornucopia – a horn-shaped basket filled with fruits, vegetables, and flowers, often used as a decoration at Thanksgiving to show a time of plenty.
crimson – a bright, deep red color, like a ripe apple or a red leaf in fall.
deciduous – a word to describe trees that lose their leaves in the fall and grow new ones in the spring.
ember – a small, glowing piece of wood or coal left after a fire starts to die down.
equinox – a day in the fall or spring when daytime and nighttime are the same length.
gourd – a hard-shelled fruit (more commonly thought of as a vegetable) often used for eating or decorating in fall.
overcast – when the sky is full of clouds and the sun is hidden. It looks gray outside.
quince – a yellow fruit that looks like a bumpy apple or pear. It’s usually cooked and used in jams or desserts.
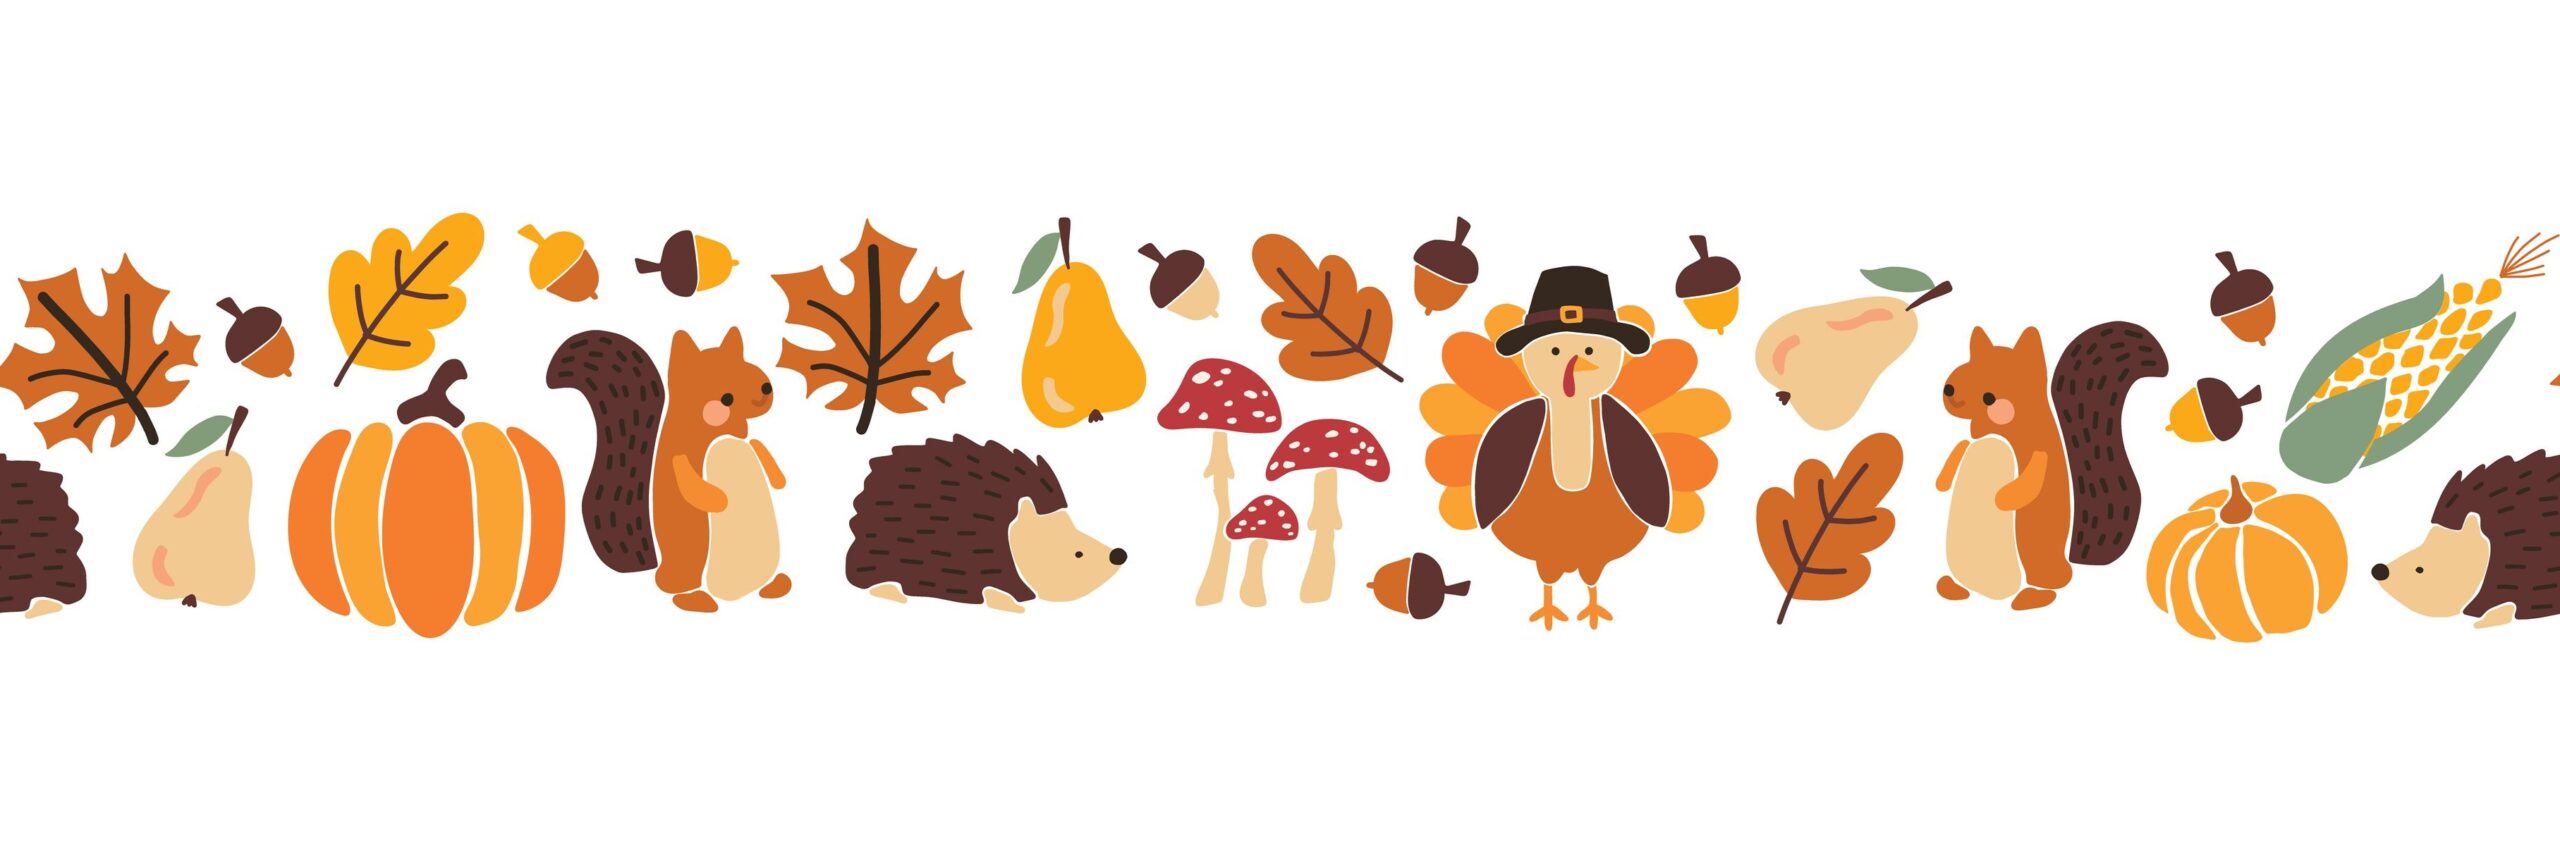
Fall Word Lists
We’ve created easy-to-use word lists to help make learning fall vocabulary more fun and engaging for young children. The words are grouped into categories so you can explore them in a way that works best for you and your child. Use these lists for reading practice, autumn-inspired spelling games, or seasonal activities that celebrate everything fall!
Printable Fall Words by Category
Fall Weather Words
| blustery | breeze | brisk | chill | cloudy |
| cool | crisp | damp | drizzle | fog |
| frost | gale | gusty | mild | mist |
| overcast | pleasant | rain | sleet | stormy |
| windy |
Fall Clothing Words
| boots | coat | flannel | gloves | hat |
| hoodie | jacket | jeans | mittens | overalls |
| pants | raincoat | scarf | shoes | socks |
| sweater | sweatshirt | sweatpants | turtleneck | vest |
Fall Food Words
| acorn squash | allspice | apple | apple crisp | applesauce |
| apple pie | bread | butternut squash | caramel | caramel apples |
| cider | cinnamon | clove | corn | cornbread |
| cranberries | doughnut | gourd | grain | kale |
| maize | maple syrup | marshmallow | mashed potatoes | nut |
| nutmeg | pear | pecan pie | potato | popcorn |
| pumpkin | pumpkin pie | pumpkin spice | soup | spinach |
| squash | stew | stuffing | sweet potatoes | turkey |
| turnip | vegetable | wheat | yams |
Fall Nature and Animal Words
| acorn | aster | branches | chipmunk | chrysanthemum |
| crow | deer | flock | foliage | forest |
| fox | goldenrod | hay | harvest moon | leaf |
| leaves | maple | migrate | mud | mushroom |
| oak | orchard | owl | pinecone | puddle |
| pumpkin patch | rainbow | squirrel | straw | sunflower |
| trees | twigs | woods |
Fall Activity Words
| apple picking | baking | bonfire | camping | carving |
| corn maze | crafting | decorating | fair | festival |
| football | harvest | hayride | hiking | jumping in leaves |
| leaf collecting | nap | pumpkin patch | raking | reading |
| roasting marshmallows | trick-or-treating |
Descriptive Fall Words
| abundant | bundled | chilly | cozy | crisp |
| crunchy | foggy | grateful | happy | peaceful |
| quiet | sleepy | snug | soft | thankful |
| toasty | warm | windy | zippy |
Other Fall Words
| blanket | bushel | cornucopia | ember | equinox |
| feast | firewood | gather | gobble | Halloween |
| kettle | kindling | leaf pile | November | October |
| scarecrow | September | Thanksgiving |
Fall Word Lists by Letter
Use these free printable fall word lists to help with spelling practice, vocabulary exercises, and seasonal creative writing prompts.
List of Fall Words (A-Z)
Letter A Fall Words
| acorn | apple | apple pie | applesauce | autumn |
Letter B Fall Words
| baking | barn | bonfire | boots | breeze |
| burgundy |
Letter C Fall Words
| campfire | cider | coat | corn | cranberry |
| crisp | crimson |
Letter D Fall Words
| decorations | deciduous | doughnuts |
Letter E Fall Words
| ear (of corn) | ember | equinox | evergreen | evening |
Letter F Fall Words
| fall | feast | fire | flannel | football |
| frost |
Letter G Fall Words
| gathering | gloves | golden | goose | gourd |
| gravy |
Letter H Fall Words
| harvest | hay | hayride | hike | hoodie |
Letter I Fall Words
| inside | invitation |
Letter J Fall Words
| Jack-o’-lantern | jacket | jam | jeans |
Letter K Fall Words
| kernel | kettle corn | kindling | knit |
Letter L Fall Words
| lantern | laughter | layer | leaf pile | leaves |
Letter M Fall Words
| maze | maple | marshmallow | moon |
Letter N Fall Words
| nap | nest | night | November | nuts |
Letter O Fall Words
| October | orange | orchard | overcast | owl |
Letter P Fall Words
| patch | pie | pinecone | popcorn | pumpkin |
Letter Q Fall Words
| quilt | quiet | quince |
Letter R Fall Words
| rain | rake | red | roasted |
Letter S Fall Words
| scarecrow | school | September | spice | squirrel |
| sunflower | sweater |
Letter T Fall Words
| thankful | tree | trick-or-treat | turkey | turtleneck |
Letter U Fall Words
| unwind | utensils |
Letter V Fall Words
| vanilla | vegetables | vest | vines |
Letter W Fall Words
| wagon | warm | weather | wind | woods |
Letter X Fall Words
| fox | mix |
Letter Y Fall Words
| yarn | yellow | yummy |
Letter Z Fall Words
| zesty | zipper | zucchini |
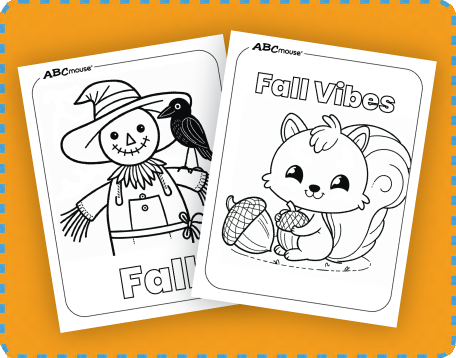
Free Fall Activities for Kids
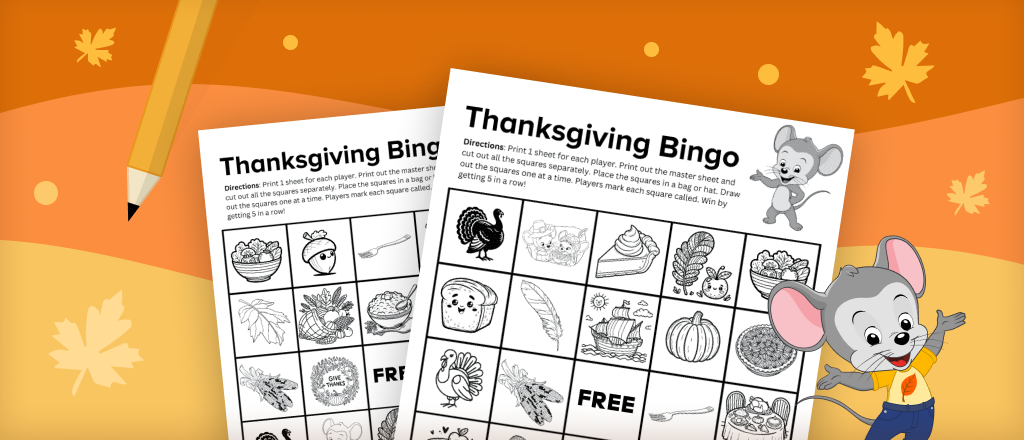
Printable Thanksgiving Bingo Cards
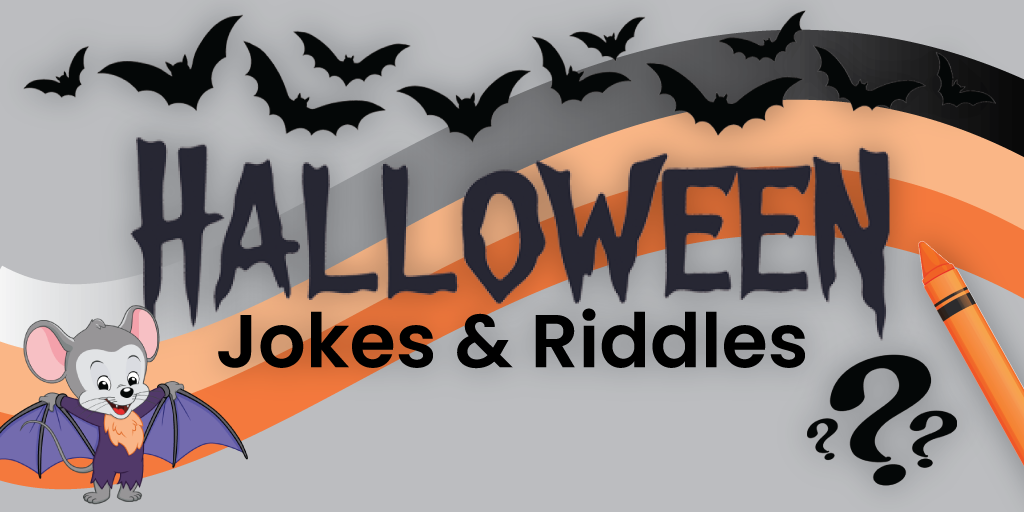
Hilarious Halloween Jokes and Riddles
Looking for More Printable Activities?
25+ Play-Based Learning Activities for Preschoolers and Kindergarteners
Share
Learning through play is fun and natural for kids, plus it offers benefits that go far beyond academics!
What Is Play Based Learning & Why Is It Important in Early Childhood?
The term “play-based learning” refers to the way kids learn as they play. This form of learning isn’t restricted to academics; it also includes:
- social-emotional skills
- fine and gross motor development
- problem-solving
- critical thinking
- creativity
- imagination
In general, the younger kids are, the more they can learn while playing, but this approach is beneficial at all ages.
A 2018 clinical report from the American Academy of Pediatrics noted: “Play is not frivolous: it enhances brain structure and function and promotes executive function (i.e. the process of learning, rather than the content), which allow us to pursue goals and ignore distractions.”
Play-based learning is usually:
Enjoyable
Self-chosen/Self-directed
Unstructured
Imaginative
Empowering
While parents or teachers may guide the play or provide some parameters, kids usually choose the activity and make up the rules for these games on their own. In many cases, they don’t even realize they’re learning—they’re just having fun!
A big part of the experience is learning how to learn and understanding that it’s okay to take risks and make mistakes. Children can carry this knowledge over to more formalized education, making them more resilient inside the classroom and out.
Try some of these play-based learning activities with your own child to see the benefits!
Play-Based Reading Activities
Leap Frog Letters
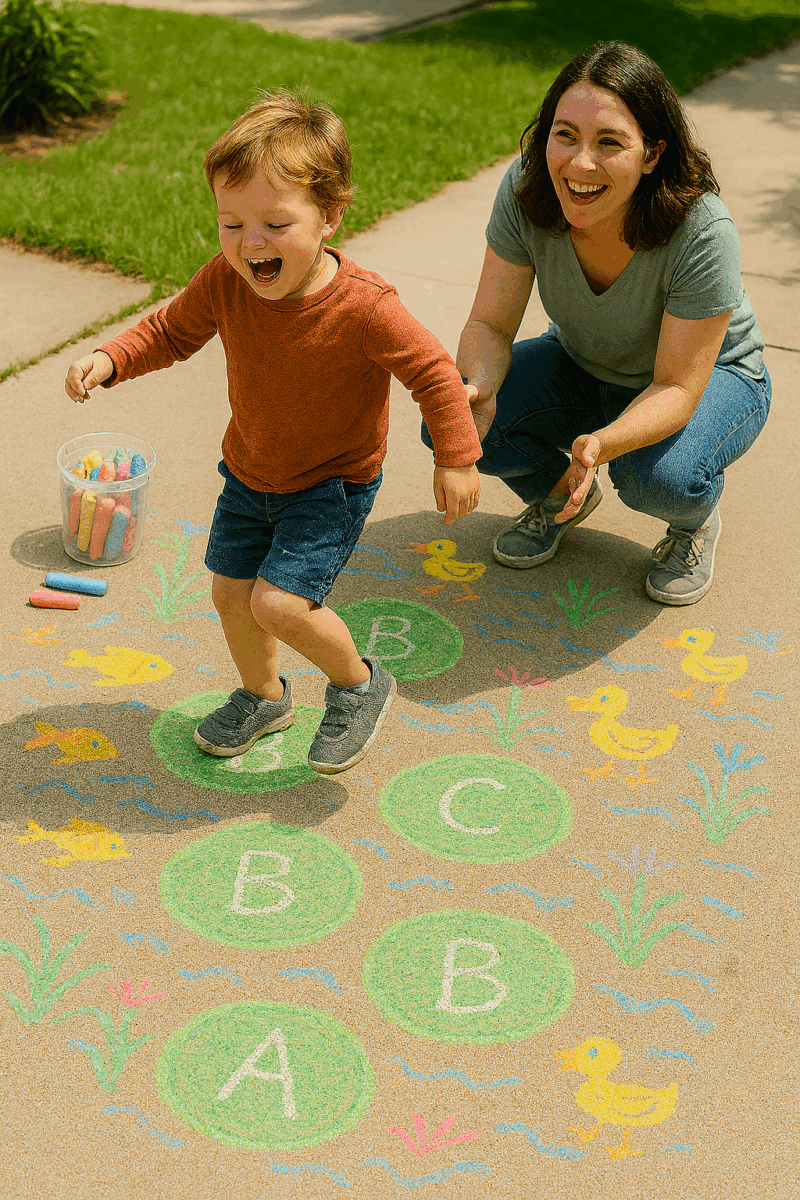
Draw green “lily pads” with sidewalk chalk, and write a letter in each one. As your child hops from letter to letter, ask them to name each one and say the sound it stands for out loud.
They can also practice spelling by jumping from one letter to the next. To increase the creative aspect, encourage them to use the chalk to add fish, ducks, plants, and other elements to their “pond.”
Letter Blends Hop-Walk-Run
Use your sidewalk chalk for this one or make notecards with individual letters written on them instead. Draw or lay the letters on the ground, spacing them about 12 inches apart (or more for older kids). Start by jumping from letter to letter, saying the sound the letter makes.
Next, walk across the letters slowly, blending them together to figure out the word. Finally, run across the letters, saying the whole word at once.
Phonemes I Spy
Choose one or more phonemes (the sounds made by individual letters and letter blends) to target, then look for them when you’re out and about. For instance, if you choose /ch/ and /igh/, your child might point out the sign for “High Street,” and identify “cheddar cheese” at the grocery store. Keep track of how many you find, and see who can spot the most throughout the day!
Playdough Word Stamp
Buy a set of letter stamps (be sure to get one that includes both upper and lowercase letters), or use alphabet magnets or beads instead. Roll out some playdough, then stamp words onto it. This is a fun way to practice spelling or high-frequency words. (For younger kids, try having them make the letters themselves out of the playdough instead.)
Stuffed Animal Stories
Reading isn’t just about decoding the letters on the page—it’s also important to make sure kids actually understand what they’re reading. Retelling a story in their own words is one key way to ensure reading comprehension.
After reading a book, invite your child to share the story with you using their favorite stuffed animals or other toys to stand in for the characters. Ask questions like “Why do you think [character] did that?” or “What would you have done instead?” as they retell the tale.
Play-Based Math Activities
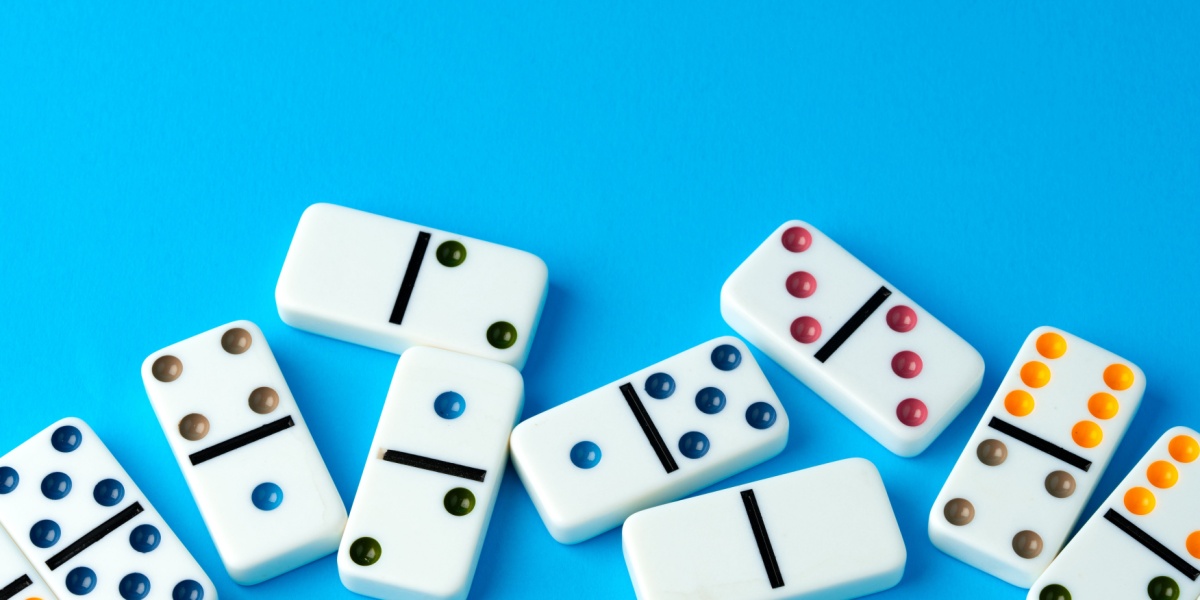
Domino Math
Depending on how you lay them out, dominos can represent all sorts of math concepts and equations. Practice counting by drawing a domino and having your child point to and count the dots. Then have them lay the dominos along a number line based on their totals.
Ask kids which side has more dots to work on comparing numbers. Turn a domino sideways, and it becomes an addition, subtraction, or multiplication equation. There are so many options to try.
Bingo
This classic crowd favorite is terrific for number recognition practice! You can also customize the boards to practice various math concepts.
For instance, create boards that contain only products (total when numbers are multiplied together) of numbers one to 10. Then, draw flashcards and have kids solve the equation and mark off the appropriate squares on their cards.
Pipe Cleaner Shapes
Provide a pile of colorful pipe cleaners and have fun bending them into various shapes, naming them as you go. This works for both 2D and 3D shapes, and is great for developing hand-eye coordination too. You can even combine all your shapes together to make cool abstract sculptures. Tip: Try adding disposable drinking straws into the mix too!

Number Parking Lot
If you’ve got a big collection of toy cars, you’ll love this one! Use masking tape to label each car with a number, and create a “parking lot” with numbered spaces to match. You can do this on a piece of paper or with sidewalk chalk outdoors. Kids will have fun “vrrr-ooming” each car into the appropriate spot!
To build additional skills like cardinality or subitization, write numbers on the cars and corresponding dots or tally marks in the parking spaces, or make each car the answer to a math equation written in the lot.
Sticky Note Shape Hunt
Draw various shapes on individual sticky notes, then have kids attach them to items around the house or classroom that match. For instance, they could place a sticky note with a rectangle on the TV screen or a book cover; a sticky note with a circle on a bowl; a sticky note with a cylinder on a water bottle, etc.
Science and Nature Play
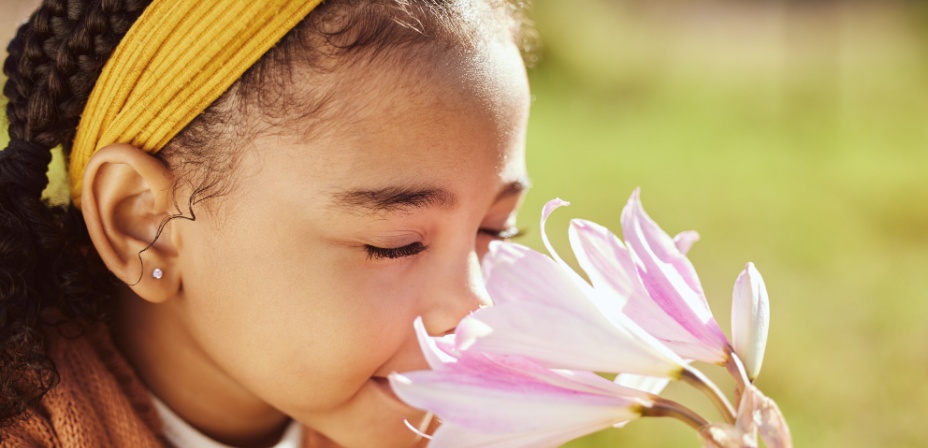
Five Senses Walk
As you explore your favorite outdoor area, stop from time to time to identify what you can see, hear, smell, feel, and even taste (use safety precautions, of course). You can write these down as you go, or simply take the opportunity to appreciate what’s all around you. This not only teaches the observation skills essential to science—it also develops mindfulness skills.
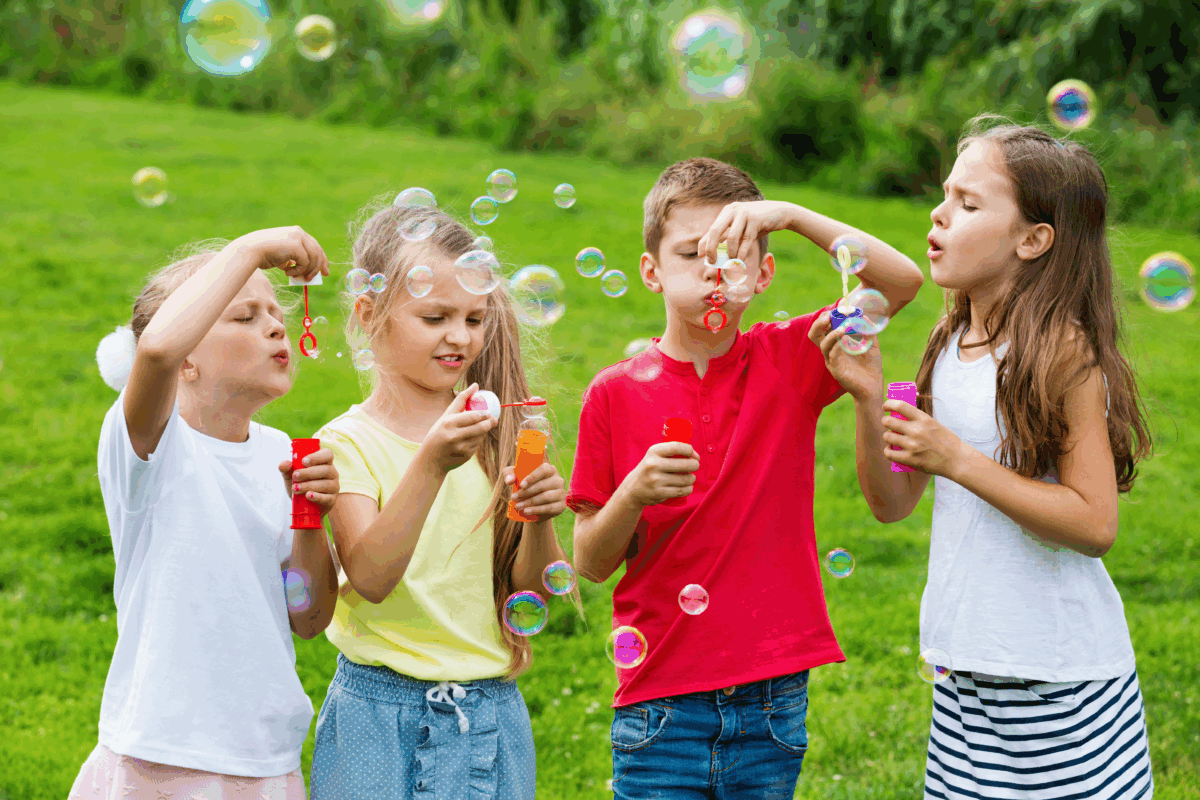
Bubble Blowing
This is a perennial kid (and adult!) favorite, and it actually involves a lot of different science concepts. Experiment with blowing faster or slower, making differently shaped wands from pipe cleaners, or seeing how high your bubbles can float before they pop. So much of science is just about asking “why?” or “how?” and then trying to find the answers!
Paint Mixing
Most adults know that yellow and blue make green, and adding white will make something paler or “pastel.” Kids can learn these facts by memorization, but it’s a lot more fun to discover them through play!
Give little ones red, yellow, blue, white, and black finger paints, then let them mix away! When they’re done, they can paint a masterpiece or store their paints away for another day.
Magic Magnets
A set of toy magnets gives kids so many fun ways to explore. They can experiment to find which objects the magnet will stick to, play with attracting and repelling, make their own compass, or use a magnet to guide a metal ball through a DIY maze—the list goes on!

Loose Parts Play
Fill a bin with all sorts of random, kid-safe items: cardboard boxes and cardboard pieces, nuts and bolts, scraps of fabric, smooth wood pieces, styrofoam and bubble wrap, disposable cups and silverware—anything and everything goes, as long as it’s safe and age-appropriate.

This collection is perfect for unguided experimentation and imaginative play, or you can give kids STEM challenges. For instance, “How tall of a tower can you build with these items?” or “Invent a brand-new machine and explain what it’s for.”
Sensory and Motor Skills Activities
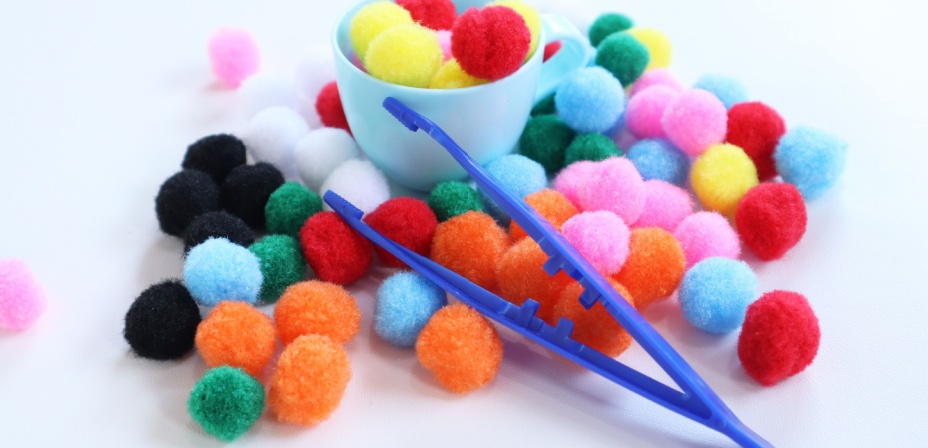
Tweezer Transfer
Round up some toy tweezers, muffin tins or small plastic bowls, and pompoms or small toys. Ask your child to move items from one muffin tin well or bowl to another, using the tweezers instead of their fingers. As they move them, they can also sort them by color, size, or other attributes.
Paper Snowflakes
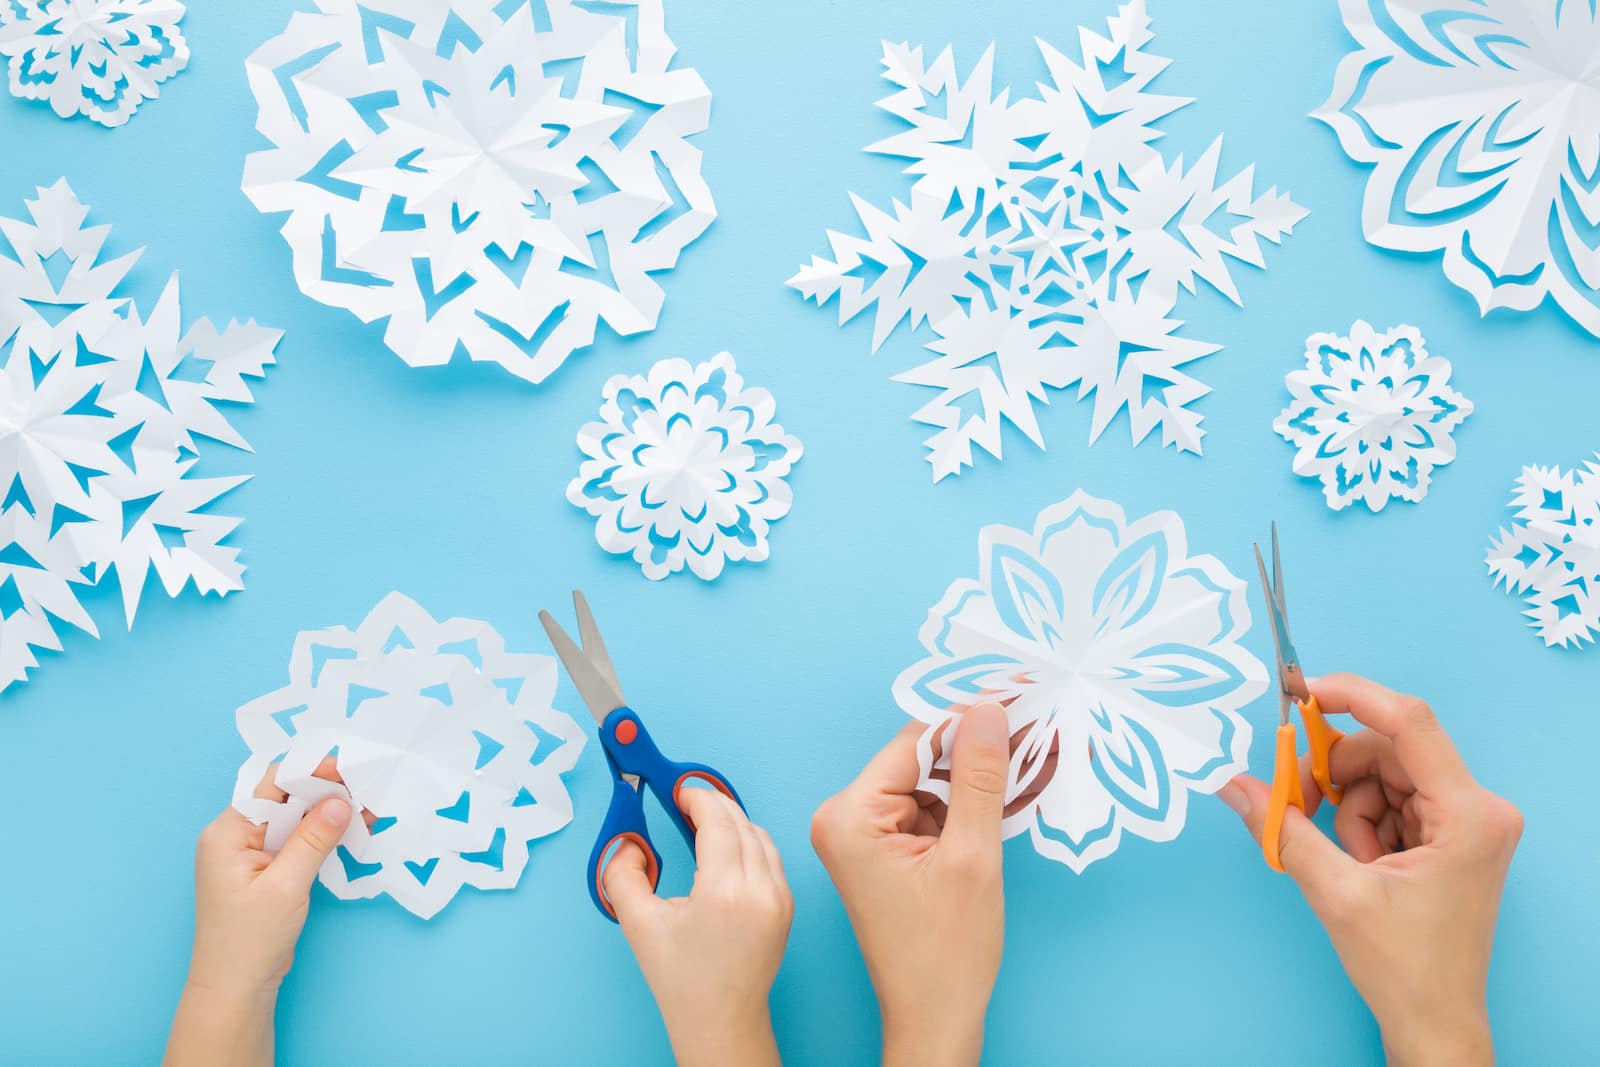
Scissors skills definitely take some practice to master. Start younger kids off by drawing curved and zigzag lines across scrap paper for them to cut. Show older ones how to fold paper and create their own snowflakes. Since each one is unique—just like real snowflakes—they’ll never get tired of seeing what they can create. You can also teach them how to create paper doll chains, then encourage them to experiment with other designs.
Roll and Move
You’ll need a pair of dice for this play-based learning activity. First, assign a movement to each number 1 to 6. (i.e. 1 = jump, 2 = walk backwards, 3 = spin around, etc.). Then, roll both dice. The number on the left indicates the movement, while the one on the right shows how many times to do it.
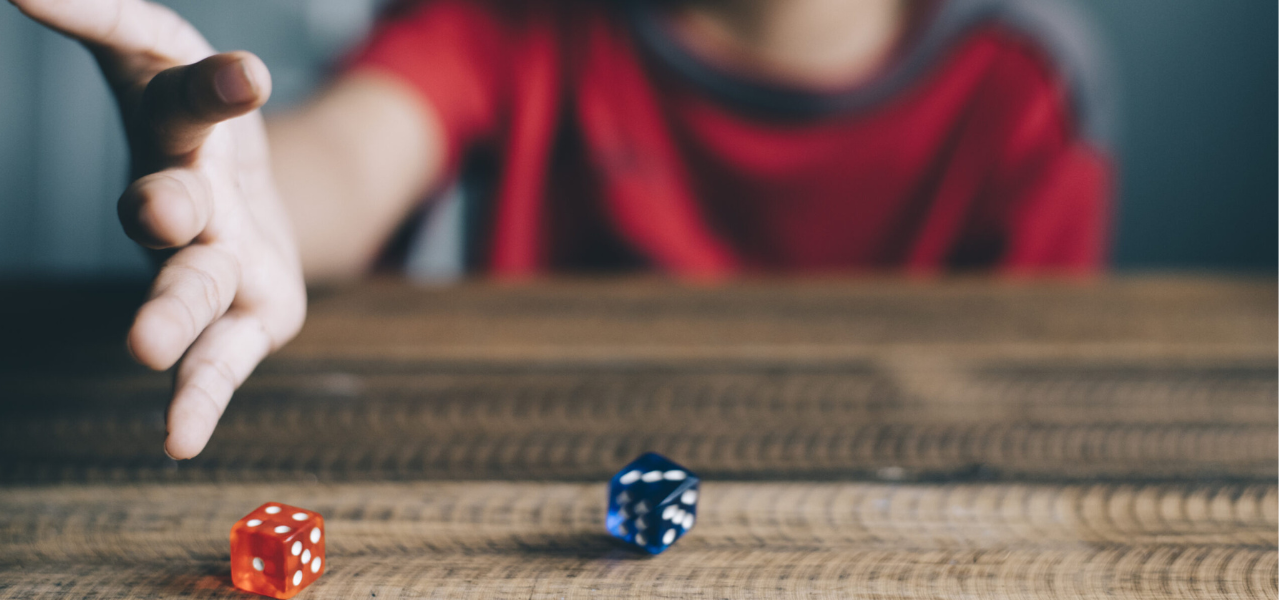
For instance, if you roll a 2 and a 5, walk backwards for five steps. To turn this into a game, set a goal number, like 50. Keep track of the number of jumps, steps, spins, etc. each player takes. The first player to the goal wins!
Sensory Bins
A sensory bin is exactly what it sounds like: a container full of items that stimulate the senses. Common items include rice, beans, sand, water, ice, rocks, beads, dry pasta, shaving cream, or popcorn kernels. Include items for scooping and measuring, like cups and spoons, along with letter and number magnets, or small toys to discover and dig out. Here are a few possible combinations:
- Dirt and pebbles, toy shovels, small buckets, twigs, and toy dinosaurs
- Water, ice cubes, shaving cream, floating toys, measuring cups, funnels
- Rice, popcorn kernels, beans, letter and number beads, forks and spoons
- Practice letter recognition with an alphabet sensory bin
Obstacle Course
A DIY obstacle course can use anything and everything at hand! Jump across stepping stones, balance along a fallen log, climb steps and hop back down, weave in and out among stuffed animals … just use whatever you can find and your creativity. Kids can race each other, try to beat their own best time, or simply enjoy creating new courses to tackle.
Dramatic and Pretend Play Ideas
Restaurant Role Play
This is the kind of make-believe play that lets kids practice a lot of real-life skills. Taking orders and interacting with “customers” builds social skills. Creating a menu and “preparing” meals incorporates creativity and motor skills. Kids can even make trips to the “grocery store” to buy what they need.
Add in math practice by creating a bill at the end of the meal. Want to make the experience even more meaningful? Let your child take everyone’s “orders” at the dinner table and bring them their actual food!
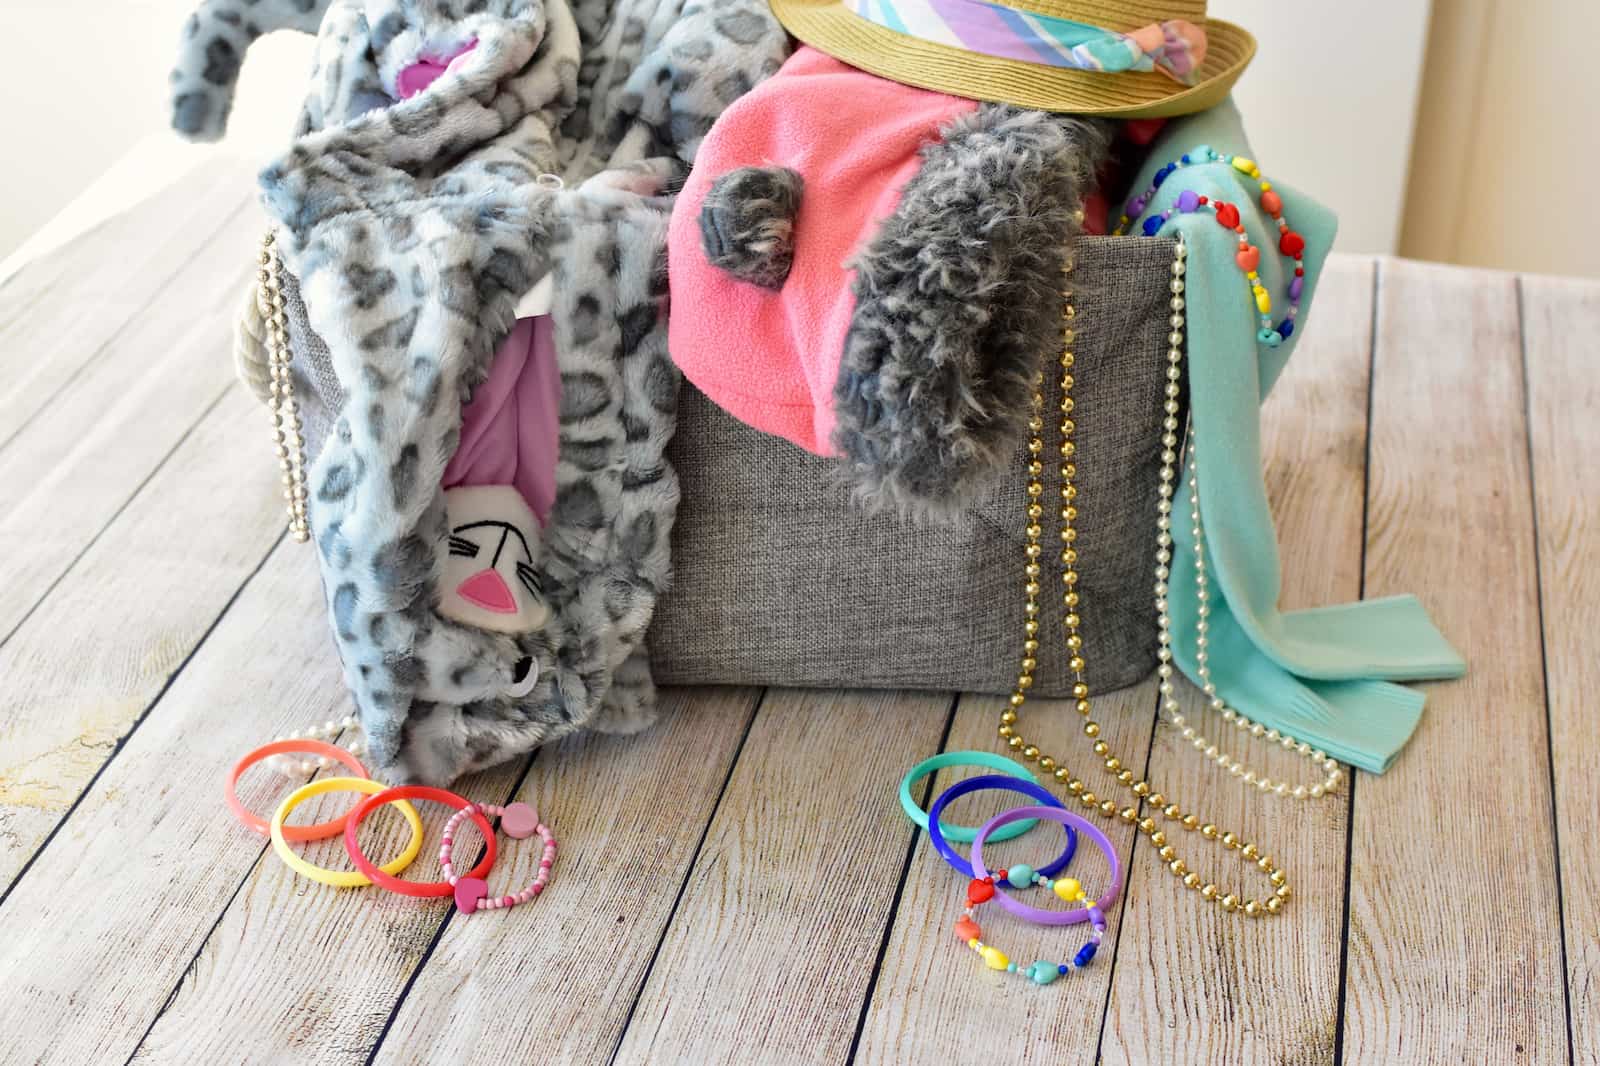
Dress Up Box
Every kid should have a box full of clothes, shoes, hats, and other accessories to help spark their creativity during imaginative play. Look for fun finds at yard sales and thrift stores, and be sure to stash old Halloween costumes in there too.
And Then … Storytelling Game
For some kids, making up stories comes easily. Others, though, may have trouble coming up with ideas. Try this storytelling game to help them get started. Start a story, such as: “Once upon a time, a dragon and a chicken met up in the woods, where they were picking blackberries.
They both reached for the same berry at the same time, and then …” Your child continues the tale from there. When they get stuck, give them another short prompt ending with “and then …” to help move the story along.
Toy Animal Zoo
Set up a zoo in your living room or backyard! Do some research and give each stuffed or toy animal its own “habitat.” Make informative signs for each display based on your research. Then, dress as zoo guides or zoologists and offer a tour to guests.
Home Library
Turn your own book collection into a working library! Draw barcode stickers on (removable) adhesive labels, and organize your books into sections like those at the library. Set up a table with a “checkout scanner”, create a few cozy reading nooks, then invite folks in to browse, read, and “check out” books.
Tips for Parents and Teachers Using These Activities
Do: Let your child take the lead.
Don’t: Try to control the game.
You can provide ideas for play-based learning, along with some supplies and parameters. But once the play gets going, resist the urge to steer the play in any particular direction. When kids are young, they’re learning something from almost everything they do. So even if the game isn’t exactly what you expected, as long as it’s safe, embrace it and play along.
Do: Encourage creative thinking.
Don’t: Focus on “right answers” or the “right way” to do it.
If you give kids a challenge, let them come up with their own way to solve the problem. For example, when playing a board game, children often make up their own rules. As long as everyone in the game agrees to play that way, that’s okay! Worry less about “the instructions say to do this” and more about having fun and trying something new.
Do: Let them try and fail.
Don’t: Say, “Here, let me do that for you.”
It’s so tempting to help kids with a task, but when we do, we risk sending the message that they can’t or don’t need to learn to do it themselves. When you give your child a new toy or gadget, let them experiment with it for a bit, no guidance provided.
Over time, they’ll work out how to get it started, how to get the lid off, or how to put the pieces together all on their own. Discovering something for themselves makes them much more likely to remember how to do it later.
Do: Ask open-ended questions about their experiences.
Don’t: Test their knowledge constantly.
For some play-based learning games, you’ll need to ask very targeted questions, like “Who has the least number of cards left?” or “Which one of these has 7 dots?” But more authentic learning comes from open-ended questions, like “What do all these things have in common?” or “What made you try doing it that way?”
Do: Believe your child learns through all sorts of play.
Don’t: Fill your child’s time with too many structured activities.
Team sports, music lessons, games with lots of rules—there are benefits to all of these types of play and learning. But unstructured play encourages creative thinking and problem solving and builds a strong sense of independence too. Make time for both structured and unstructured play in your child’s schedule.
Do: Provide simple toys and items that encourage creativity.
Don’t: Restrict their toys and games to those “designed for learning.”
Learning toys and games definitely have their place. But pretty much any toy, game, or kid-friendly item can lead to learning opportunities. A box of pipe cleaners and beads allows for all sorts of imaginative play, from making shapes to designing jewelry to creating patterns and more. A stack of newspapers and masking tape can become just about anything when combined with a strong imagination. Here are some more play-based learning items to keep in your rotation:
- Building blocks of all kinds
- Cardboard boxes and tubes
- Art supplies
- Yarn, rope, and fabric scraps
- Kid-friendly tools (knives made to cut cardboard but not skin, etc.)
- Small pieces of styrofoam and wood
- Empty containers, with and without lids
- Finger puppets, dolls, and figurines
- Pattern blocks
- Toy food and kitchen supplies
- Magnifying glass, binoculars, and microscopes
- Measuring tools (rulers, tapes, cups, scales, etc.)
Legal Disclaimer: Any information, materials, or links to third-party resources are provided for informational purposes only. We are not affiliated with and do not sponsor/endorse these third parties and bear no responsibility for the accuracy of content on any external site.
Looking for Printable Activities?
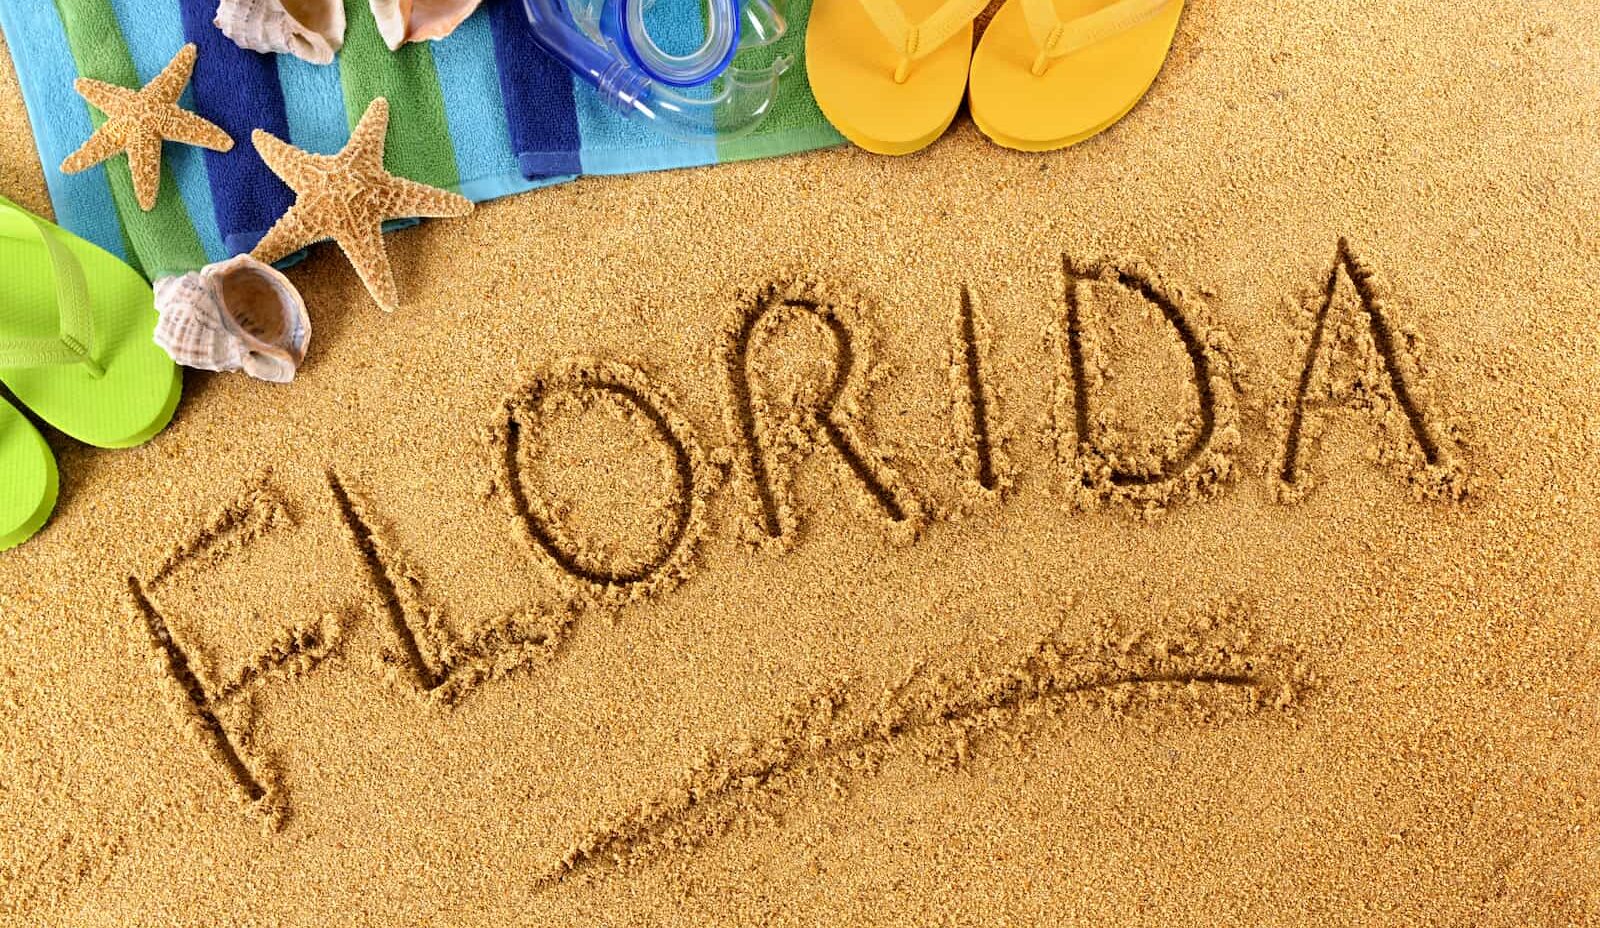
100+ Fun Florida Facts Kids Will Love to Learn
(Free Printable List)
Share
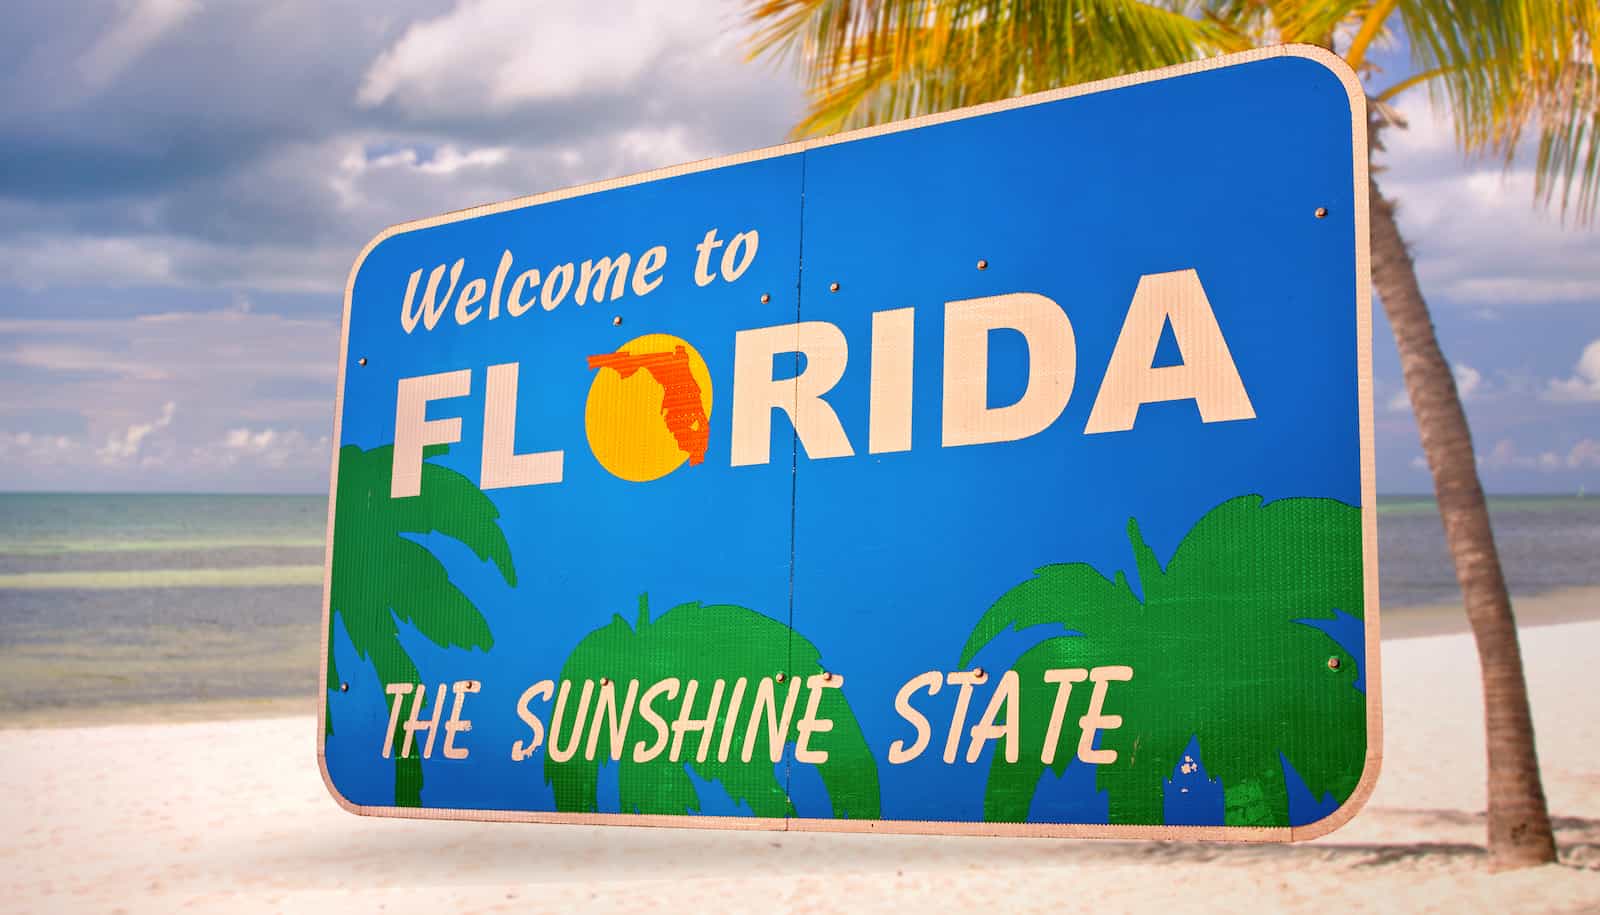
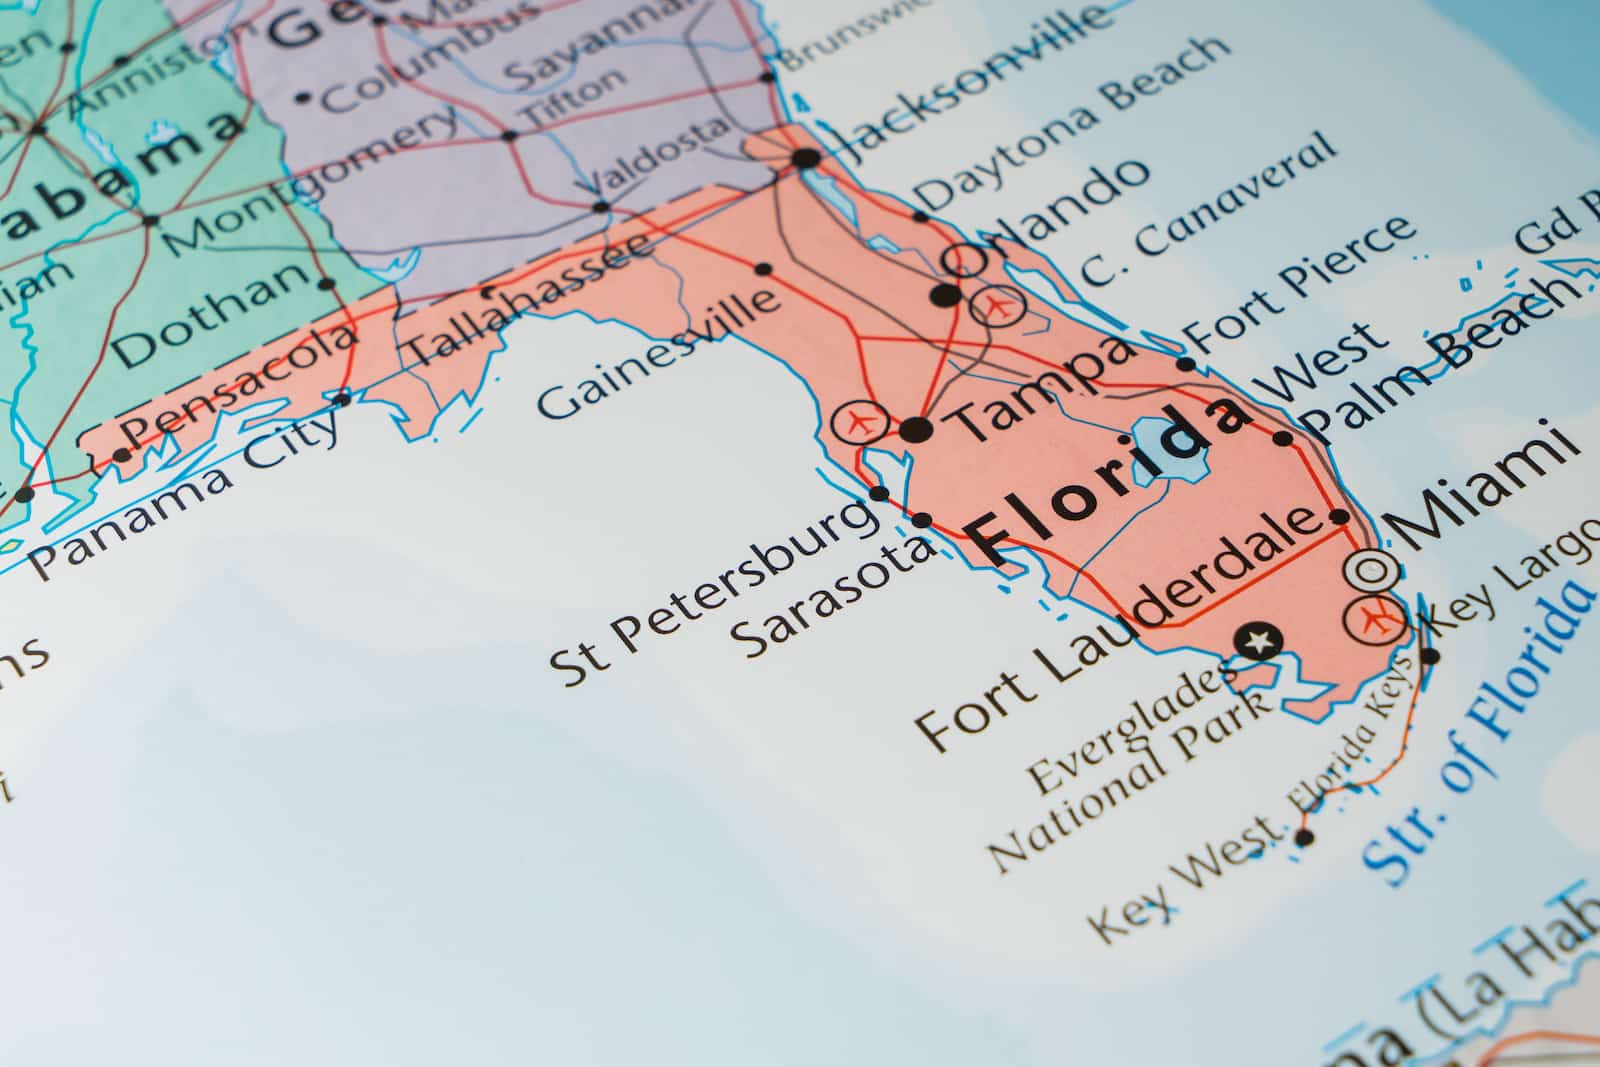
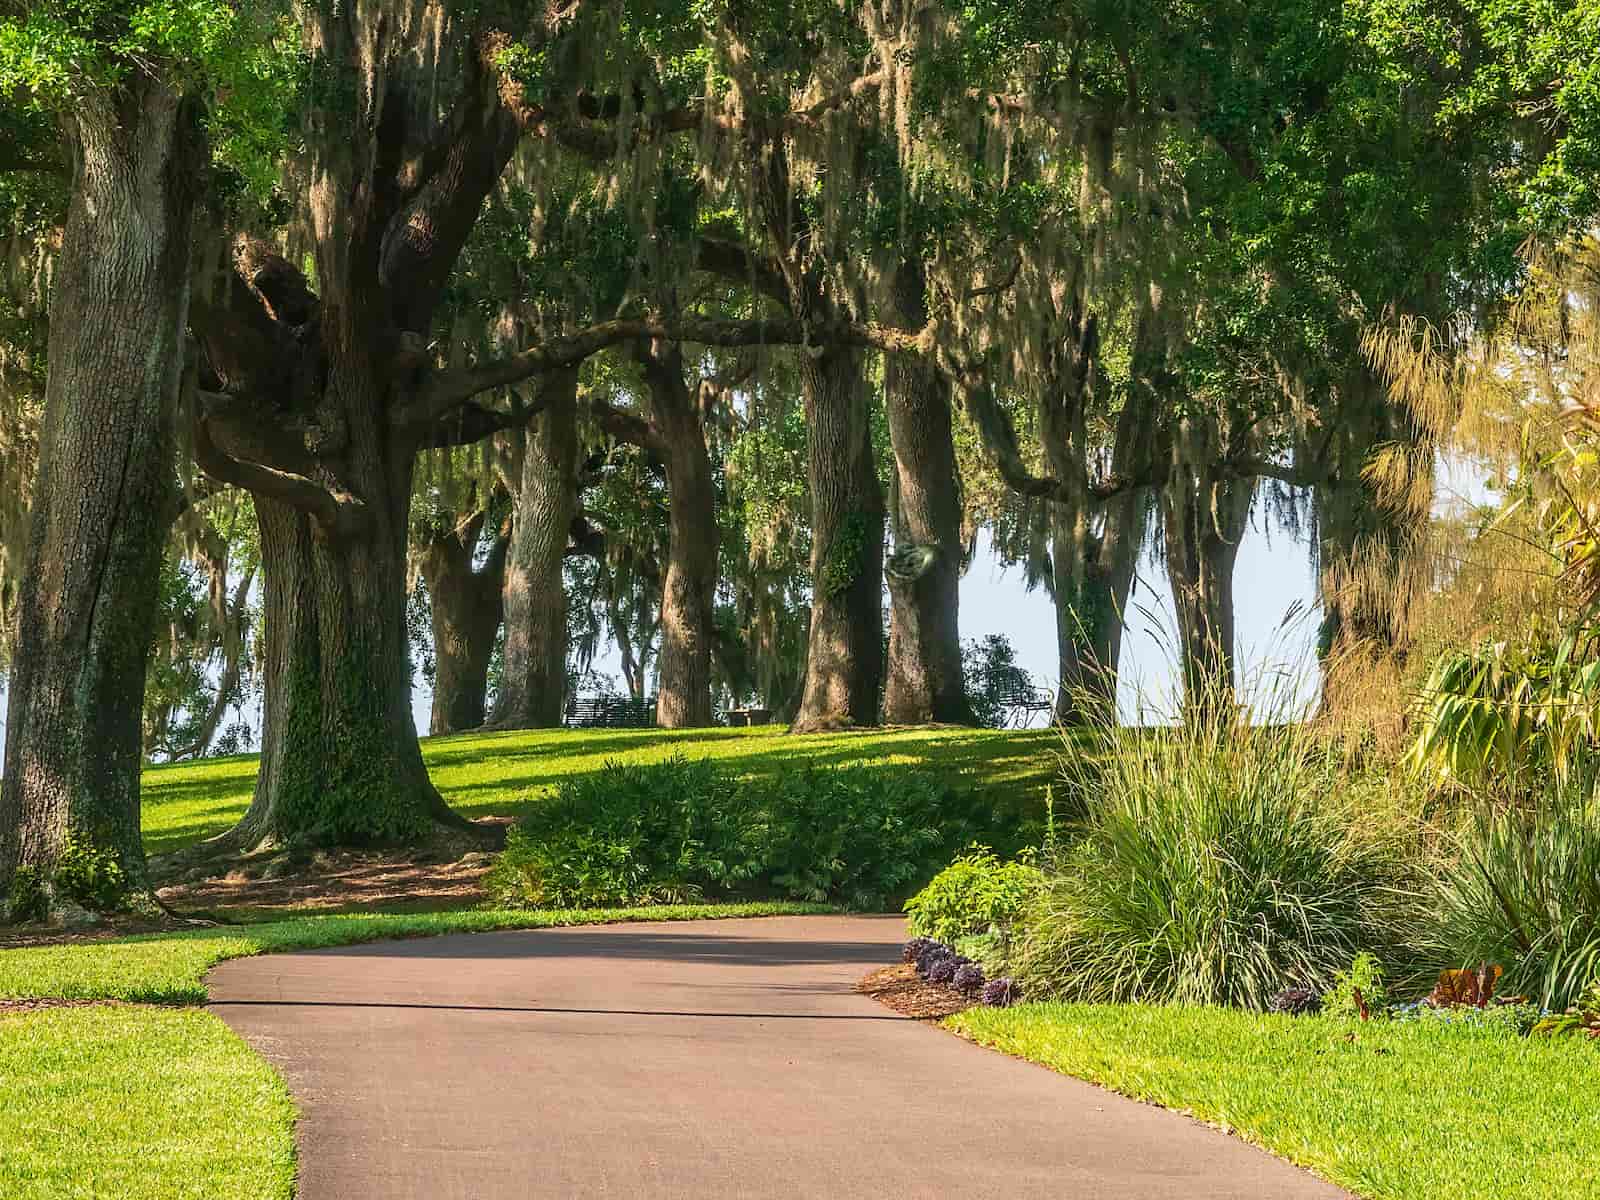
Welcome to the Sunshine State, with an average of 237 sunny days each year! Known for oranges, hurricanes, alligators, and DisneyWorld, Florida is an incredible place to explore. Learn all about it with interesting Florida facts on history, geography, and wildlife, plus find maps and other helpful illustrations.
Get all this information in one place with our free Florida facts printable. Use it in the classroom with students or to prep for a visit to this beautiful state!
FLORIDA STATE FACTS
State Nickname:
Sunshine State
Date of Statehood:
March 3, 1845
State Capital:
Tallahassee
State Animal:
Florida Panther
State Motto:
In God We Trust
State Beverage:
Orange Juice
State Wildflower:
Coreopsis
State Reptile:
American Alligator
State Butterfly:
Zebra Longwing
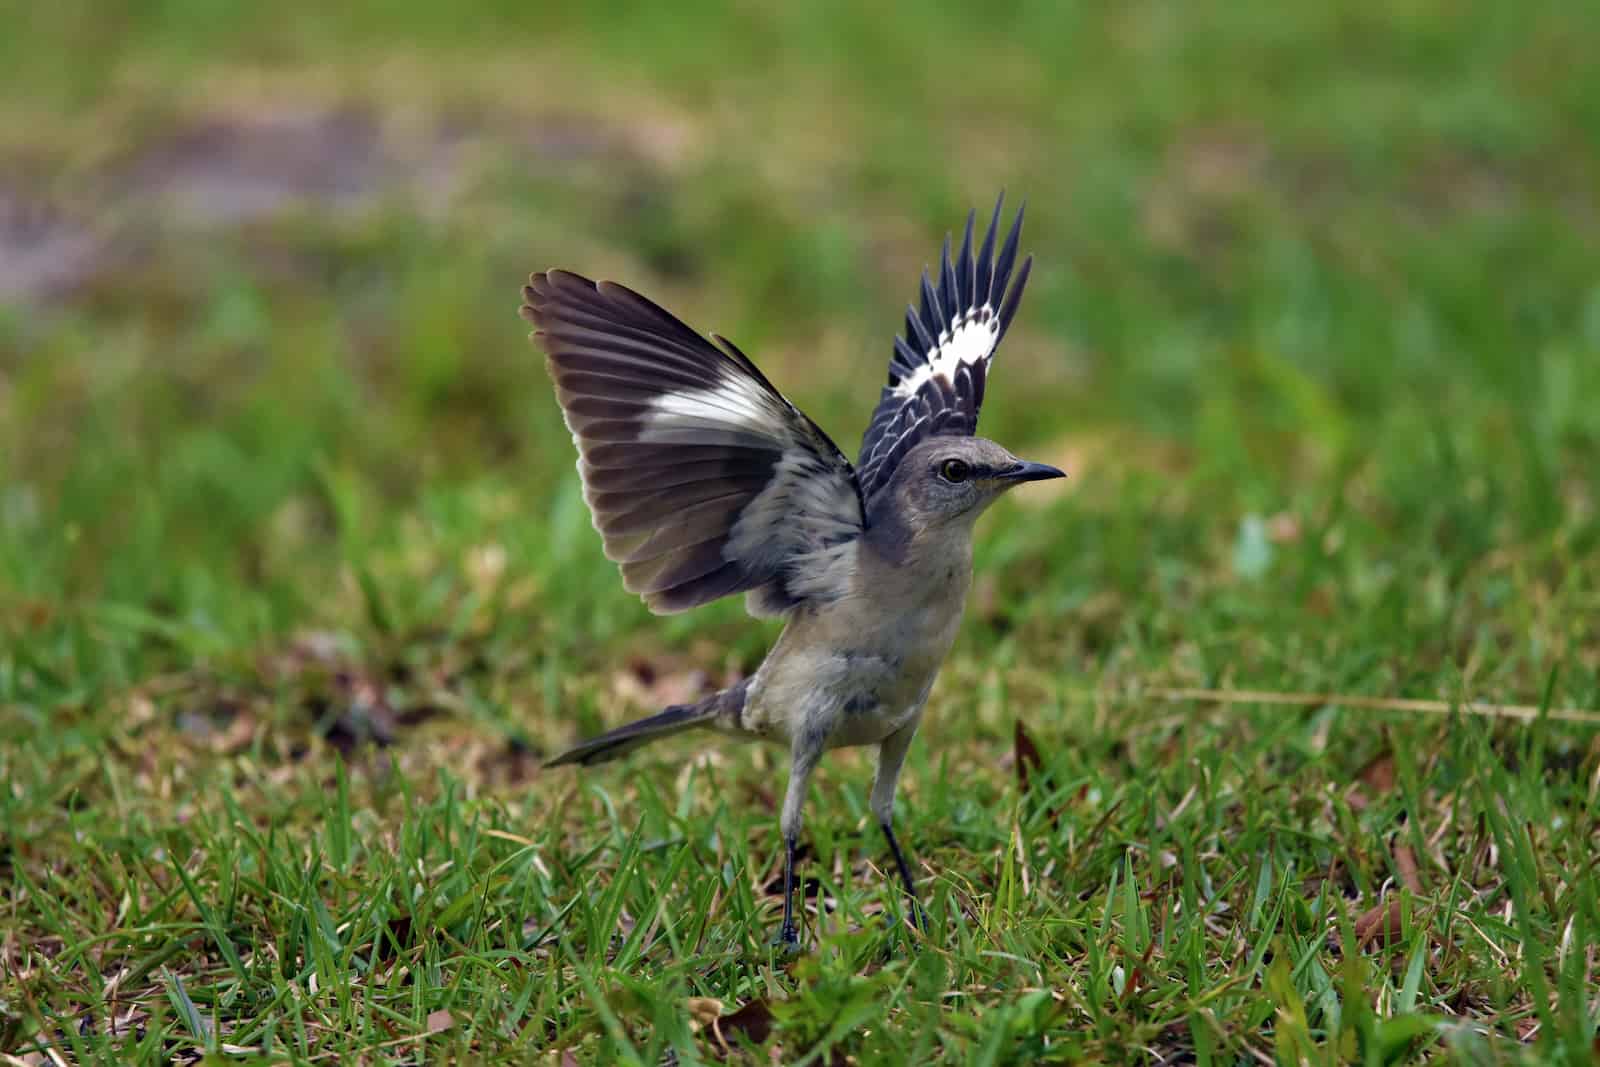
State Bird: Mockingbird
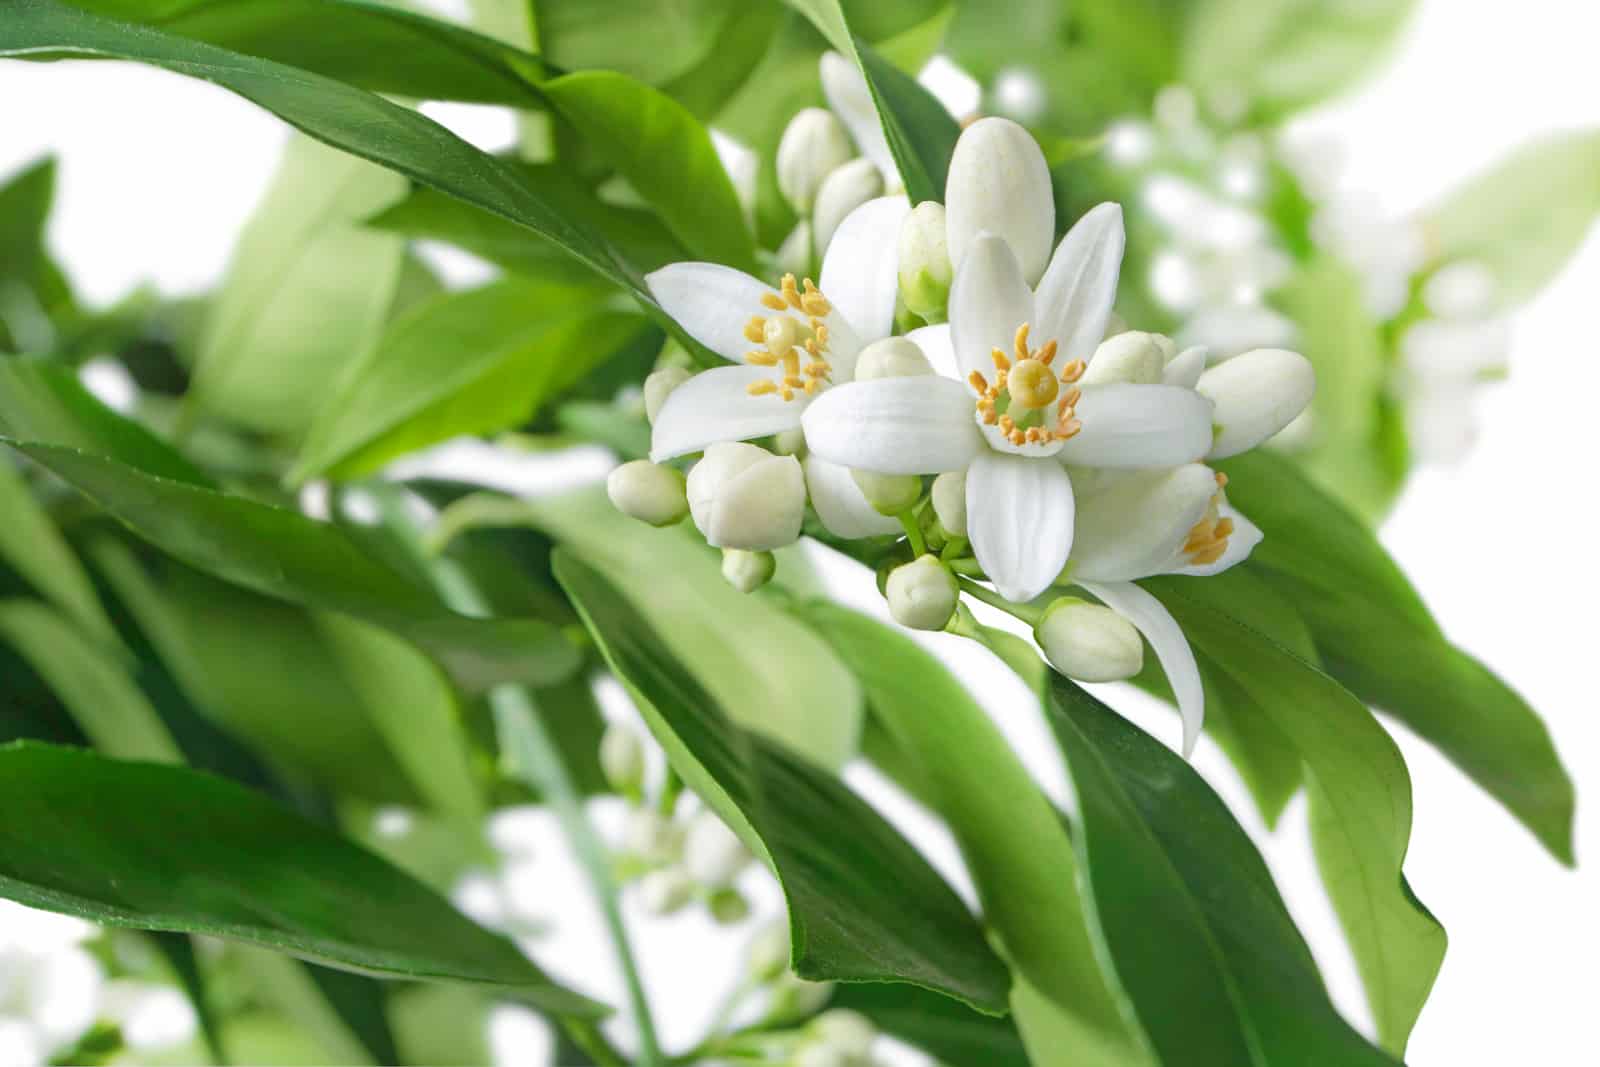
State Flower: Orange Blossom
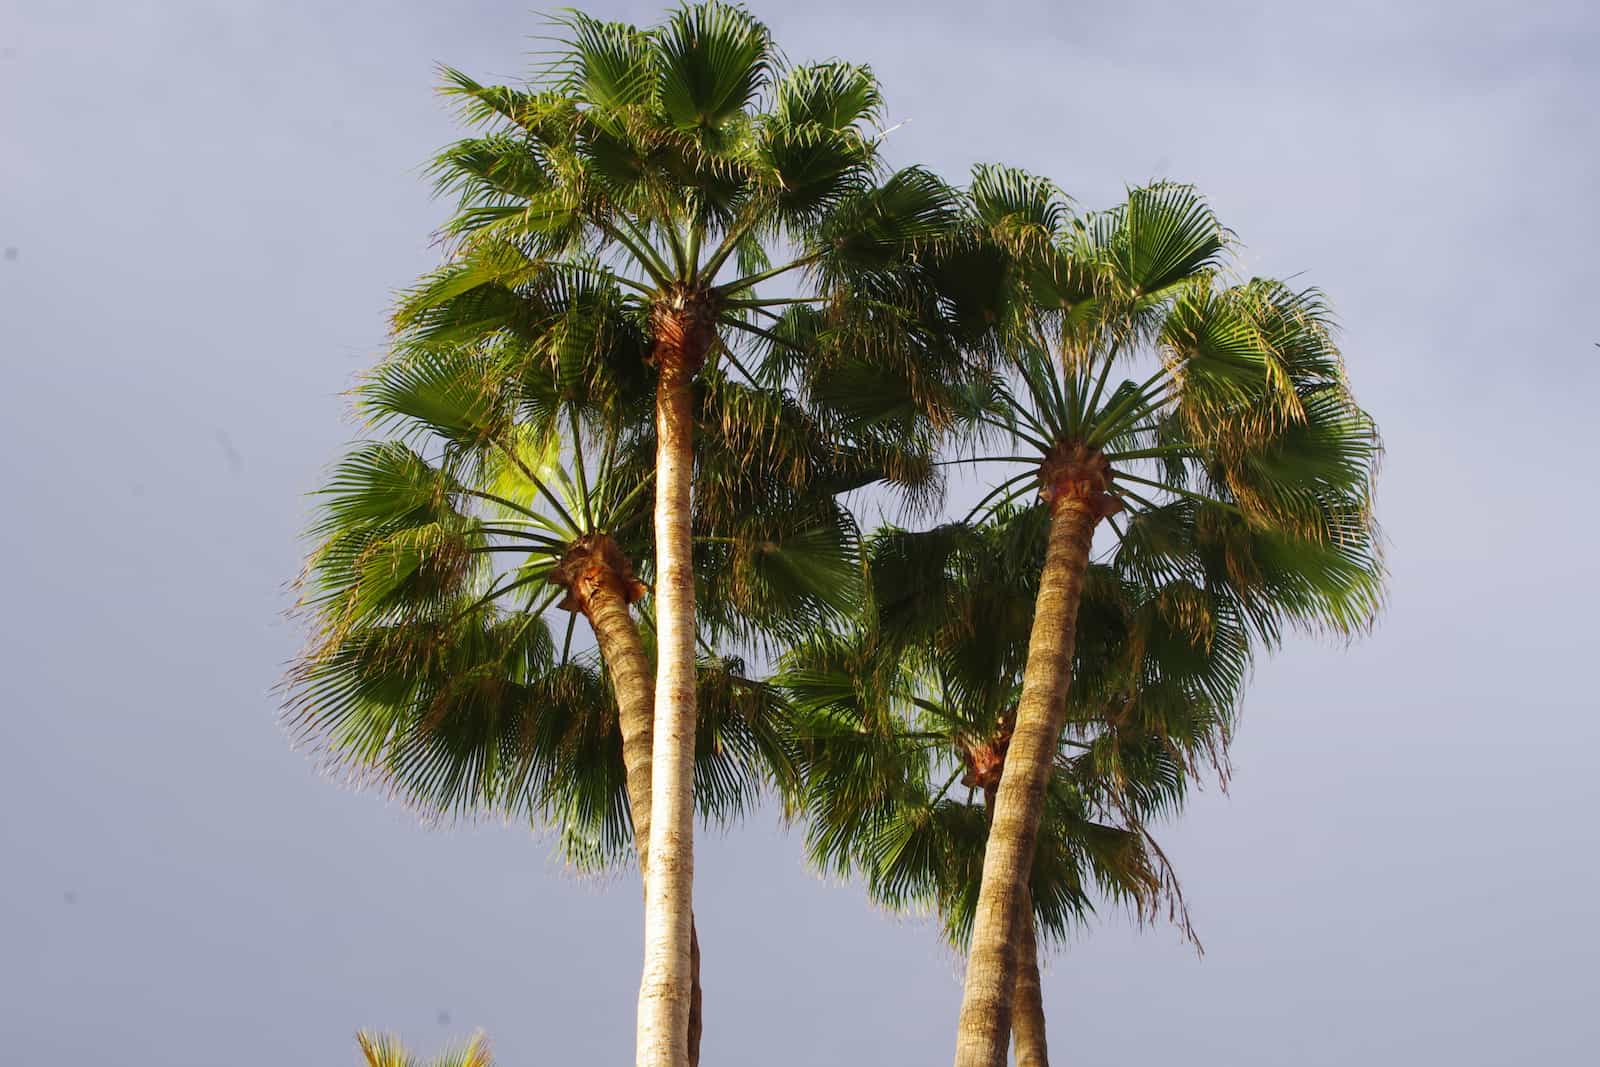
State Tree: Sabal Palm
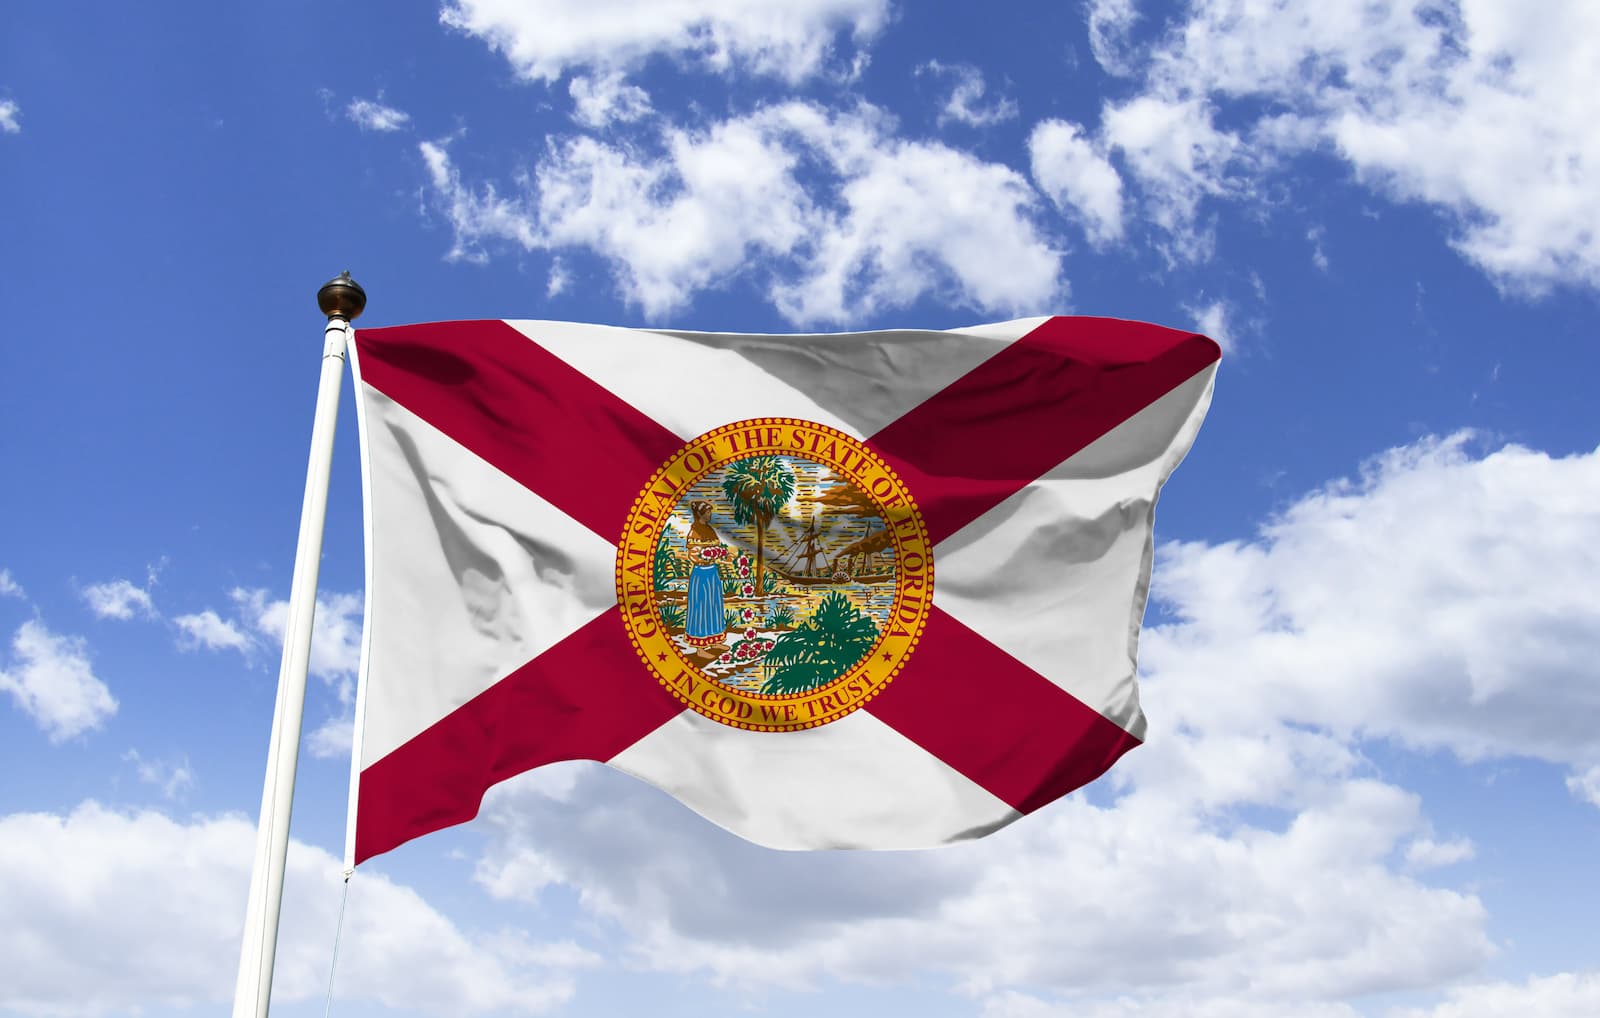
State Flag:
Flag of Florida
?
DID YOU KNOW?
Florida’s flag was originally just the state seal on a white background. In the late 1890s, a red saltire—also known as St. Andrew’s Cross—was added so the flag wouldn’t resemble a white flag of truce when hanging still. The design was officially adopted by the Florida legislature in 1900.
FUN FACTS ABOUT FLORIDA
Fun Fact #1:
Florida ranks #26 in size among U.S. states, at 53,997 square miles.
Fun Fact #2:
St. Augustine, Florida is the oldest city in the United States—it’s been continuously occupied since 1565. This beats Jamestown by 42 years, and the Plymouth Rock Pilgrims by 55 years.
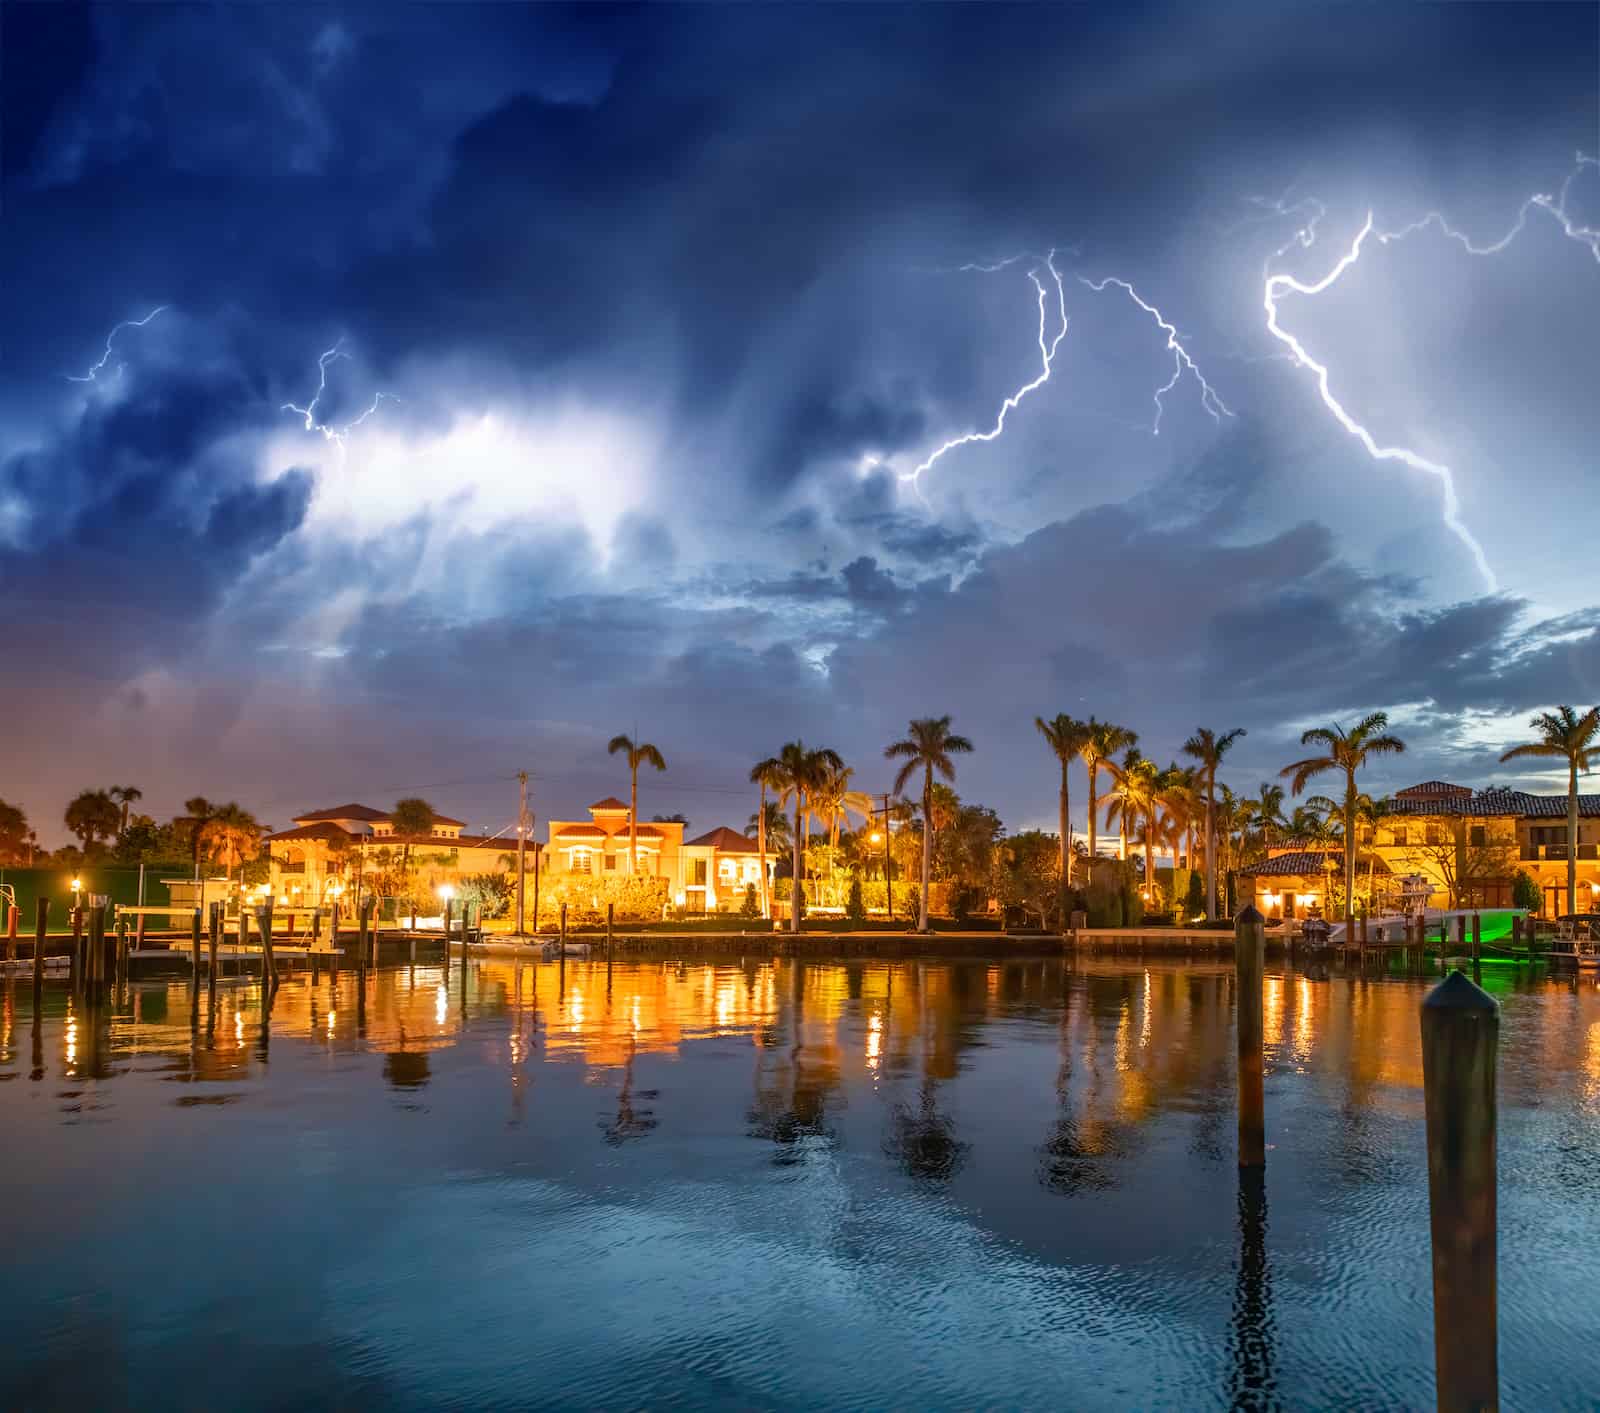
Lake Boca Raton during a storm.
Fun Fact #3:
Florida is known as the lightning capital of the United States, with an average of 1.2 million lightning strikes annually.

Jacksonville, Florida
Fun Fact #4:
The largest cities in Florida are Jacksonville, which has nearly a million people, followed by Miami, Tampa, and Orlando.
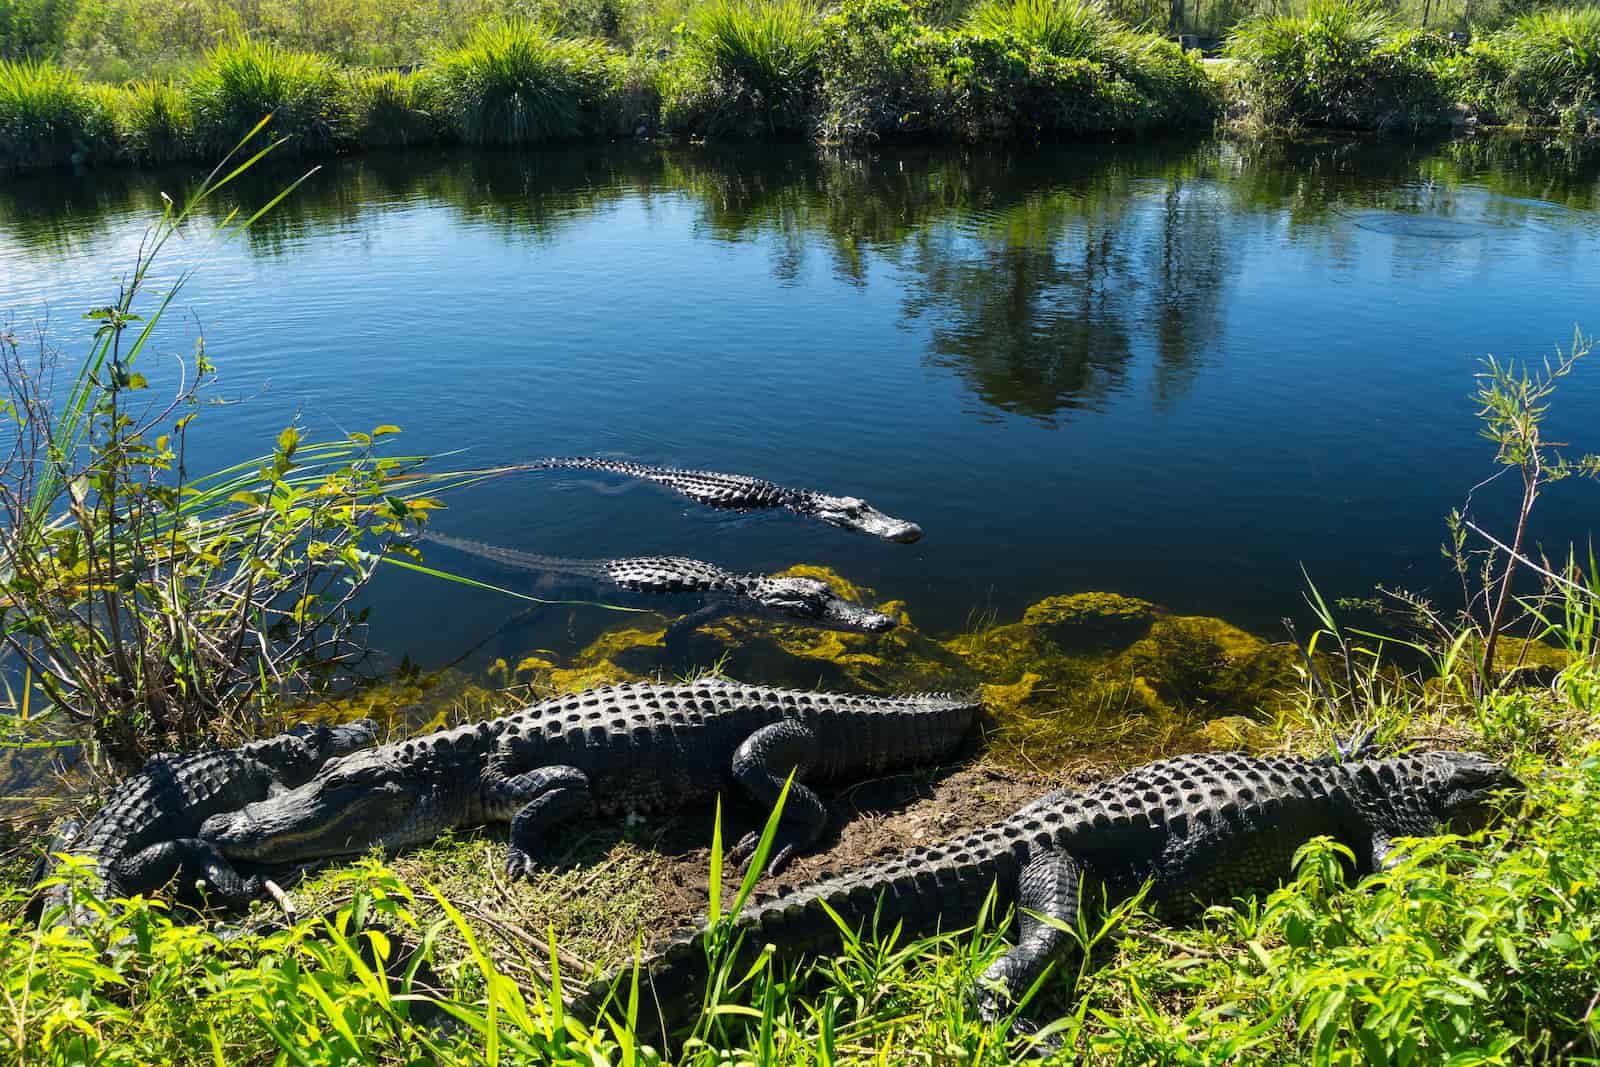
Crocodiles in the Everglades
Fun Fact #5:
Florida is the only place in the world where alligators and crocodiles live side-by-side. While the American alligator can be found in freshwater throughout Florida, the American crocodile mainly lives in south Florida, in brackish and saltwater. They coexist in Florida’s brackish water.
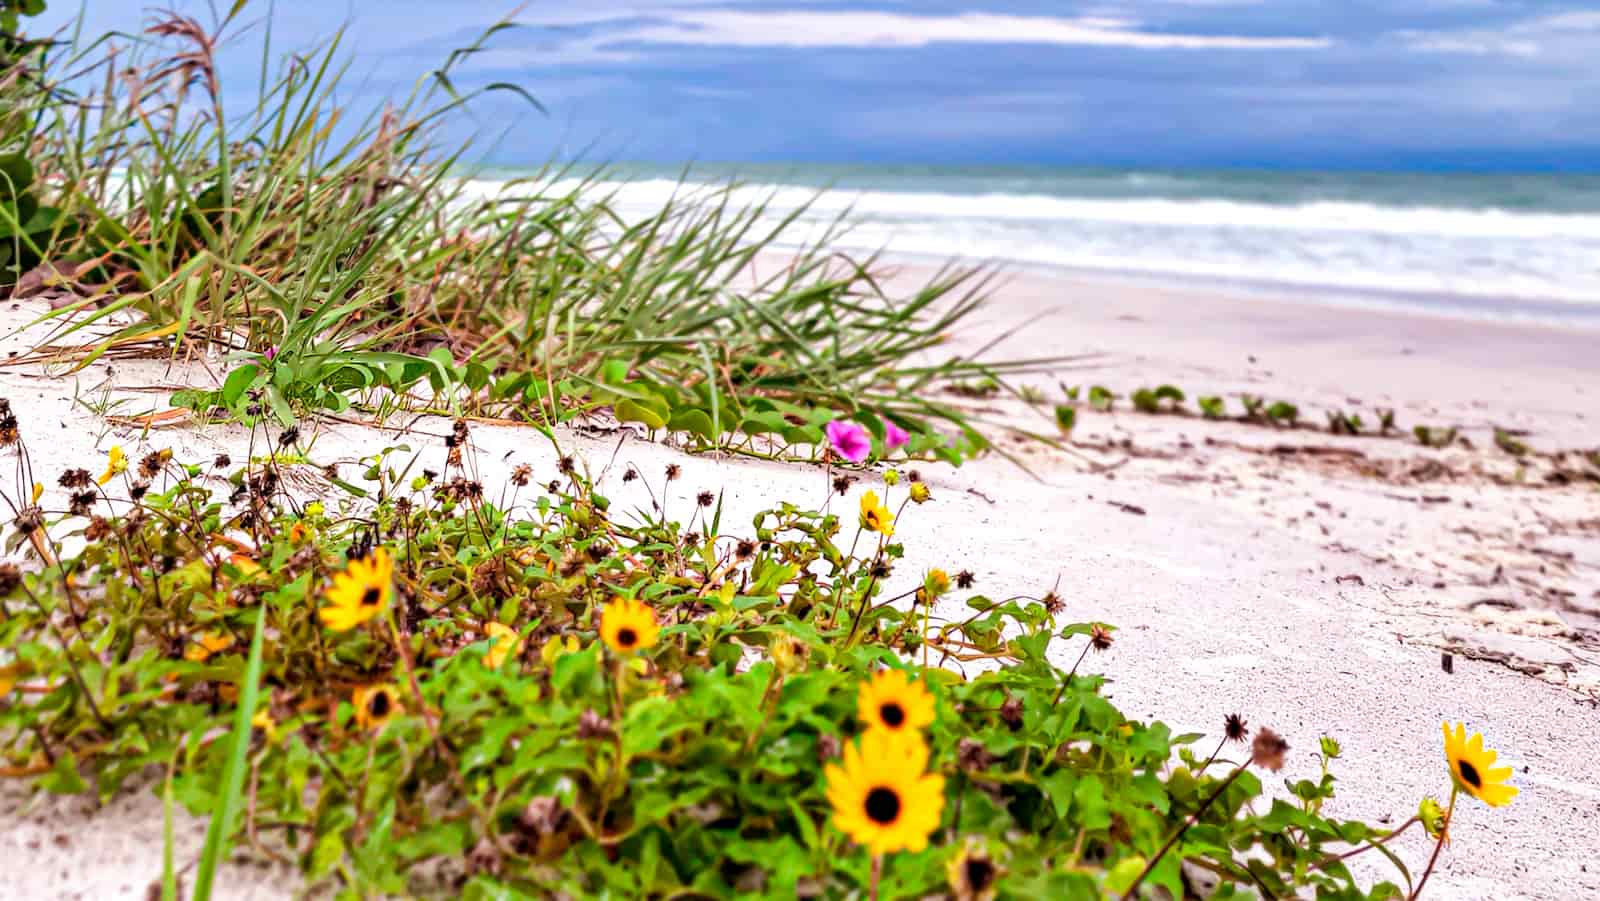
Redington Beach Florida
Fun Fact #6:
The Spaniards first called Florida La Florida, which means “place of flowers.”
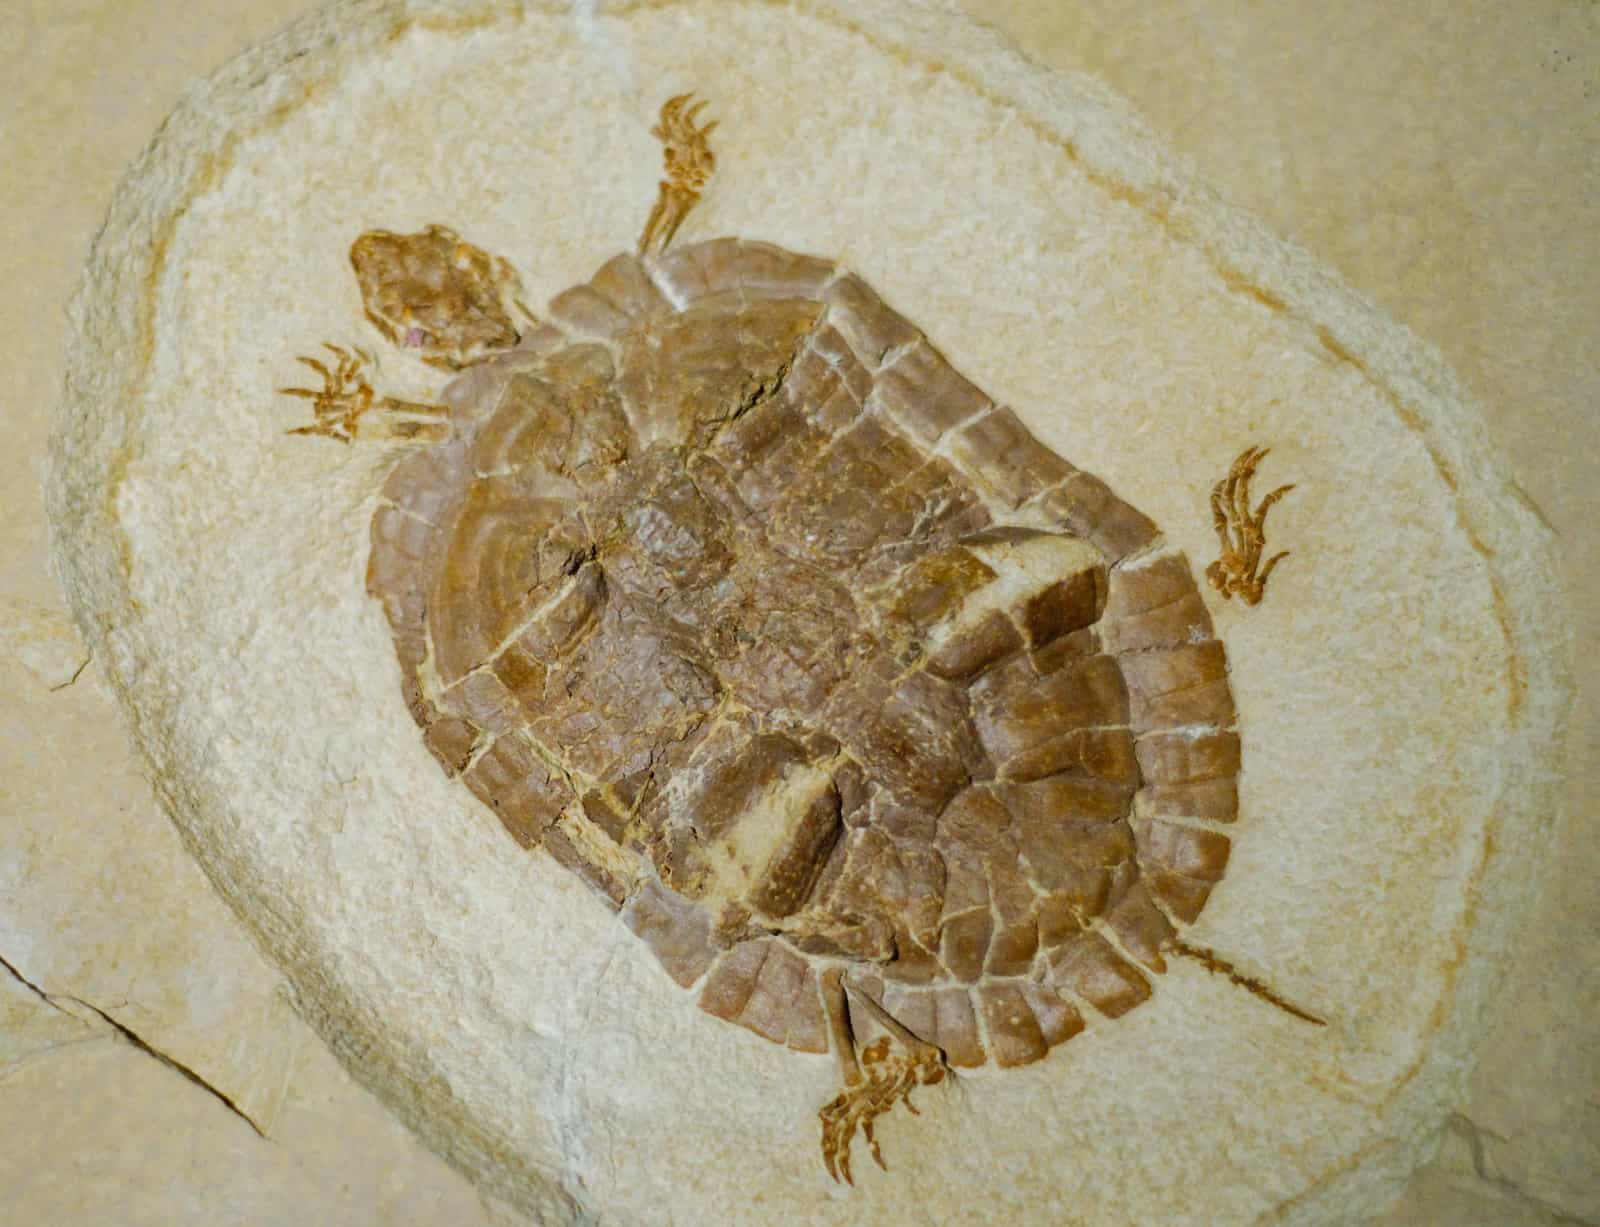
Turtle Fossilized in Sandstone
Fun Fact #7:
Florida has plenty of fossils, but none of them are of dinosaurs. During the age of the dinosaurs, Florida was completely underwater. The oldest fossil found in the state is of a sea turtle, from 100 million years ago.
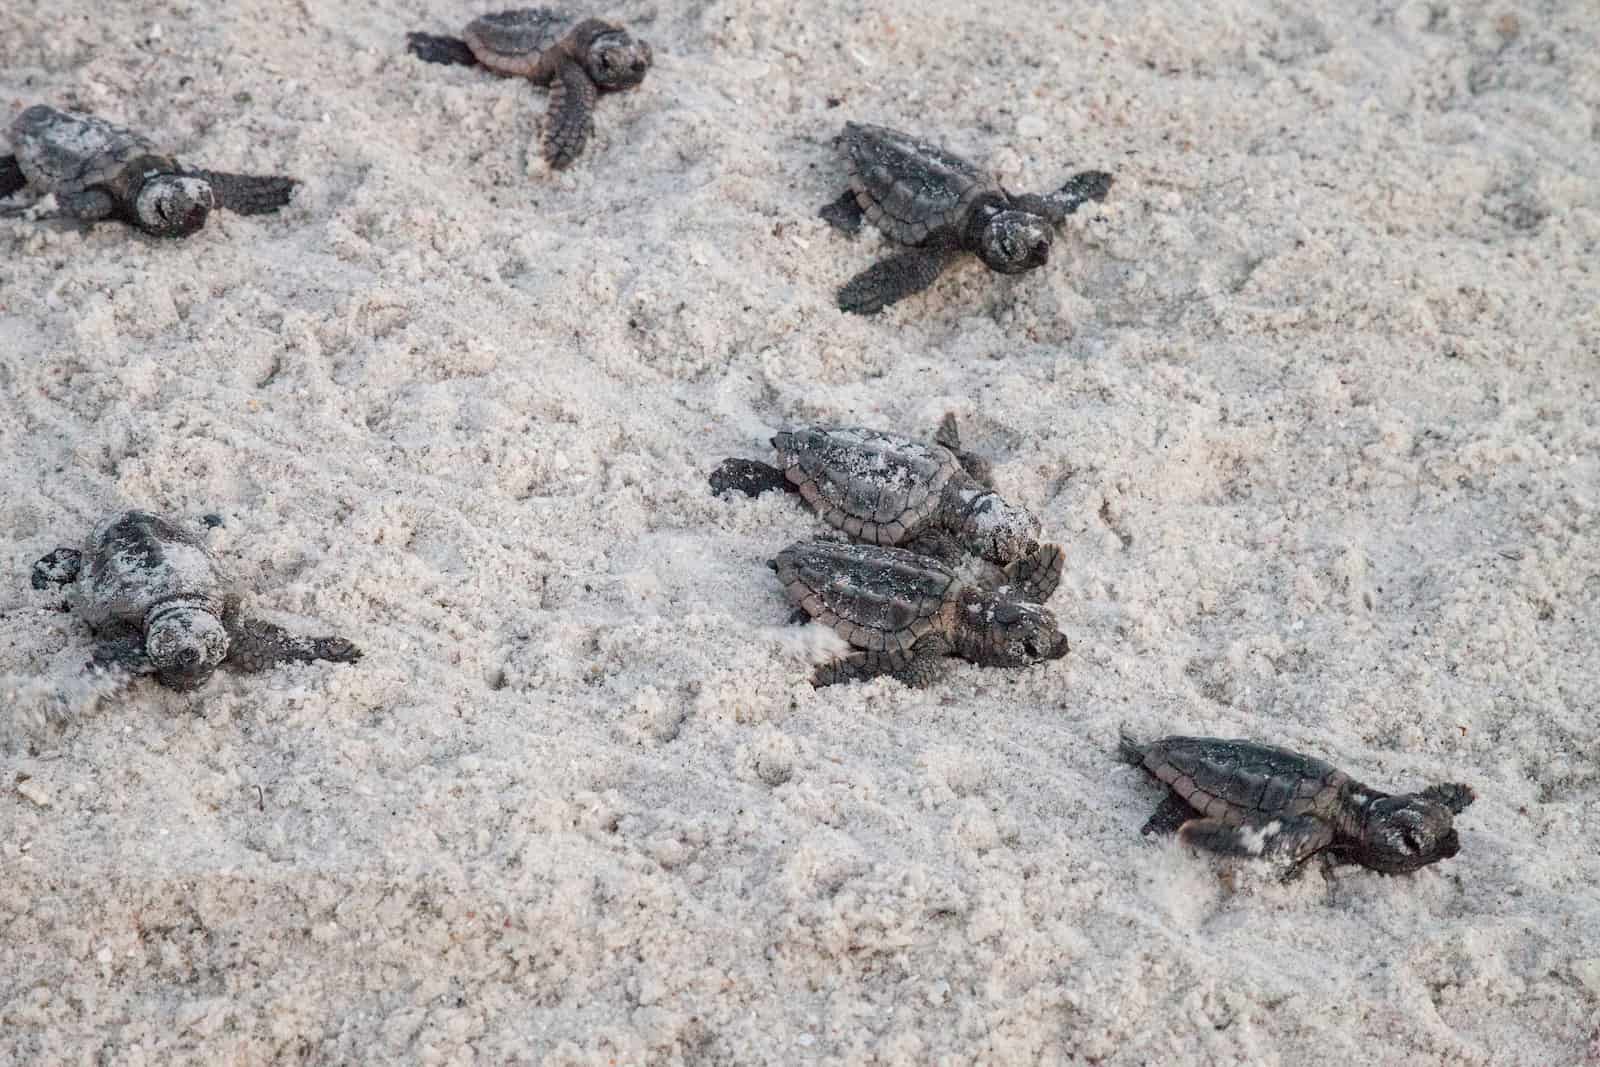
Baby Loggerhead Sea Turtles
Fun Fact #8:
Today, sea turtles still love Florida! Three different species regularly crawl ashore here to lay their eggs on its sandy beaches: loggerheads, leatherbacks, and green turtles. (A few Kemp’s ridley and hawksbill turtles nest here too.)

Falcon 9 Launch in Cape Canaveral
Fun Fact #9:
Florida’s major industries include tourism and agriculture. The state is also known for aviation and aerospace, with many rocket launches happening from Kennedy Space Center and nearby Cape Canaveral Air Force Base.
Fun Fact #10:
Did you know that it actually snowed in Florida in 1977? People in Miami saw snowflakes for the first time ever—it was so rare that some kids thought it was sugar falling from the sky!
FLORIDA GEOGRAPHY FACTS
Regions:
Coastal Plains, Central Highlands, Florida Everglades, Panhandle, Florida Keys
Climate:
Humid subtropical to tropical
Location:
Florida is bordered by Georgia and Alabama to the north, the Atlantic Ocean to the east, the Gulf of Mexico to the west, and the Straits of Florida to the south.
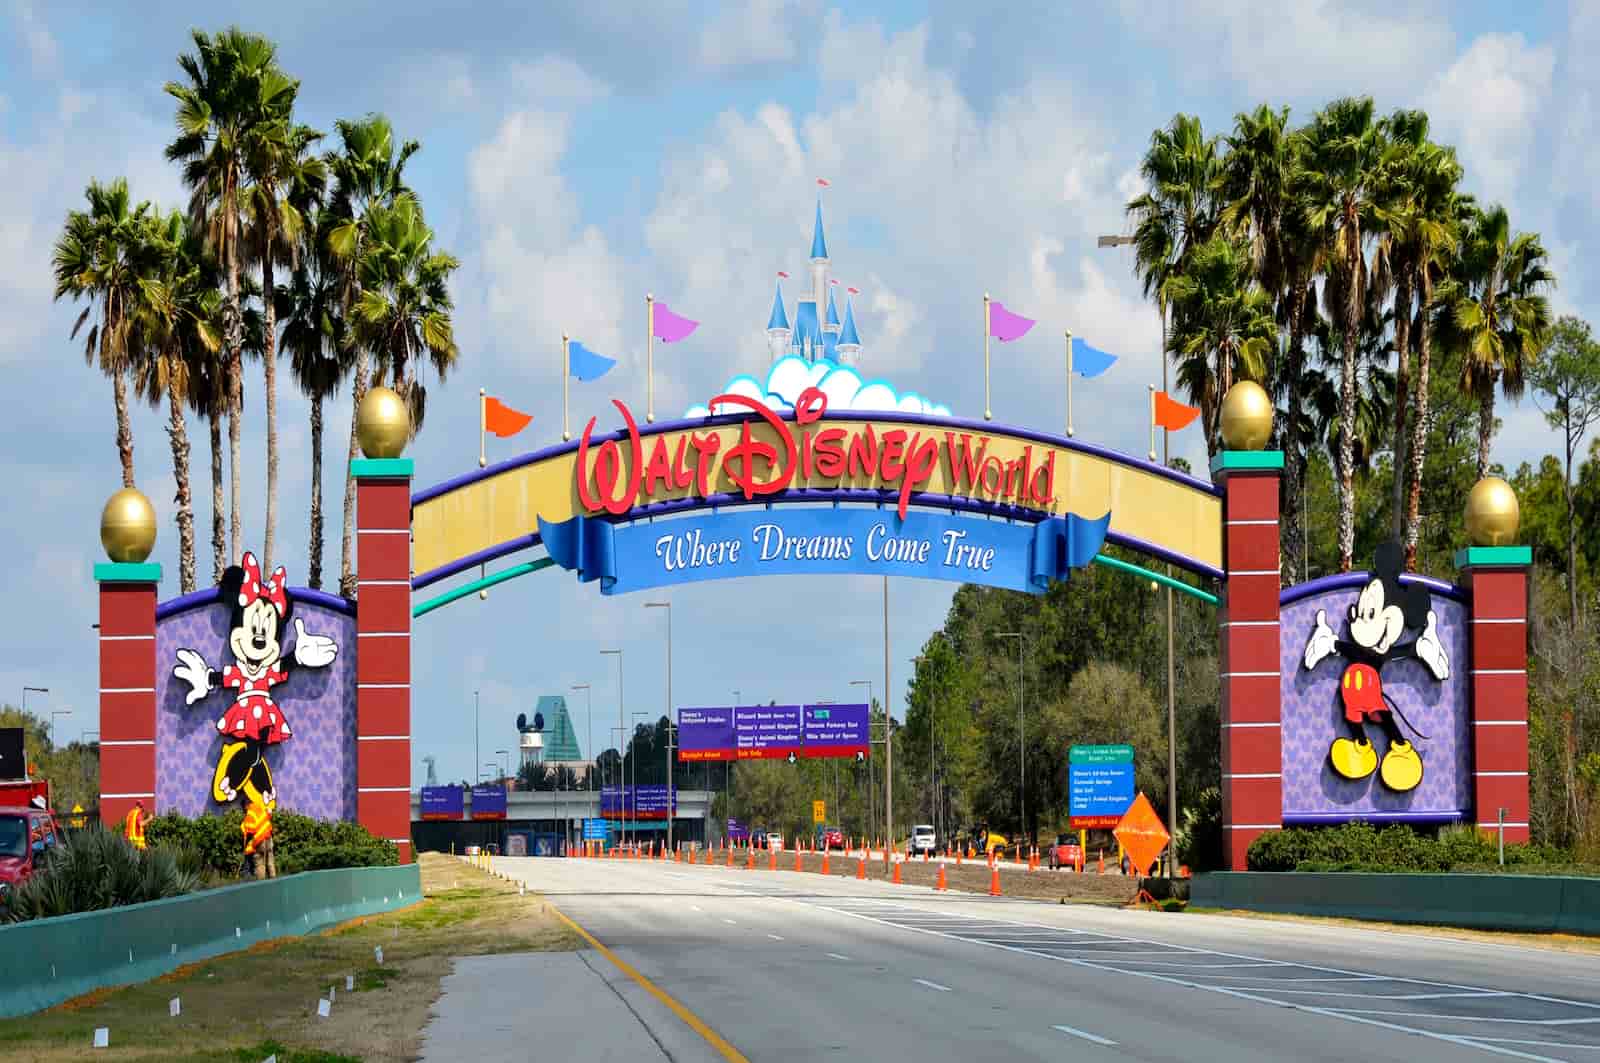
Entrance to Walt Disney World
Landmarks:
DisneyWorld, Kennedy Space Center, South Beach, Castillo de San Marcos, Seven Mile Bridge, Sunshine Skyway Bridge, Ocala National Forest, Weeki Wachee Springs, Florida Reef

Coral Reef in Biscayne National Park
National Parks:
Everglades National Park, Biscayne National Park, Dry Tortugas National Park

Aerial View of Key West
Florida Keys:
This curved chain of small islands stretches 225 miles from the southern tip of Florida’s mainland to the Dry Tortugas in the Gulf of Mexico. Key West, at its lower end, is the southernmost point in the United States.

Sarasota Florida
Ocean Front:
Florida has the second longest coastline (after Alaska) in the U.S. When you add in all the islands, inlets, and bays, the coastline totals 8,436 miles!
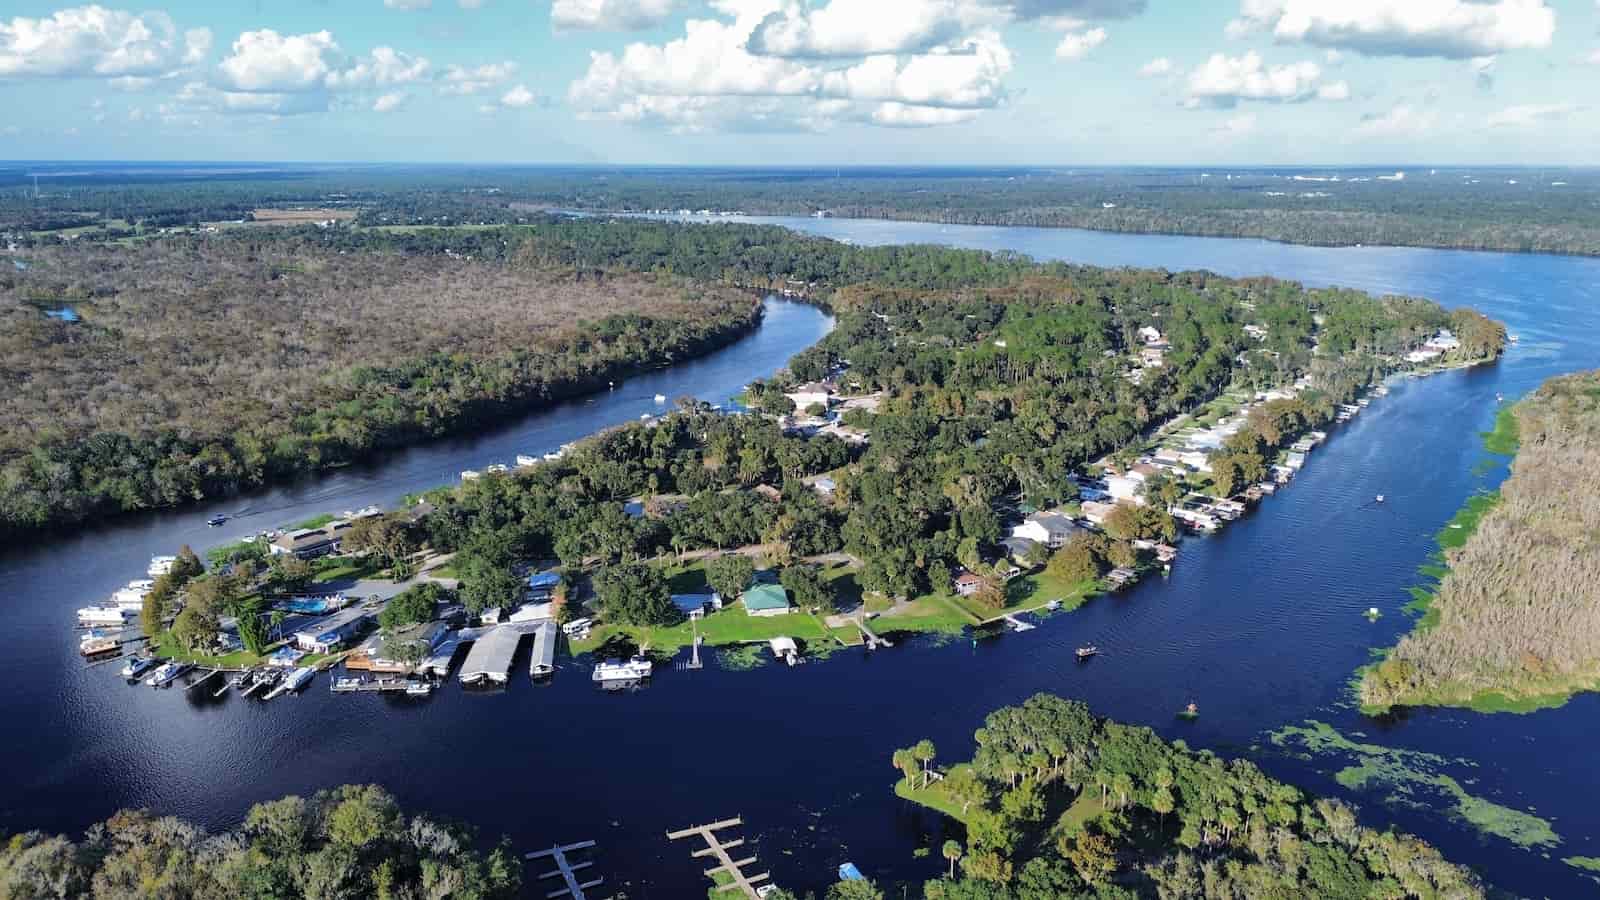
St John’s River, Deland Florida
River Systems:
The longest river in Florida is the St. John’s River, which stretches nearly 300 miles. There are nearly 26,000 miles of rivers in the state. Other major river systems include the Suwanee, Apalachicola, Peace, Withlacooche, St. Mary’s, and Ocklawaha.

Sunset on Lake Okeechobee
Lakes:
Florida’s largest freshwater lake is Okeechobee. It’s about 35 miles long and is the third largest freshwater lake contained entirely inside the U.S. Okeechobee is the Hitchiti Indian name for “big water.”
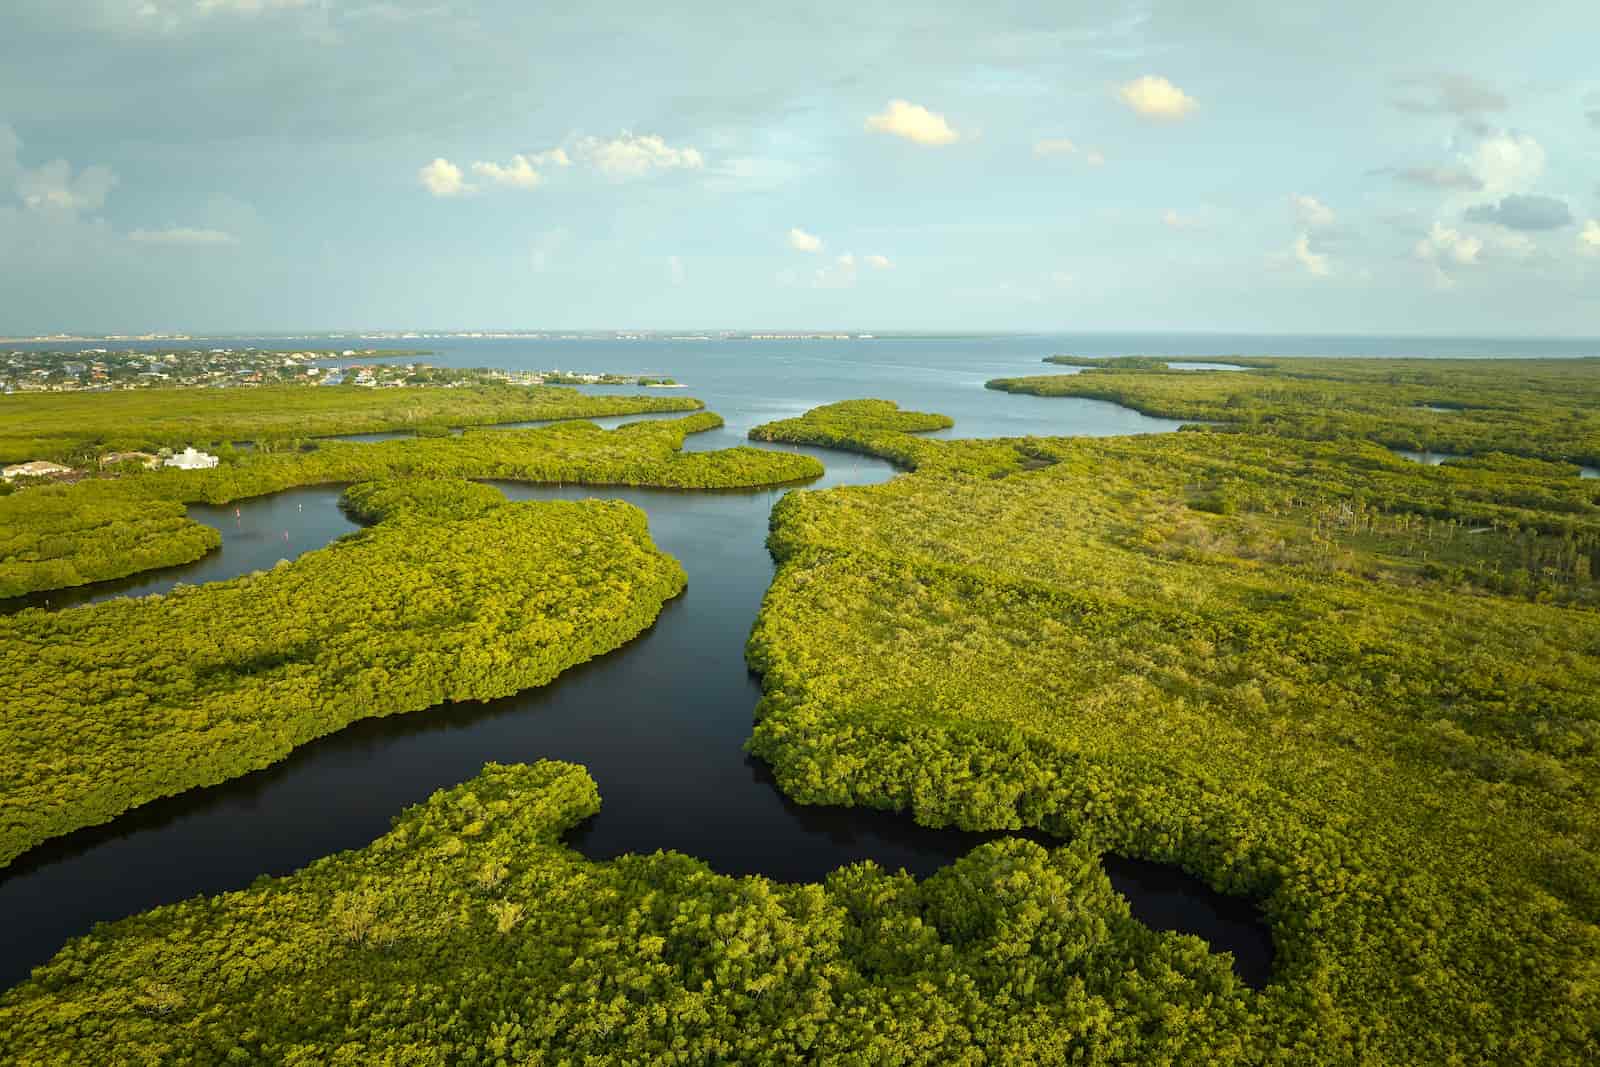
Everglades Swamp
Florida Everglades:
The Florida Everglades is a vast wetland ecosystem in southern Florida, filled with sawgrass marshes, mangroves, and diverse wildlife. Though sometimes called a swamp, the water here is actually always on the move (though very slowly) toward the south—a phenomenon known as “sheet flow.”
Garden path in Iron Mountain
Highest Point:
Britton Hill on the Lake Wales Ridge is 345 feet above sea level. It’s the lowest “highest point” of any state in the U.S.
FLORIDA WILDLIFE & NATURE FACTS
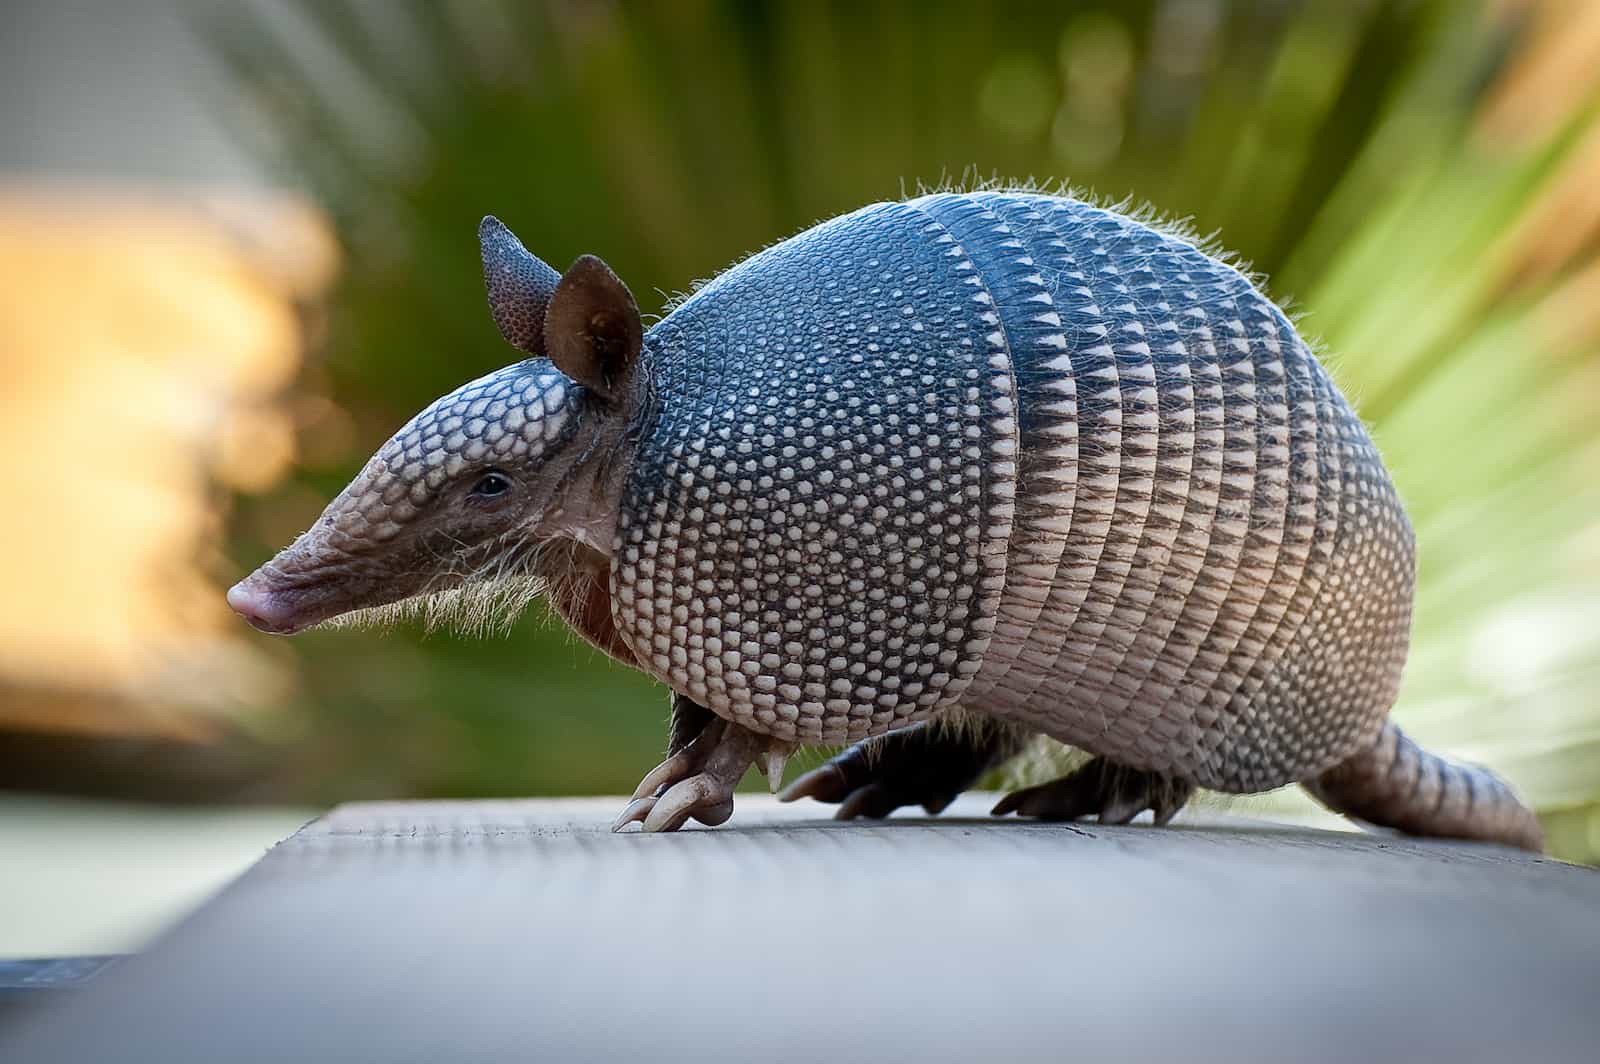
Nine-Banded Armadillo
Common Mammals:
White-tailed deer, marsh rabbit, nine-banded armadillo, eastern gray squirrel, bobcat, cotton mouse, Virginia opossum, striped skunk, raccoon, bottlenose dolphin
Northern Cardinal
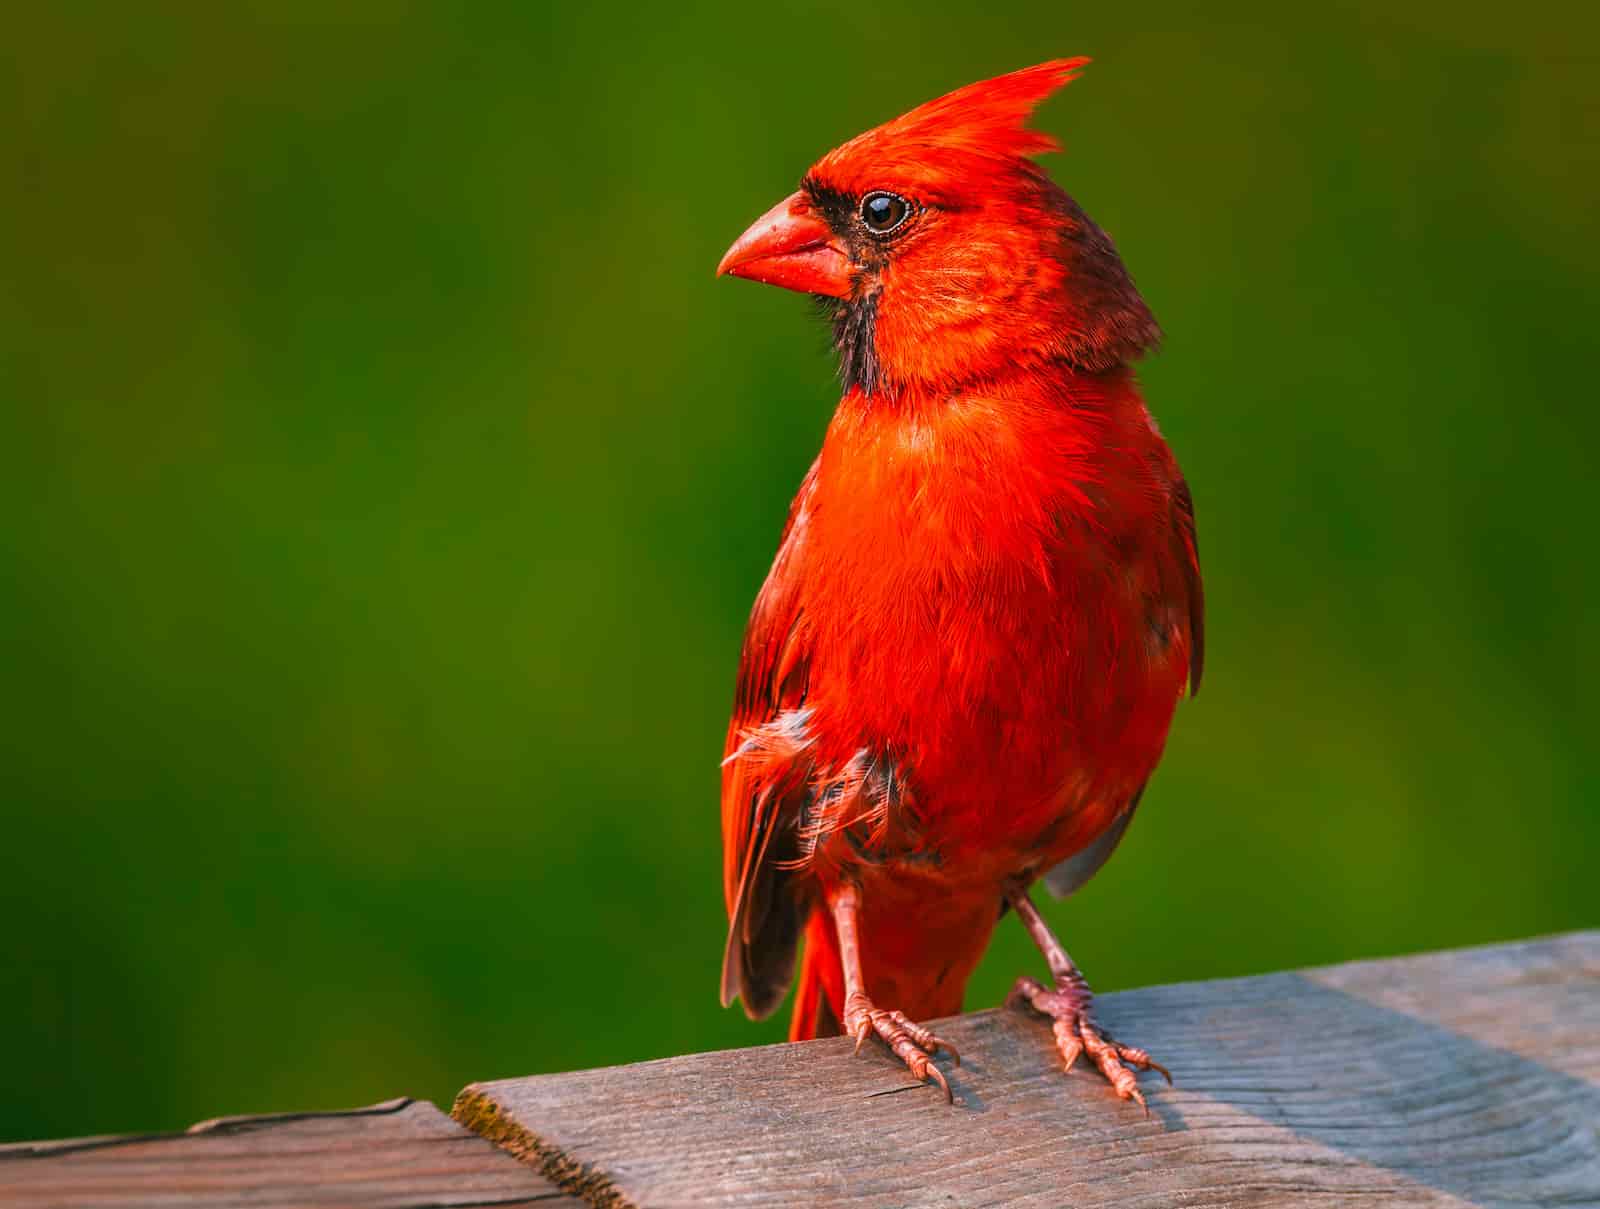
Common Birds:
Northern cardinal, red-bellied woodpecker, great egret, great blue heron, tricolored heron, bald eagle, osprey, wood stork, anhinga, double-crested cormorant, roseate spoonbill
Anolis carolinensis or Green Anole
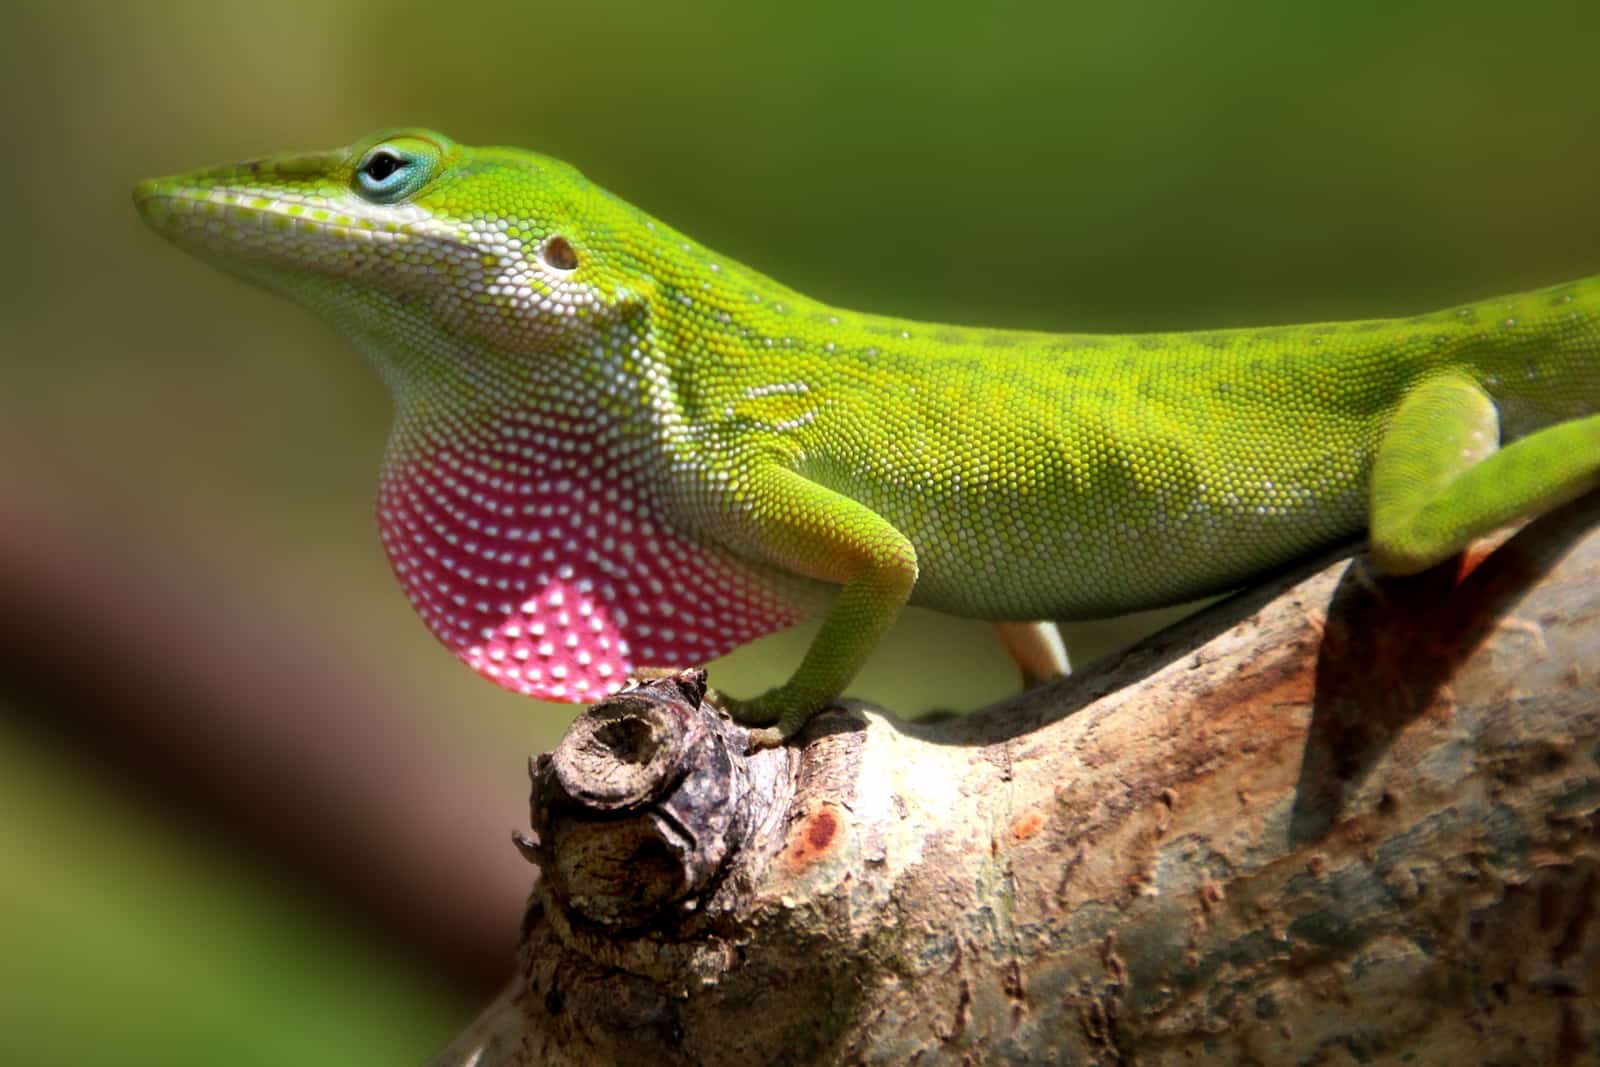
Common Reptiles and Amphibians:
American alligator, box turtle, gopher tortoise, green anole, southern toad, Florida cottonmouth, American tree frog
Tarpon Jumping
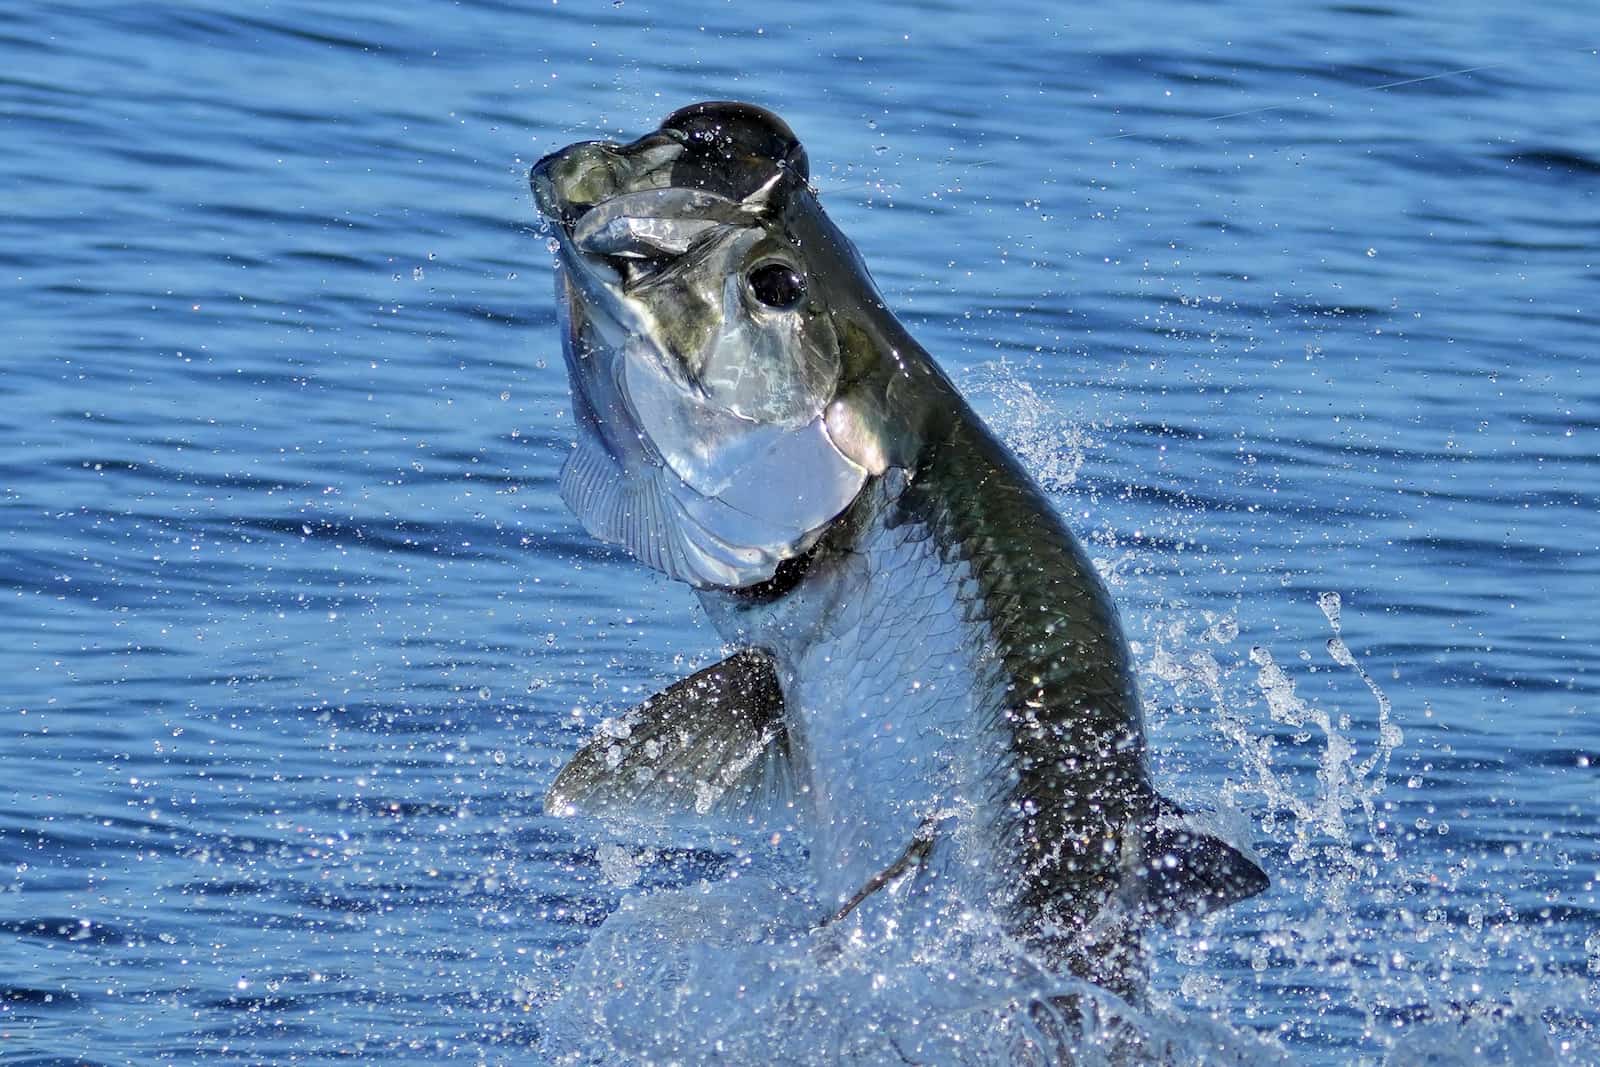
Common Fish:
Tarpon, Florida gar, snook, red drum, grouper, mangrove snapper, sheepshead, pinfish, blacktip shark, bull shark, tiger shark, hammerhead shark, bonnethead shark
Florida Pine Forest
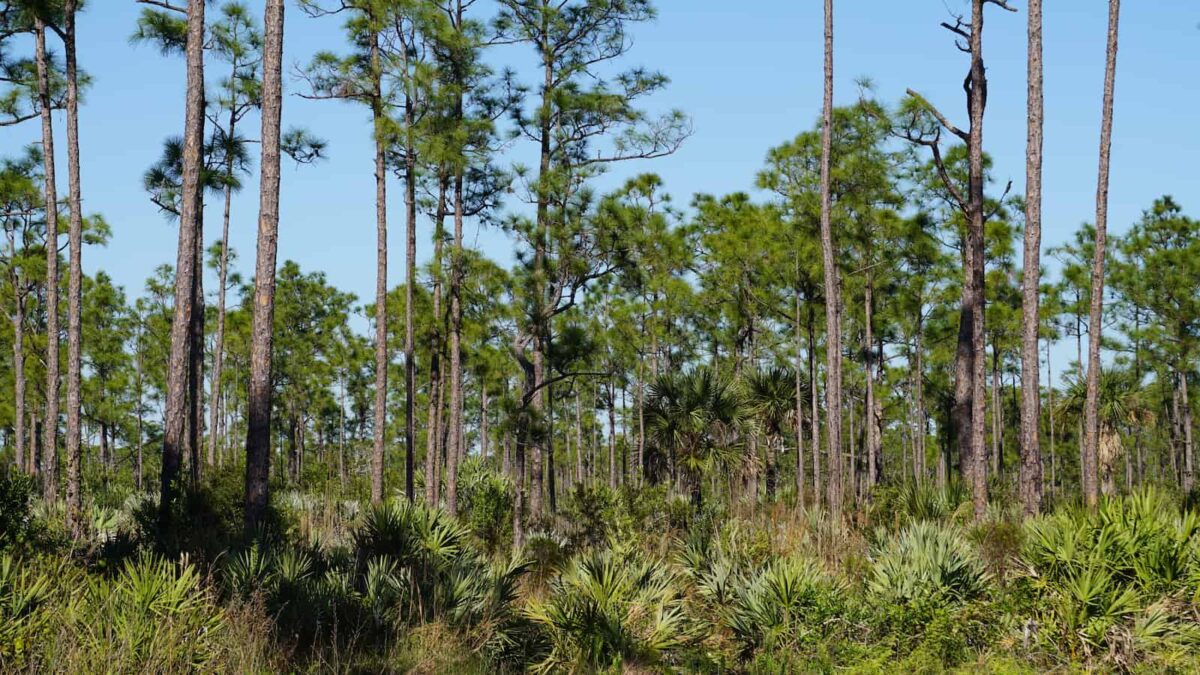
Common Trees:
Scrub pine, live oak, pin oak, red cypress, sabal palm, coconut palm, southern magnolia, bald cypress, longleaf pine, wax myrtle
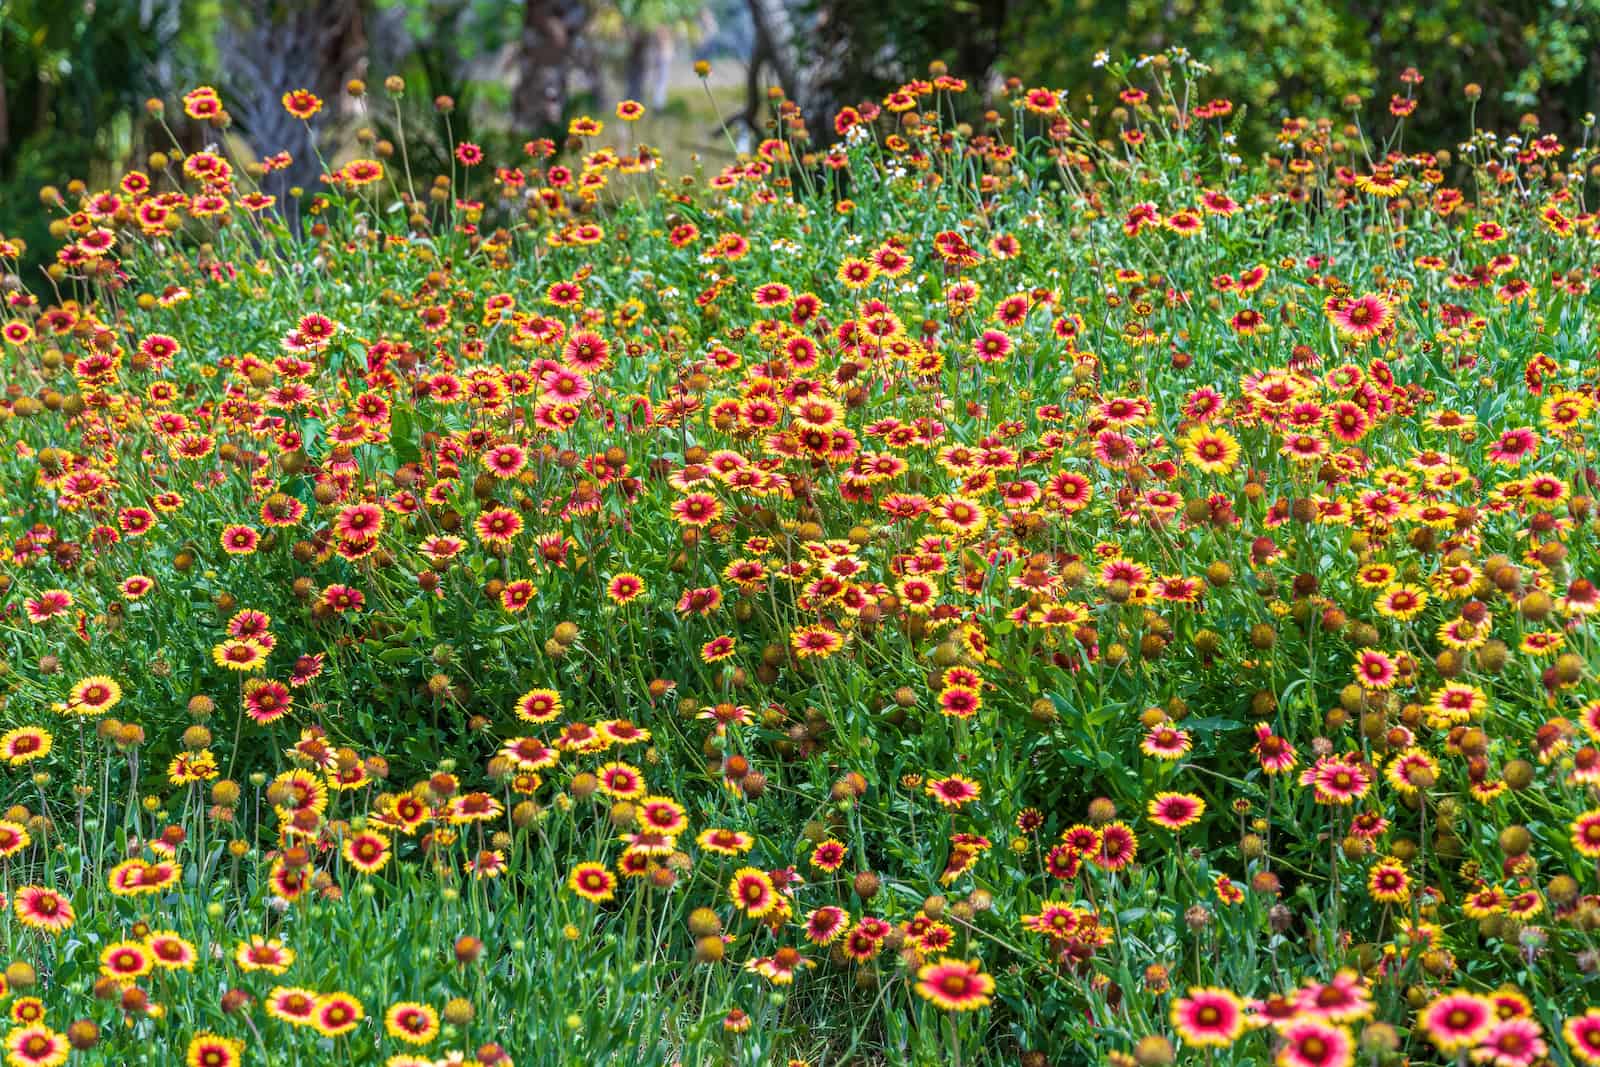
Firewheel a.k.a. Indian Blanket
Common Plants and Flowers:
Blanketflower, beach sunflower, firebush, tickseed, hibiscus, coontie, beautyberry, buttonwood, muhly grass, lovegrass, sea oats, Spanish needle
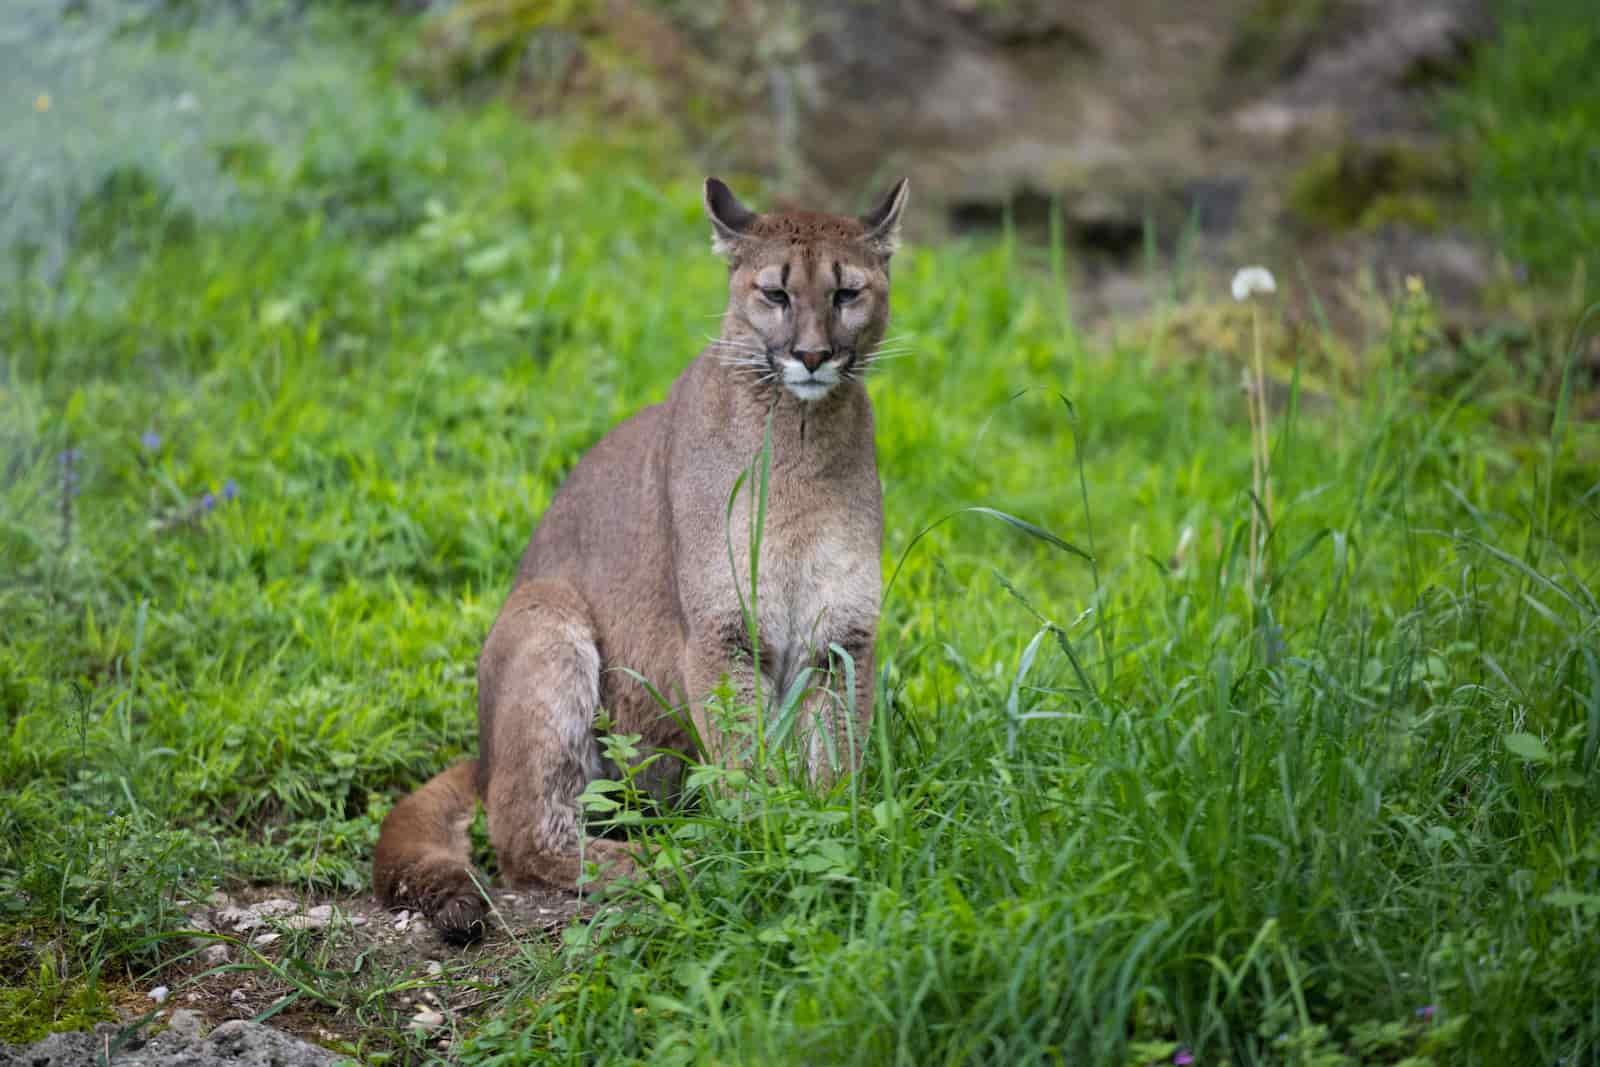
Florida Panther
Selected Endangered Species:
Florida panther, West Indian manatee, Florida scrub jay, Schaus swallowtail butterfly, Key deer, Miami blue butterfly, Florida grasshopper sparrow, loggerhead sea turtle
Cuban Tree Frog
Selected Invasive Animal Species:
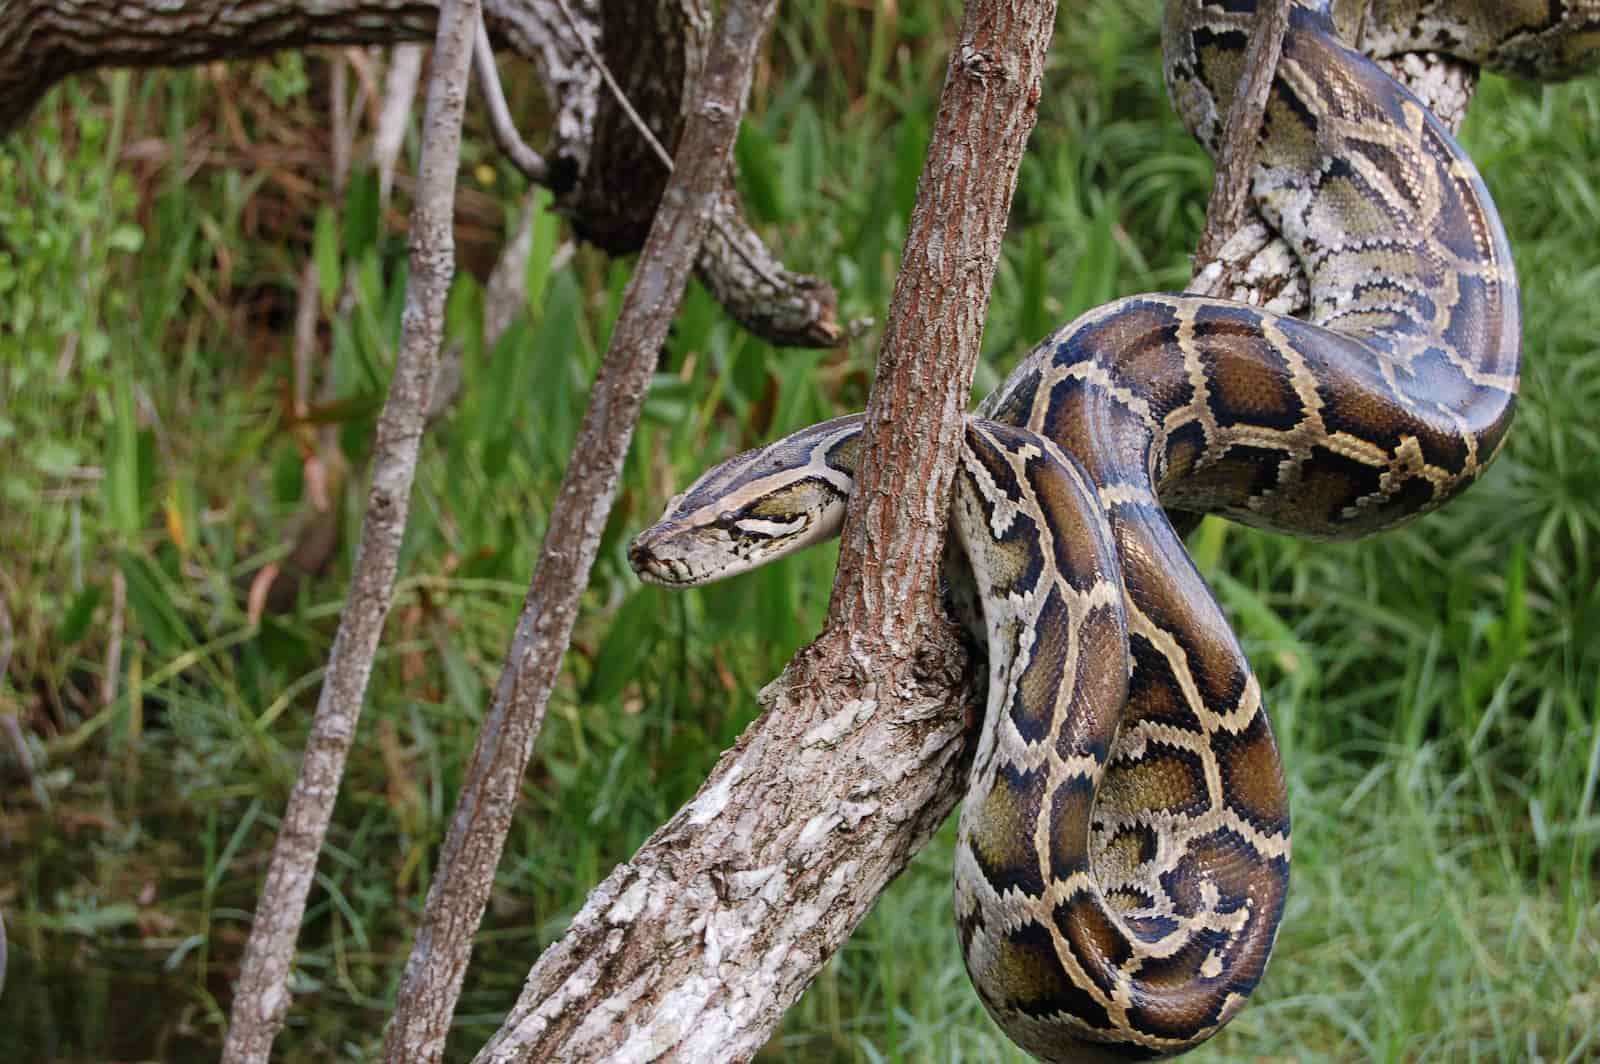
Burmese python, Cuban tree frog, cane toad, green iguana, brown anole, fire ant, lionfish
?
DID YOU KNOW?
Burmese Python in the Everglades
Since the accidental introduction of Burmese pythons into the Florida Everglades in the 1990s, small mammal populations have declined by as much as 99%, and some (rabbits and foxes) have disappeared entirely. Even local bobcats are prey for this voracious snake, and their population has declined by more than 87% since 1997.

Paederia foetida, Commonly Known as Skunk Vine or Stinkvine
Florida also has invasive plant species, including Australian pine, skunk vine, Brazilian pepper, water hyacinth, heavenly bamboo, kudzu, callery pear, castor bean, Mexican petunia, wedelia, Caesar weed, oyster plant
FLORIDA HISTORY FACTS
Recreation of a mastodon at the Brevard Museum of History and Natural Science.
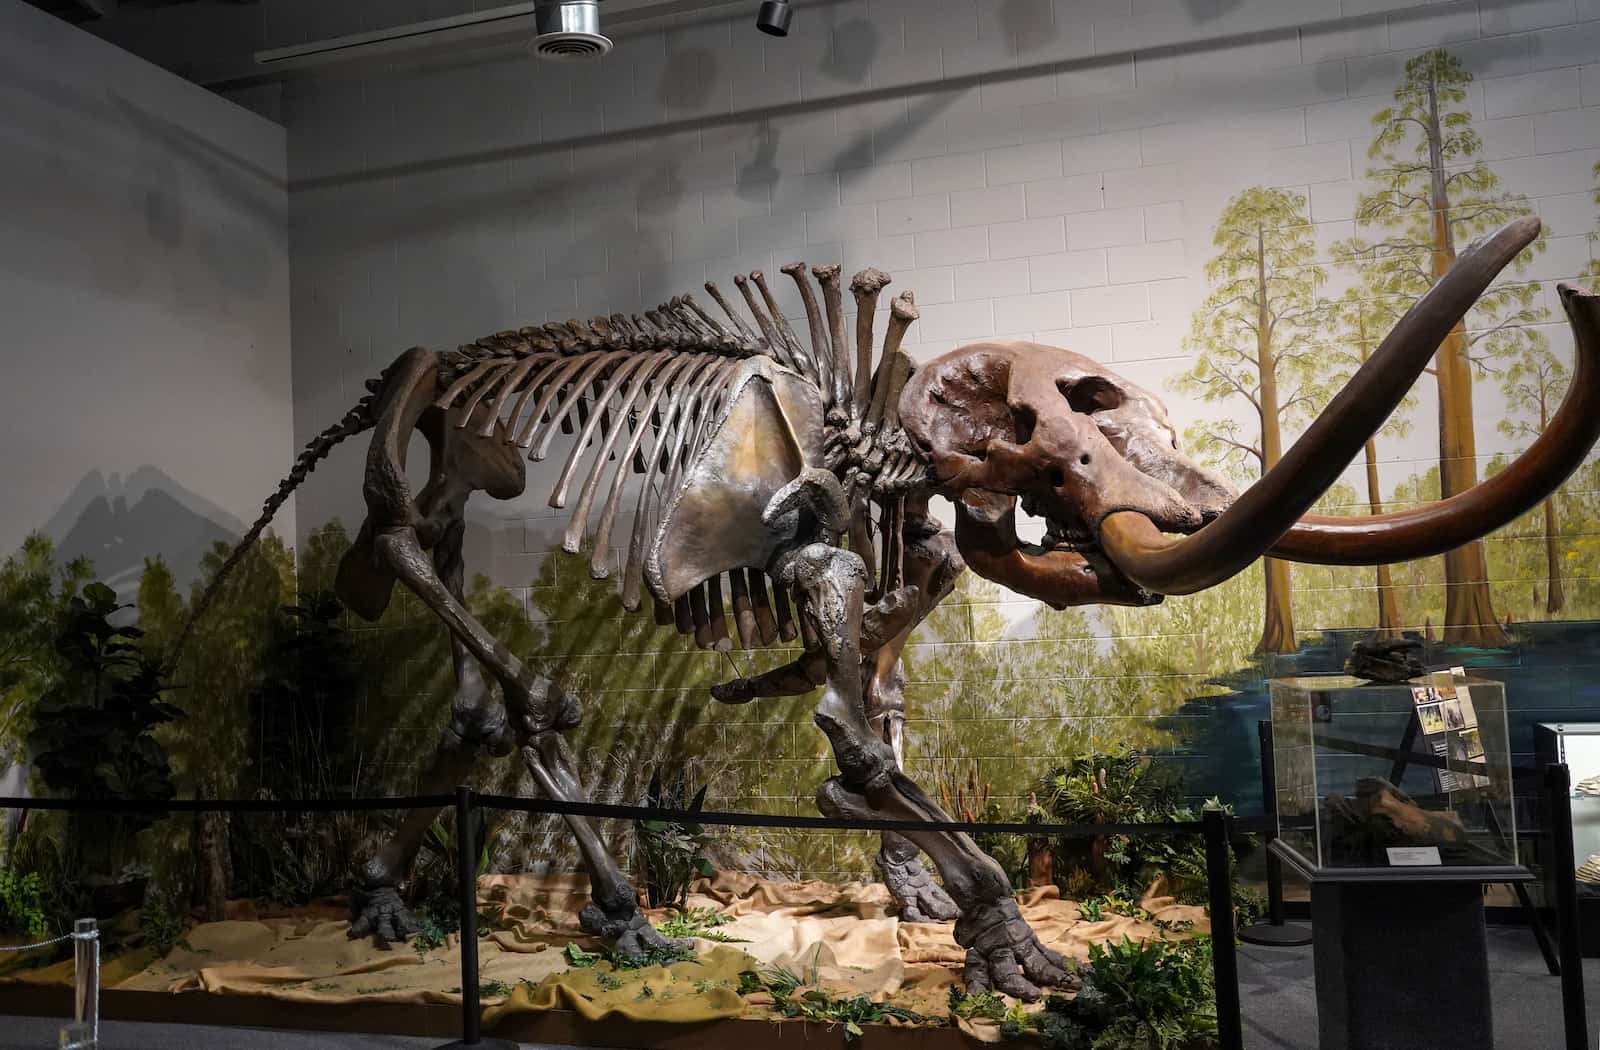
First Inhabitants:
The first people came to the Florida peninsula around 14,000 years ago, following big game animals like mastodons, mammoths, and bison. Over time, the combination of climate change (higher sea levels and more rainfall) and human hunting caused these mammals to become extinct.
Native Americans:
There were likely around 250,000 indigenous people living in Florida when the Spanish arrived. The Timucua, who made up the majority, lived in the north and farmed the land. The Calusa were expert fishermen who built villages in the southern part of the peninsula, mainly on the coast. By the late 1700s, these native groups were nearly gone due to disease, war, and loss of land.
?
DID YOU KNOW?
The Calusa lived mainly on shellfish and created huge midden mounds of the discarded shells. Some of these mounds were so big they created entire islands for people to live on!

Ponce de León Statue
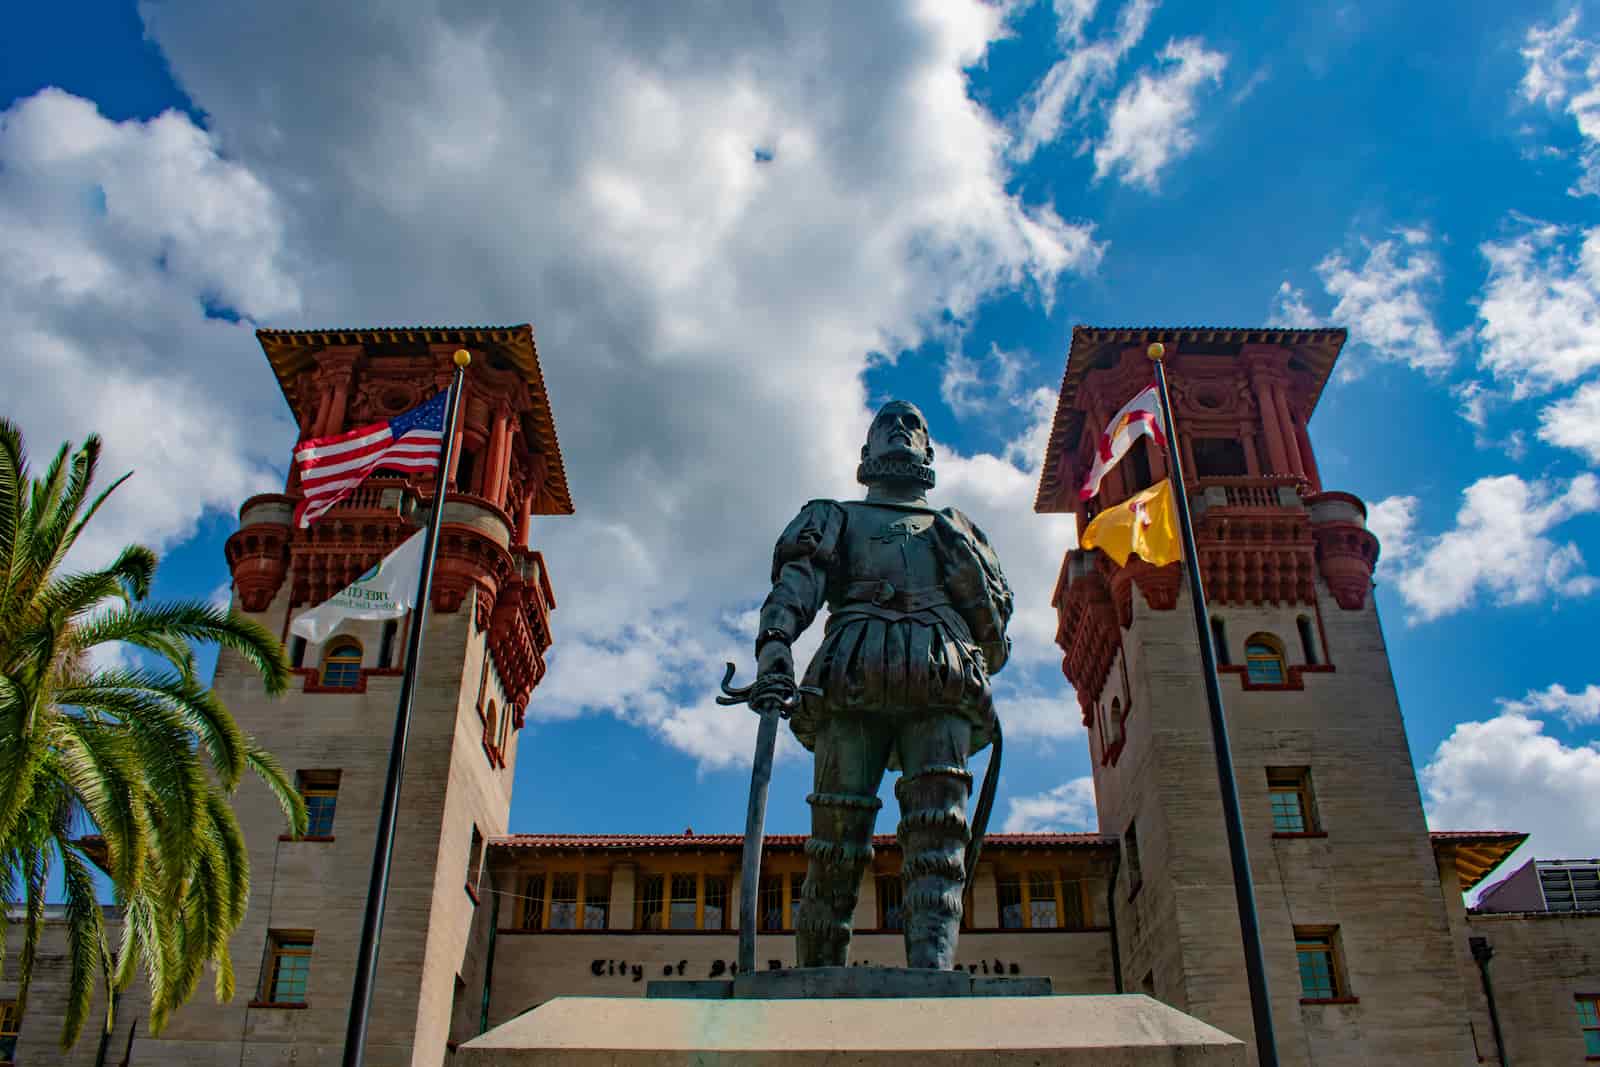
First European Visitor:
In 1513, Juan Ponce de León of Spain was the first documented European to set foot in Florida. He claimed the land for Spain, but assumed it was an island instead of a peninsula of the mainland.
Pedro Menéndez de Avilés Statue
Spanish Occupation:
Many Spanish explorers tried to establish settlements in Florida, but were defeated by the difficult weather, harsh environment, and local native people. In 1565, Pedro Menéndez de Avilés led an expedition to found St. Augustine, which still stands today.
British Occupation:
For the next few centuries, countries like France, Spain, and England fought over Florida as a valuable territory. The Spanish traded Florida to the British in 1763 in exchange for Havana, but the English returned it to them after just 20 years.

Tallahassee became Florida’s state capitol in 1824
U.S. Colony:
In the following decades, as the United States became its own country, more settlers moved into the territory. Eventually, in 1819, Spain ceded the territory to the U.S. through a treaty.
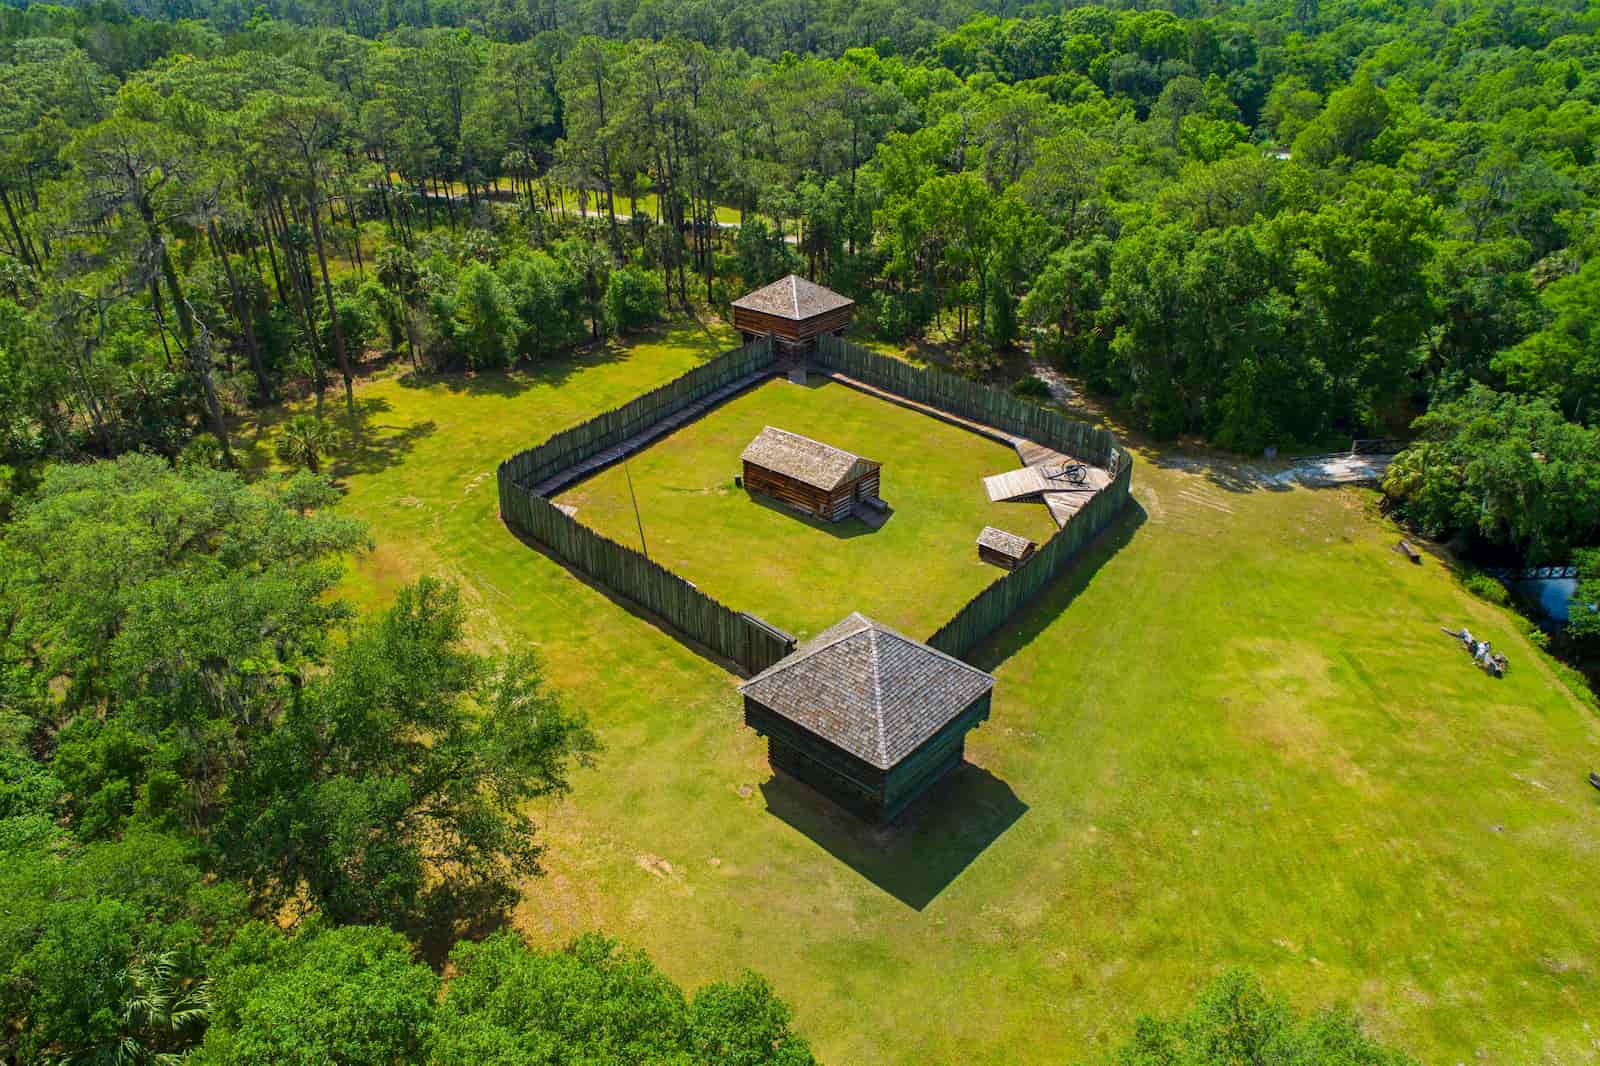
Fort Foster is a Second Seminole War era fort in Central Florida
Seminole Wars:
Between 1817 and 1858, there were three major conflicts between the U.S. Army and the Seminole people, who were made up of different Native groups and others pushed from lands farther north. Even though many were killed or forced to move, some Seminoles escaped into the Everglades, where their families still live today.
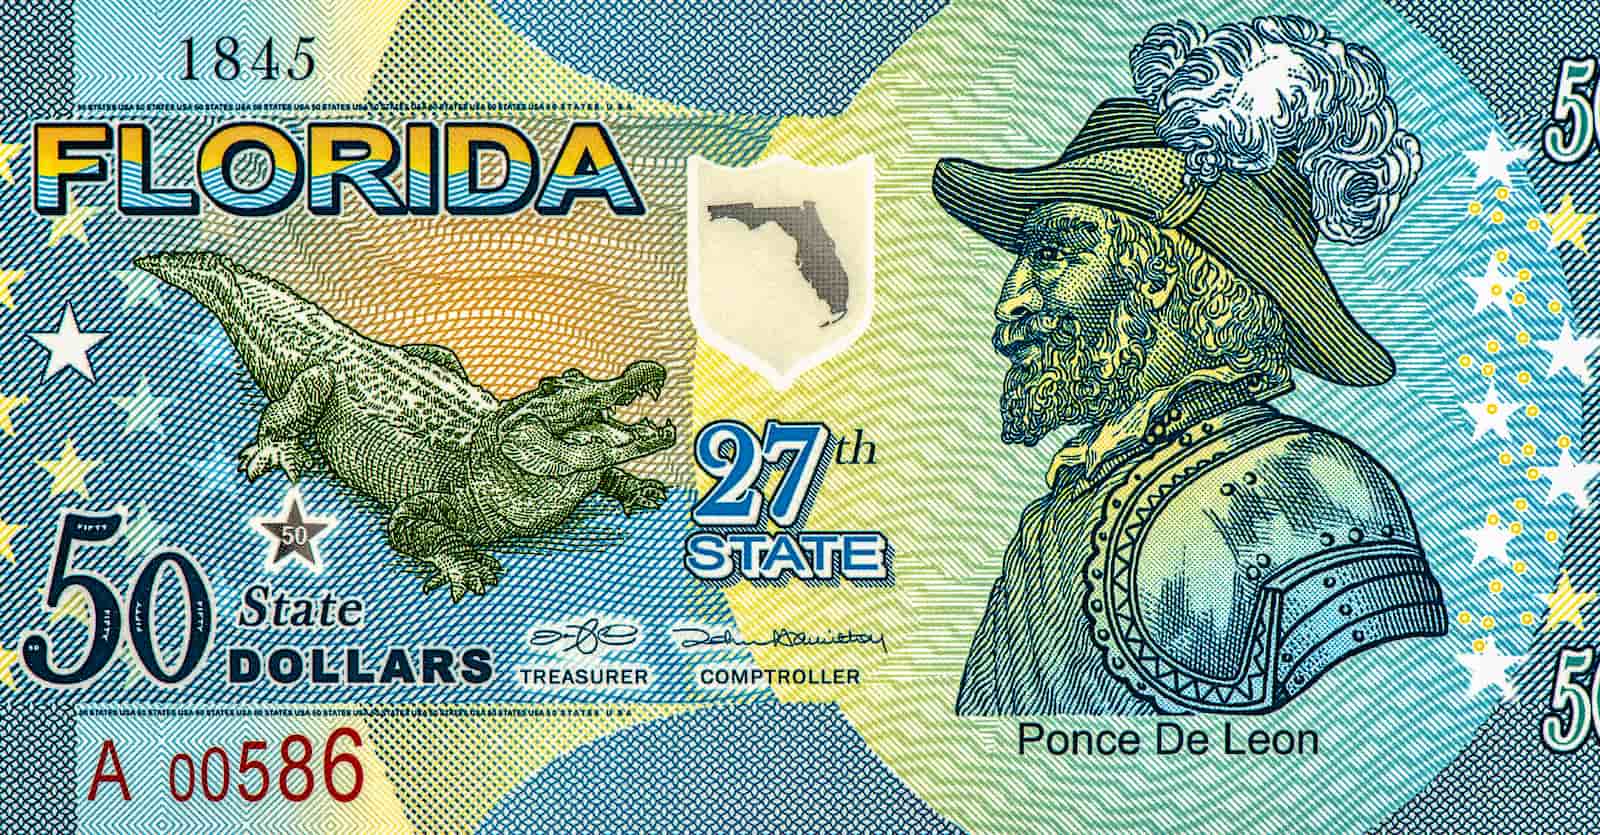
Fictional $50 “State Dollar” for Florida
U.S. Statehood:
Florida officially became the 27th U.S. state on March 3, 1845. Some thought it should come into the union as two separate states, East Florida and West Florida, as the British had divided the territory, it ultimately became one single state.

Olustee Battlefield Historic State Park
Civil War:
Florida seceded from the Union in 1861 as a Confederate state. Several battles were fought in the state, including one at Olustee.
?
DID YOU KNOW?
The Union held onto Fort Jefferson in the Dry Tortugas throughout the war. They used it as part of the southern blockade and as a prison. Its most famous prisoner was Dr. Samuel Mudd, who set the leg of John Wilkes Booth the morning after he assassinated Abraham Lincoln.
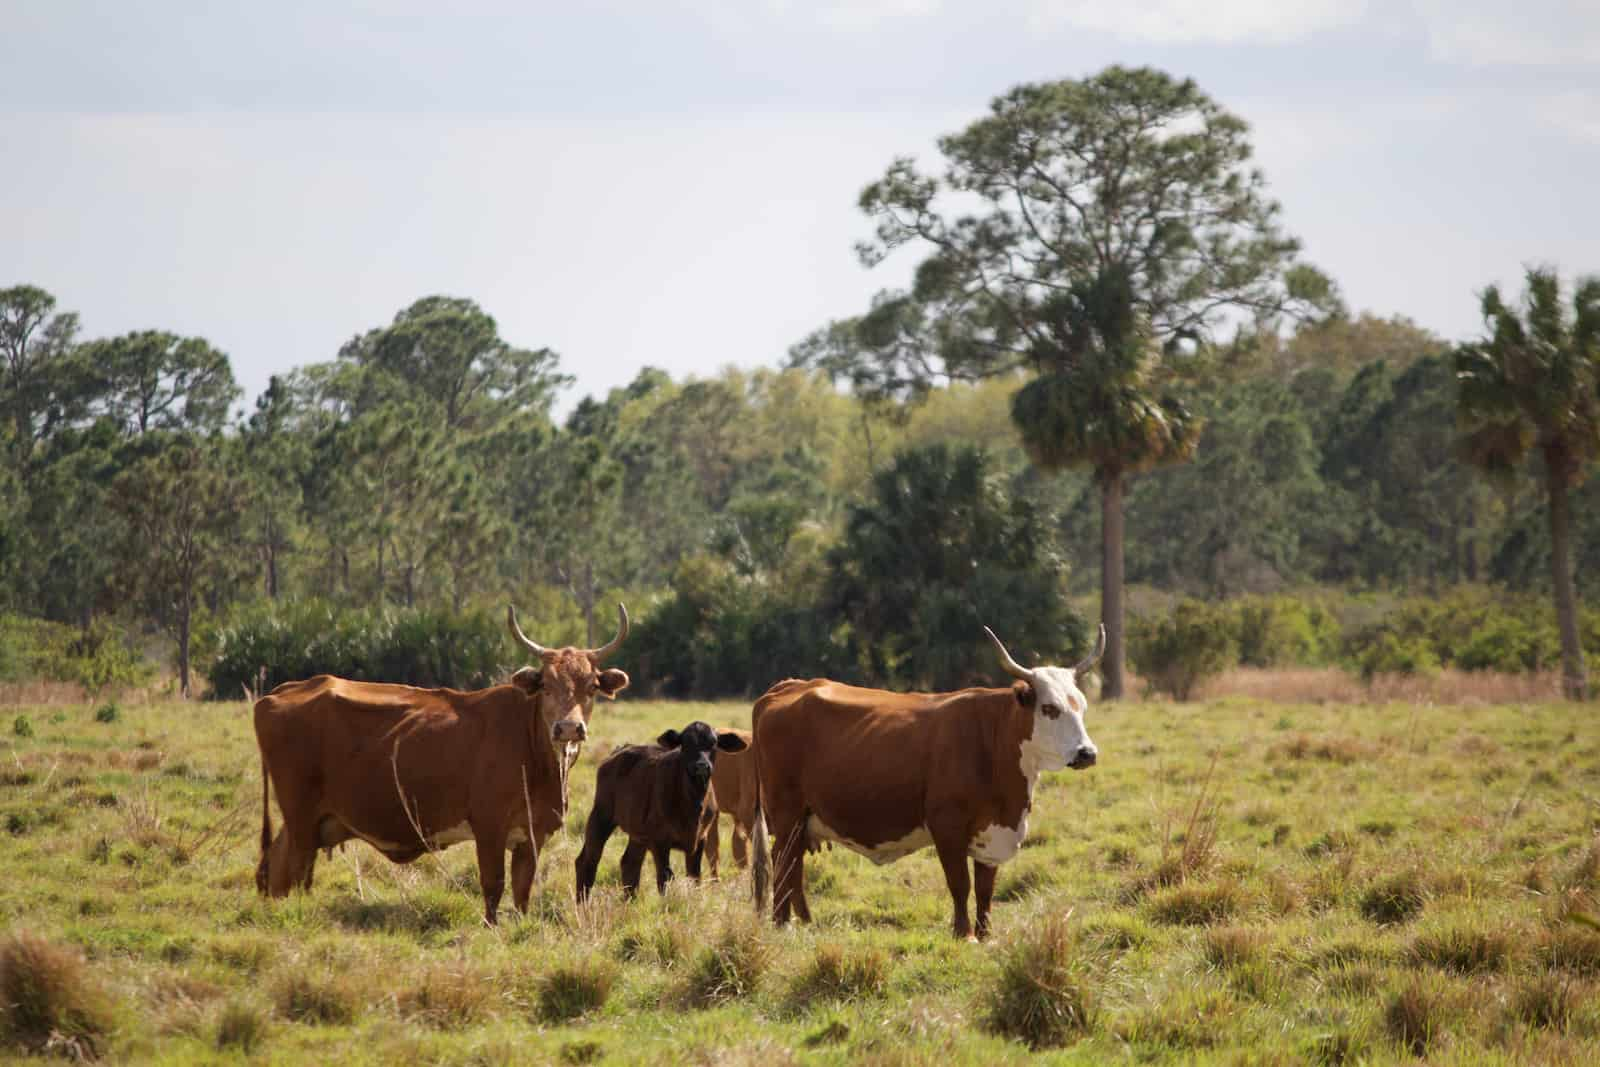
Florida Scrub cattle
Cattle Country:
Cattle ranching in Florida began in the 1500s with the early Spanish colonizers. Today, Florida is still one of the top cattle-producing states, with ranches that have been passed down through families for generations.
Orange orchard
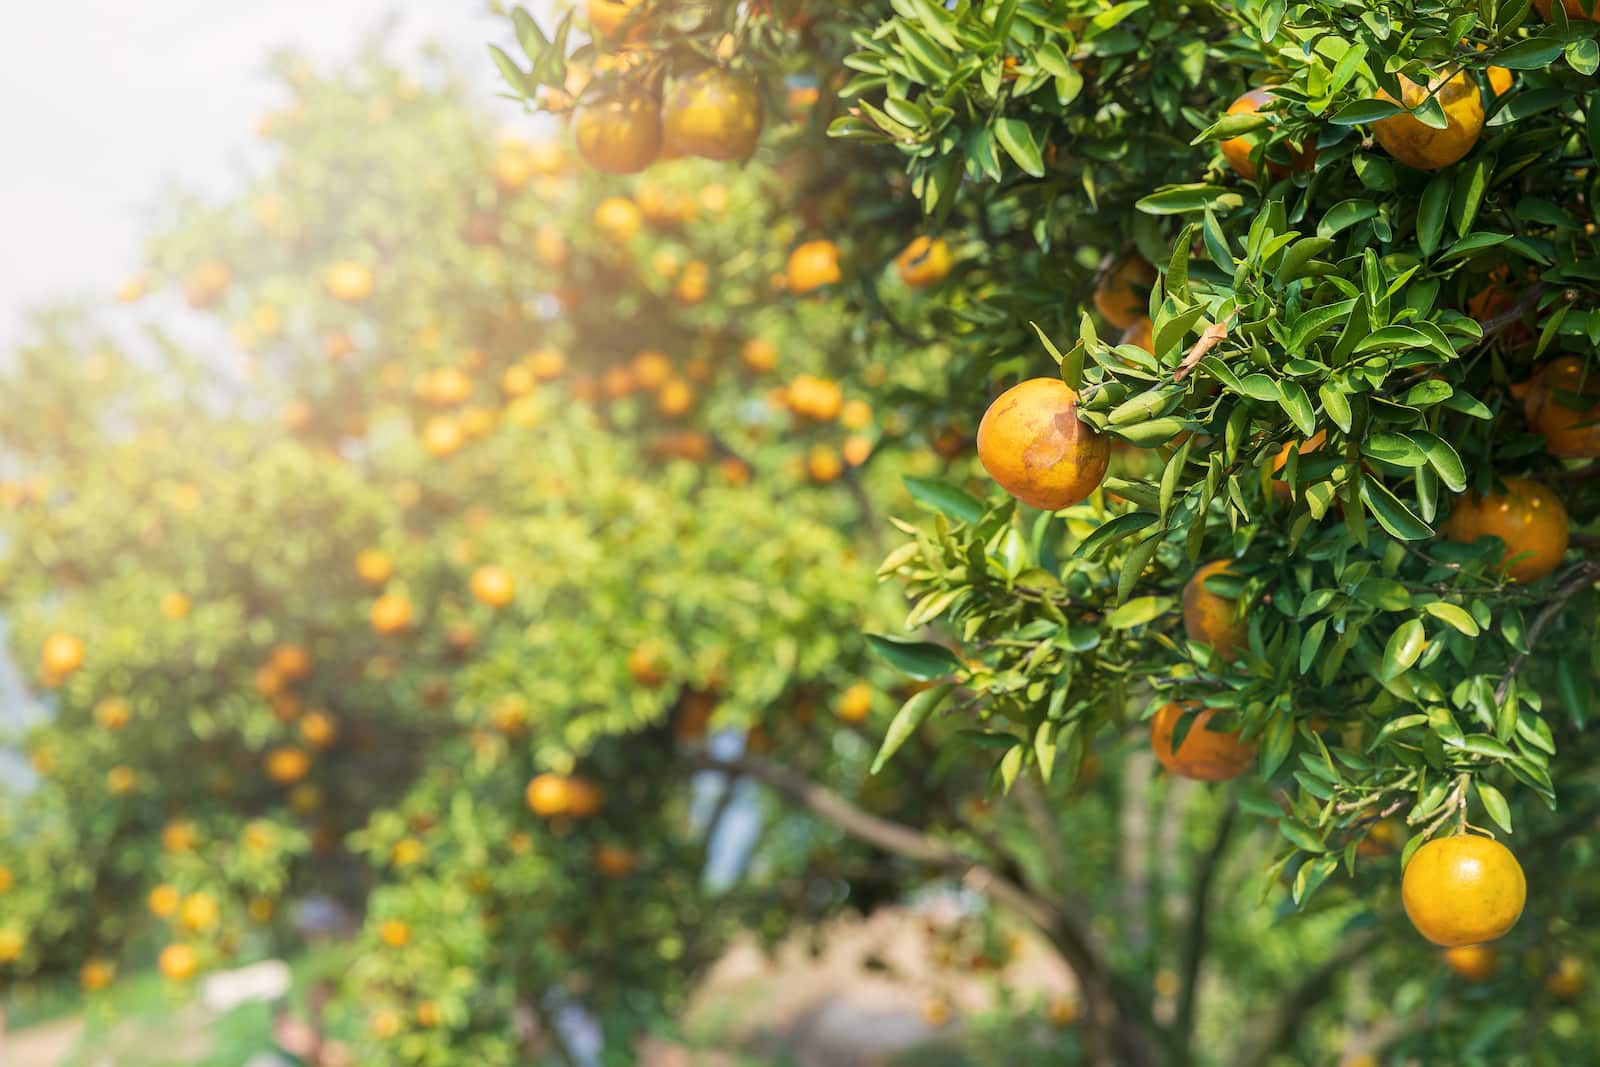
Citrus Groves:
The Spanish also brought citrus trees to Florida, and the state has become well-known as a top producer of oranges and orange juice.
?
DID YOU KNOW?
Florida is the nation’s leading producer of sugarcane and sugar. About 25% of the cane sugar made in the U.S. comes from the Sunshine State.
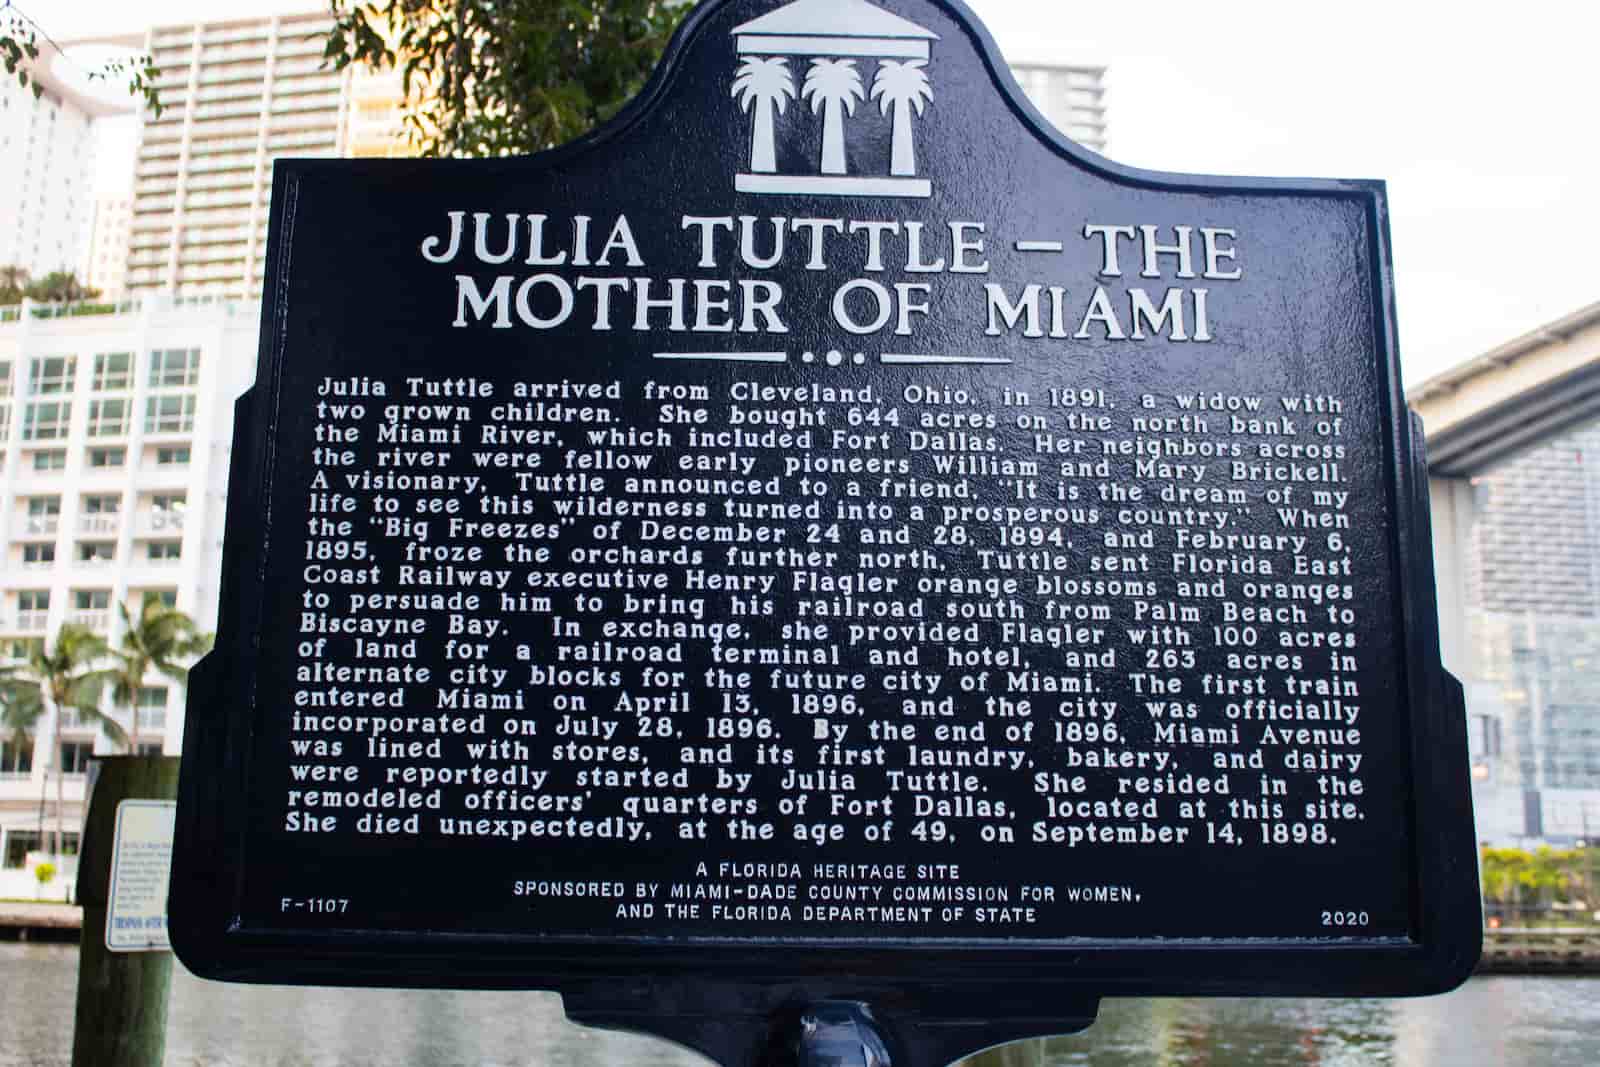
Julia Tuttle Memorial
Vital Railroads:
Miami began as a small settlement, but it grew quickly after Julia Tuttle, known as the “Mother of Miami,” convinced a railroad company to extend down to the area in 1896. On the west coast, Tampa benefited from Henry Plant’s railroad around the same time.
Cuban festival in Little Havana, Miami
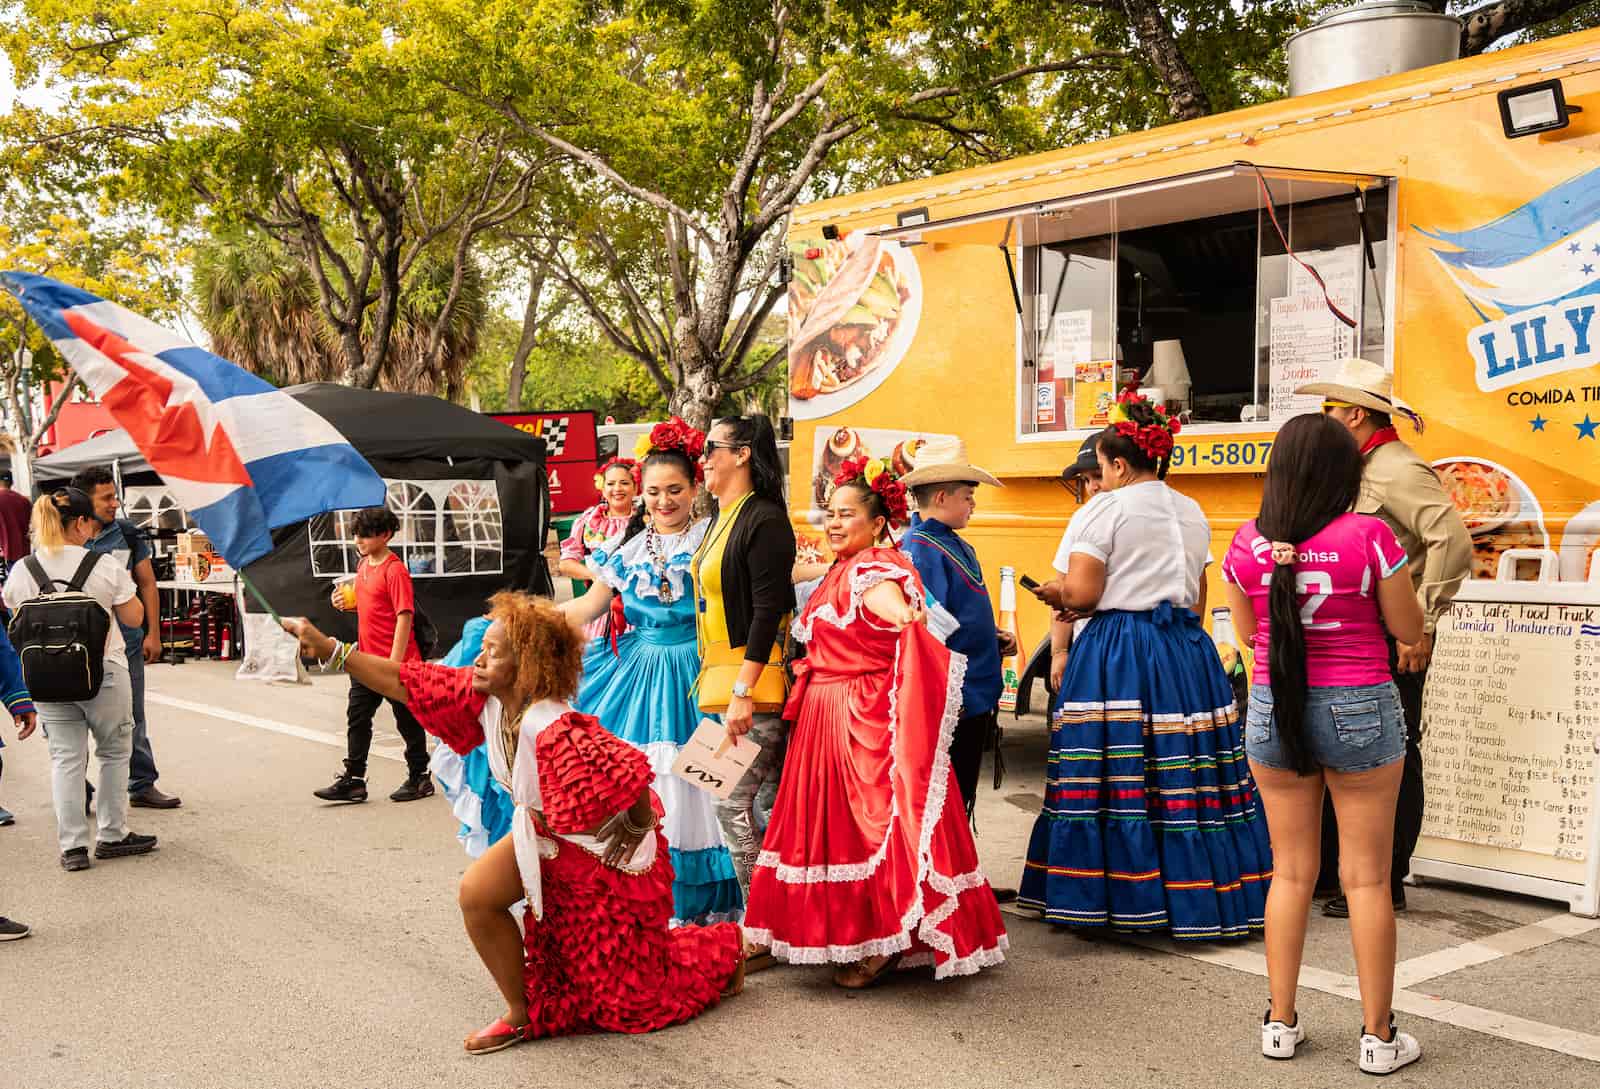
Cuban Refugees:
After Fidel Castro came to power in Cuba in 1959, thousands fled the country. Within a few years, more than 200,000 Cubans had arrived in Florida, mainly to Miami. Others followed in the years to come, and the Cuban refugee population is now more than one million.
Walt Disney at Madame Tussauds Wax Museum in Orlando, Florida
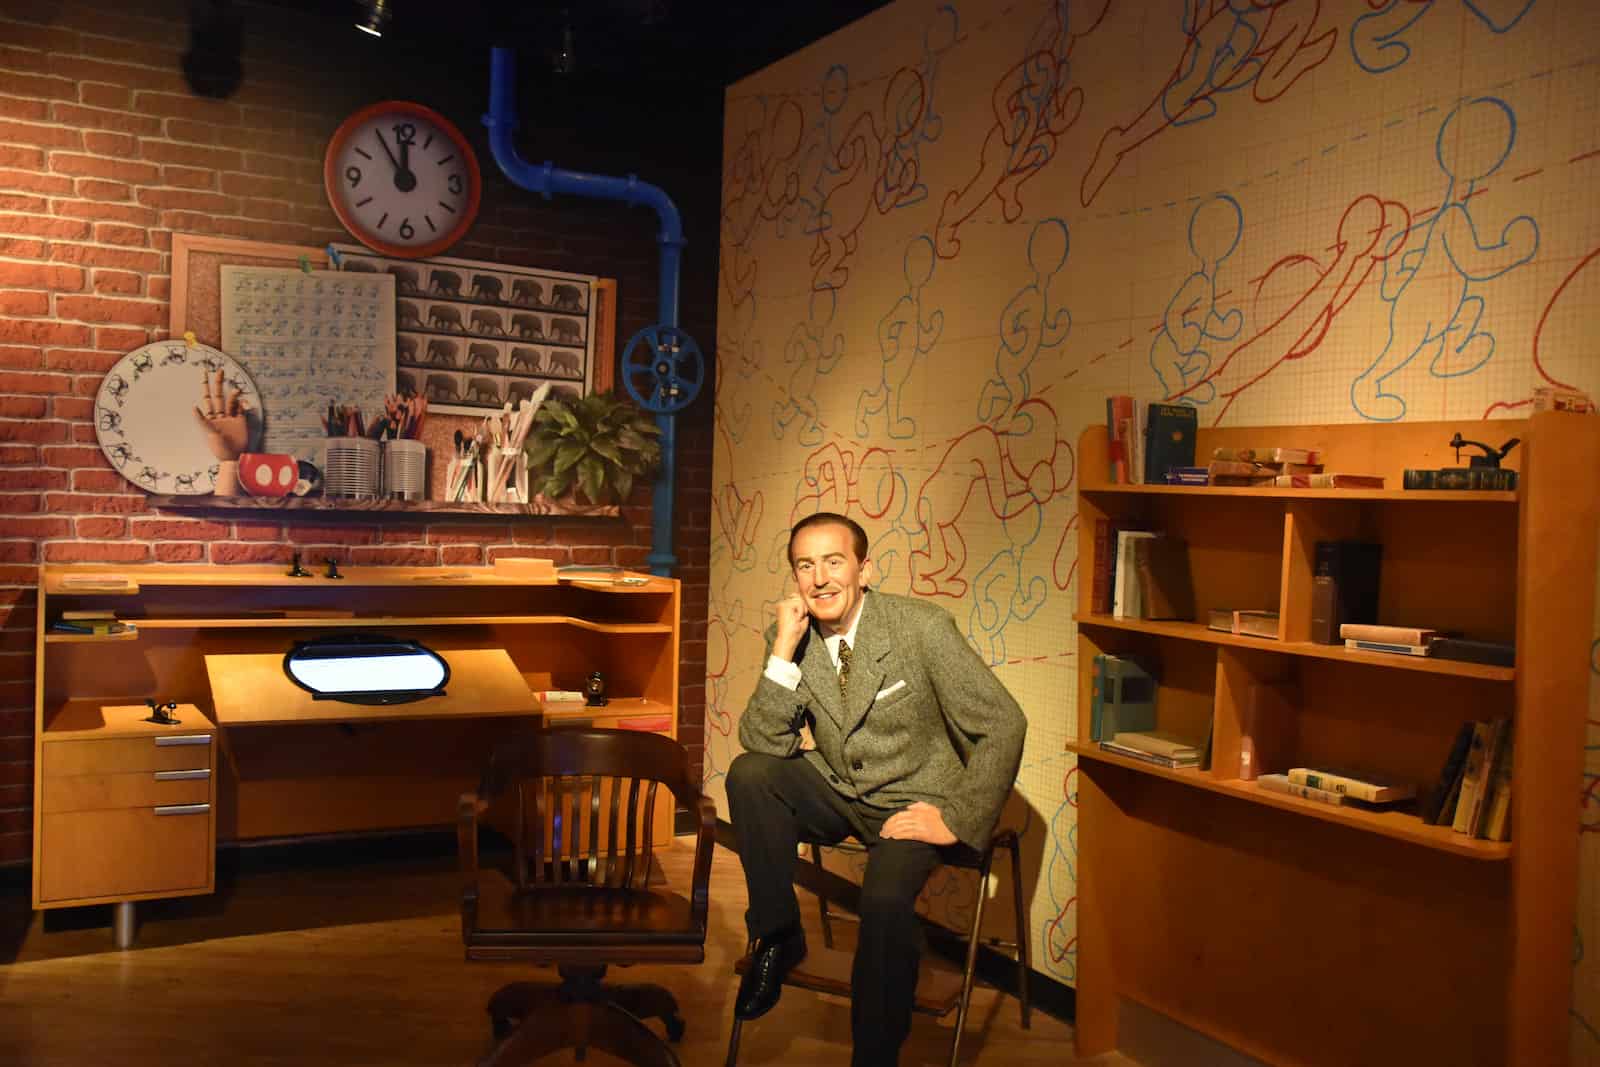
Disney’s Land:
After the success of DisneyLand in California, Walt Disney wanted a place to build new, bigger theme parks. He chose Florida as the perfect place, and Walt Disney World opened in 1971 near Orlando.
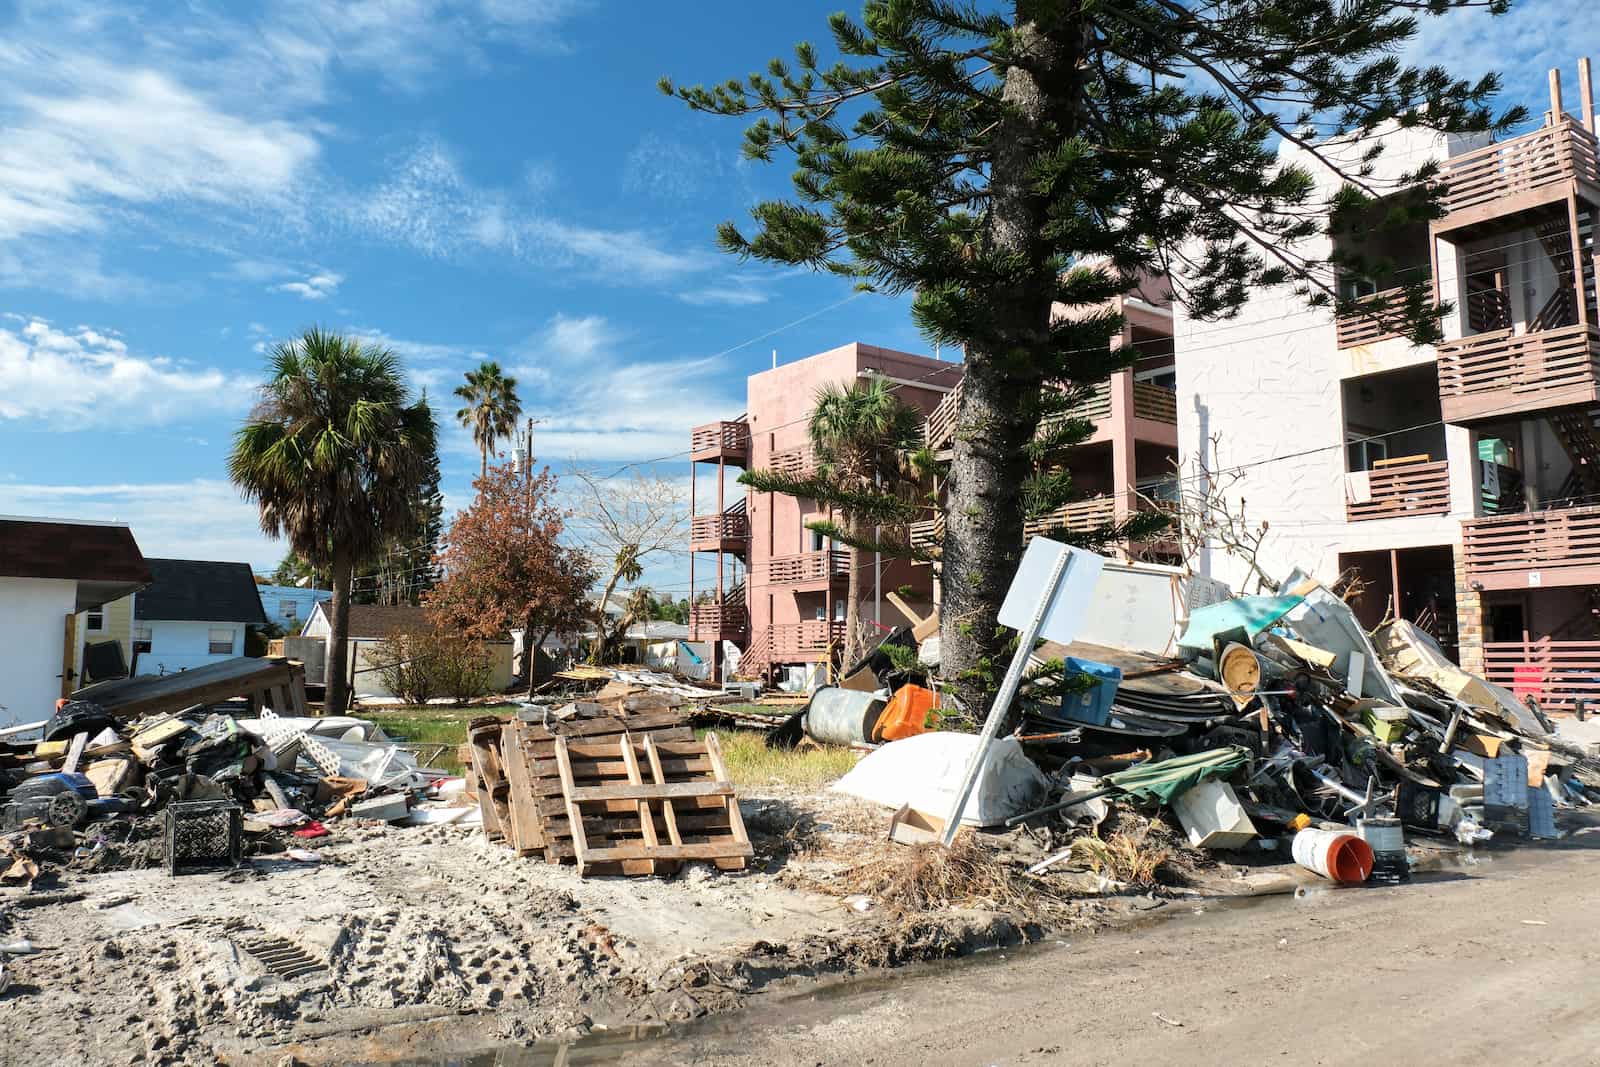
Damage along the Pinellas County beaches from Hurricane Helene
Hurricane History:
Since 1850, every part of Florida has been affected by hurricanes. The strongest on record was the Labor Day Hurricane of 1935, which hit the Florida Keys with 185 mph winds. 1992’s Hurricane Andrew destroyed large parts of the Miami area. In 2022, Hurricane Ian came ashore near Fort Myers and caused an estimated $109 billion dollars in damage.
?
DID YOU KNOW?
50 million people visit DisneyWorld every year. Magic Kingdom is the most popular park, followed by Epcot, Hollywood Studios, and Animal Kingdom.
Looking for Fun Learning Activities?
More Activities…
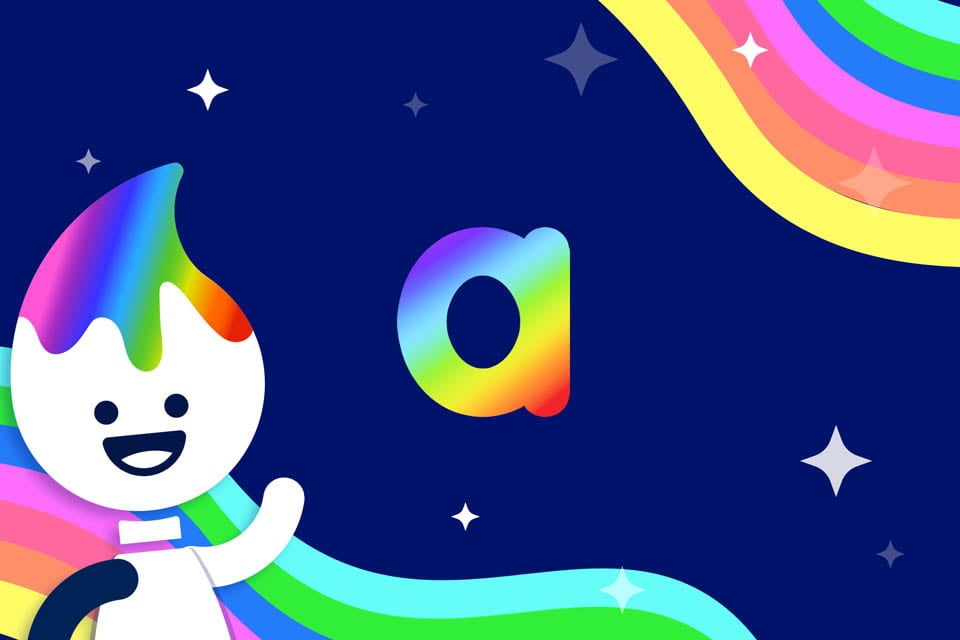
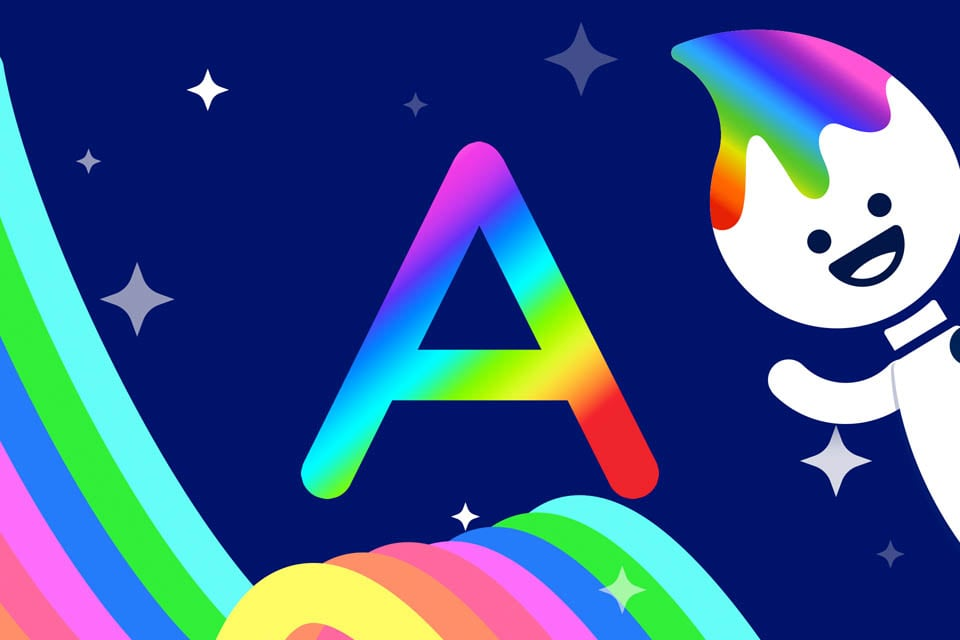
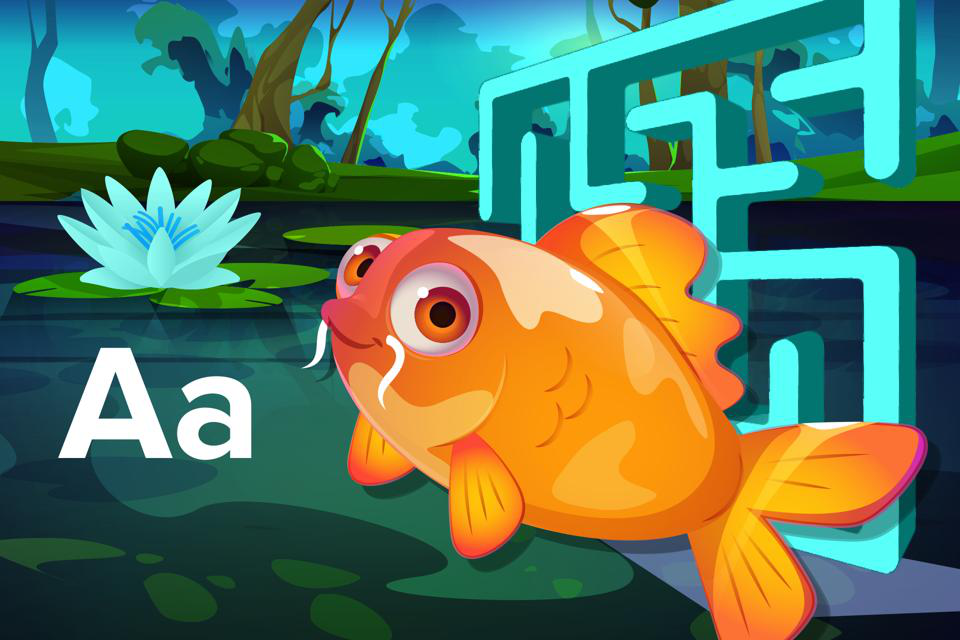
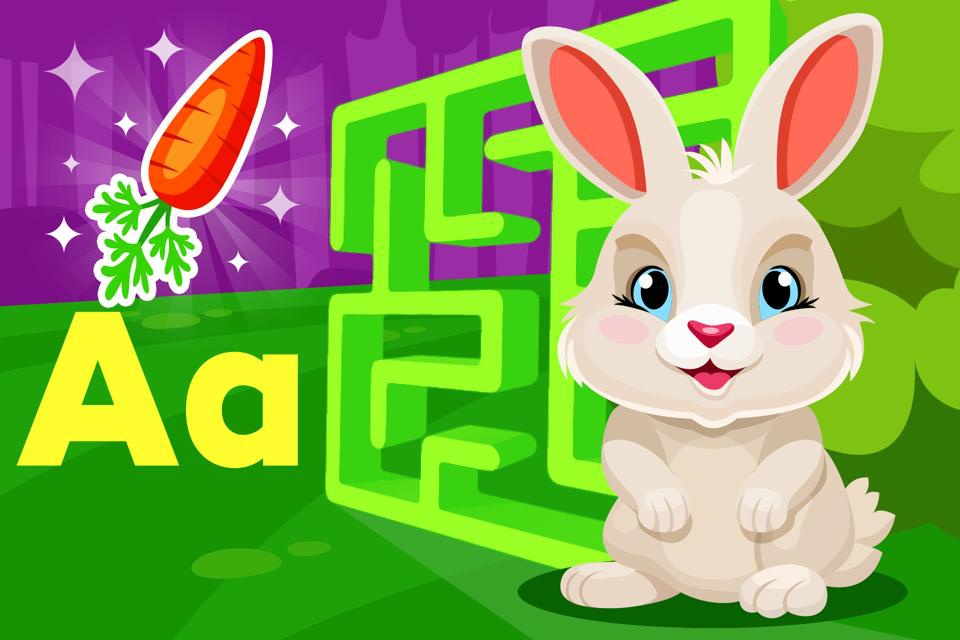
Aa
Letter A: Free Games, Printables, Crafts, and Song for Kids
Help your child learn the letter A with free games, printable worksheets, crafts, and songs–designed for home or classroom learning!
Table of Contents
What Makes the Letter A Special?
Aa
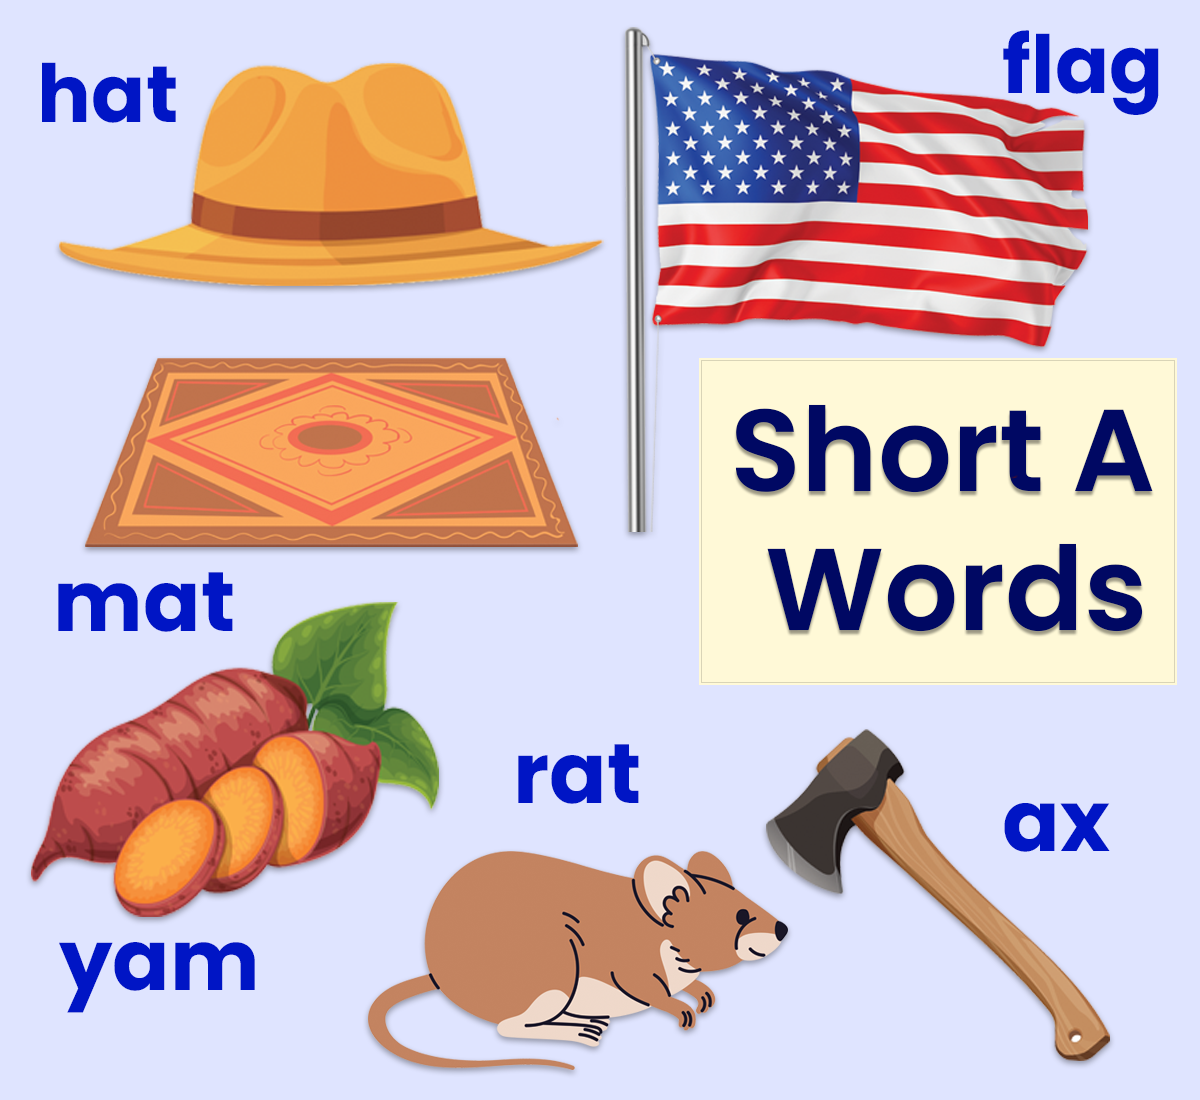
The letter A is the first letter of the English alphabet and one of the most important vowels. It appears in countless words and plays a key role in early literacy. The letter A can make two main sounds:
Long A (/ā/): Found in words like “acorn,” “cake,” and “name.”
Short A (/ă/): Found in words like “apple,” “ant,” and “cat.”
TIP:
The letter A typically stands for a short A sound (/ă/) when followed by consonants, as in “cat.” It stands for a long A sound (/ā/) when followed by silent -e, as in “cake.”

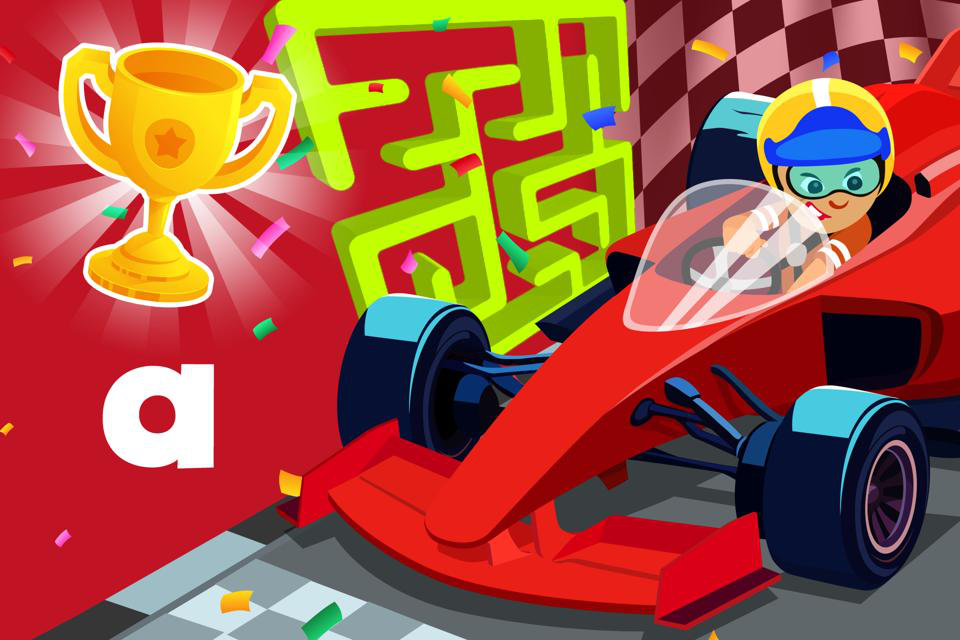
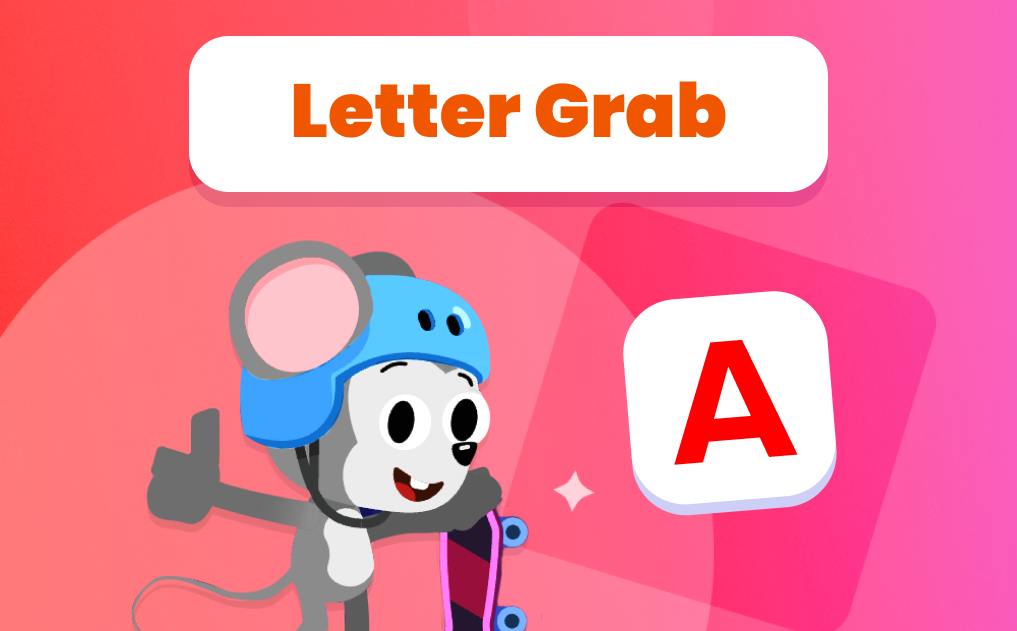
Free Letter A Games & Activities
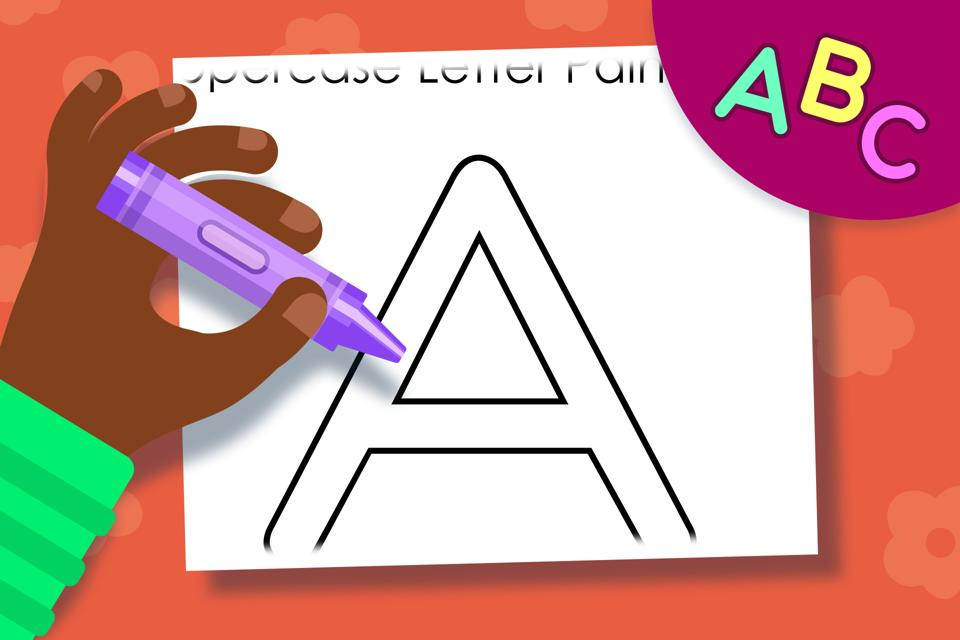
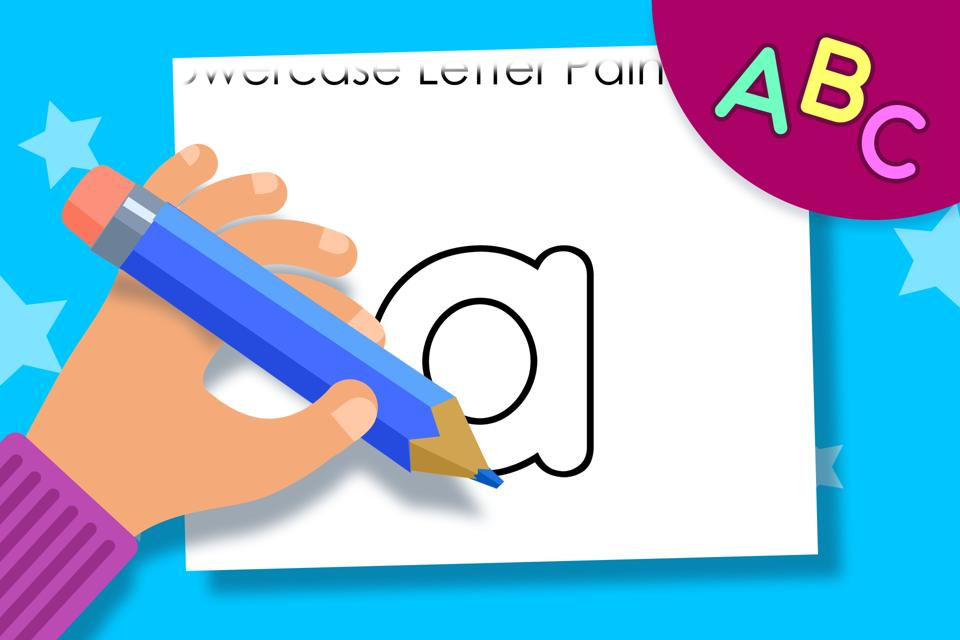
Make learning the letter A an interactive experience with these free online games and activities. Perfect for preschoolers and kindergarteners, these games help children recognize, trace, and pronounce the letter A.
Lowercase Letter a:
Uppercase Letter A:

Uppercase and Lowercase Letter A and More:
Letter A Online Painting Activity

40+ Free Printable Letter A Worksheets & Coloring Pages
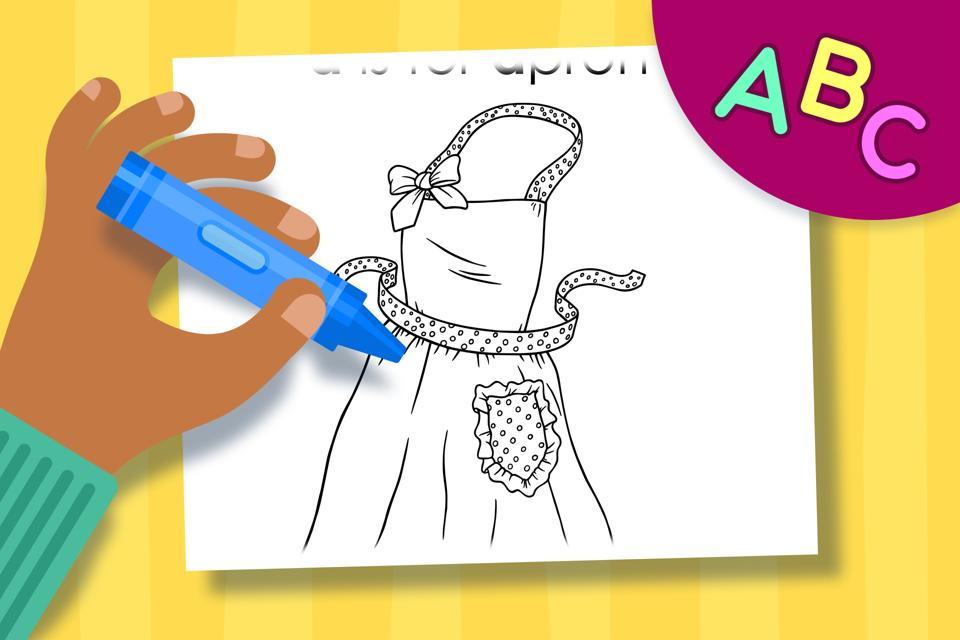
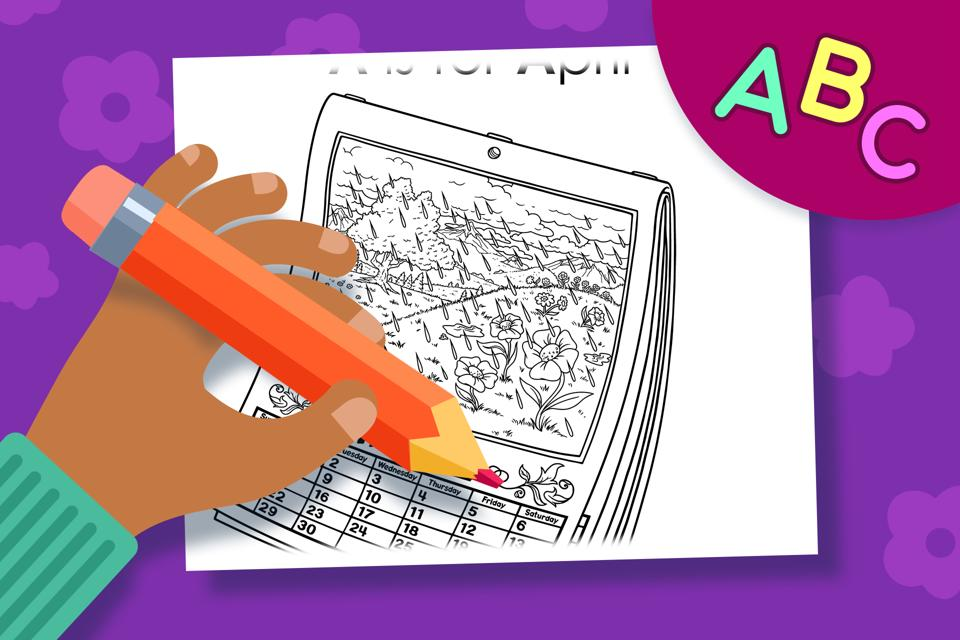
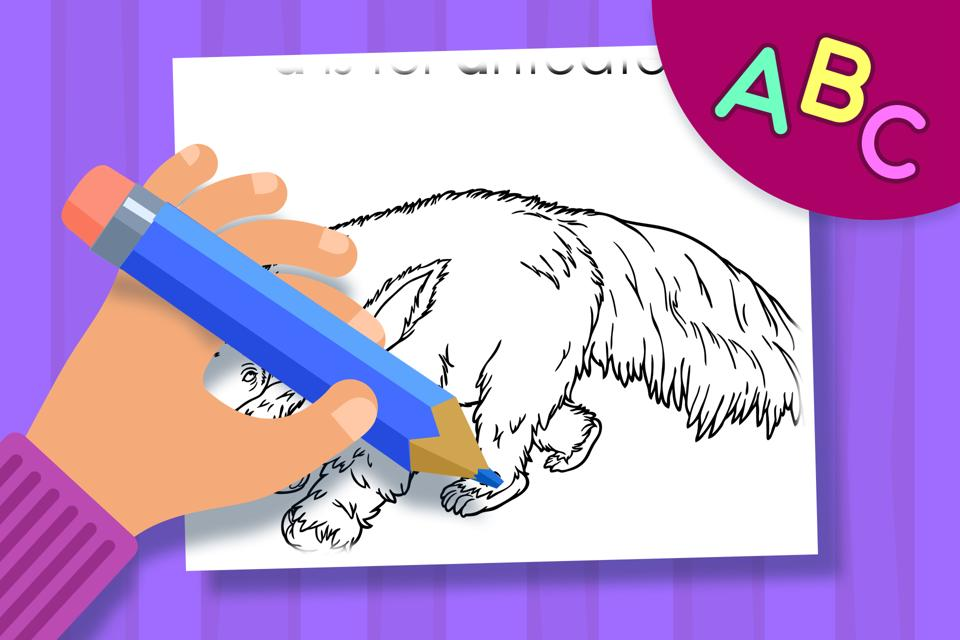
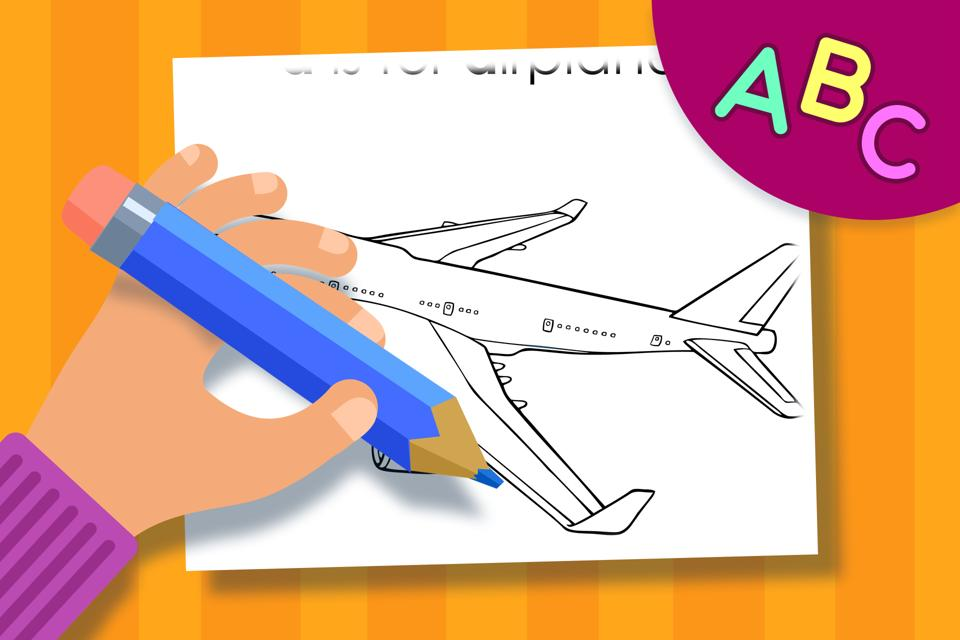
Reinforce learning with printable worksheets and coloring pages featuring the letter A. These resources are great for practicing letter recognition, phonics, and vocabulary.
Letter A Worksheets
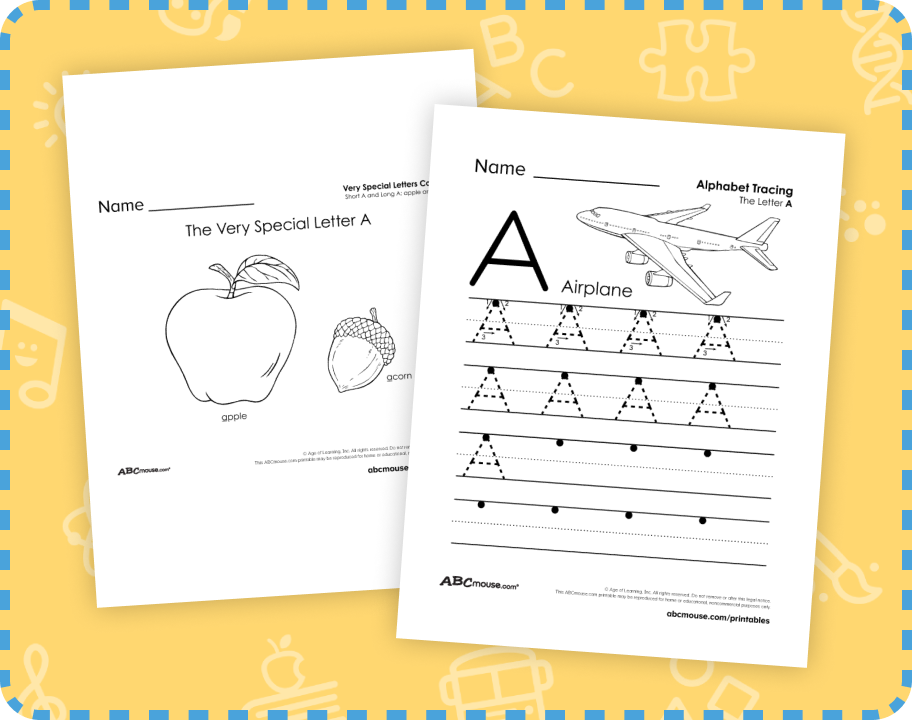
Explore the letter A with a variety of free printable worksheets! Kids can trace uppercase and lowercase letter A, color in A-themed pictures like alligators and apples, and practice with words that start with the letter A sound.
Letter A Coloring Pages
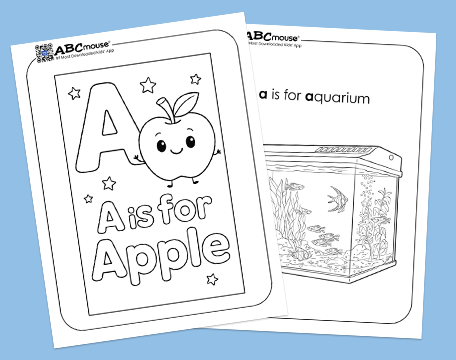
From apples and astronauts to ants and arrows, these letter A coloring pages turn alphabet practice into a creative activity with fun, kid-friendly designs.
Letter A Word Lists
With 11 different word lists to pick from, you can find the ones that are just right for your child’s learning level. You’ll also find letter A words with definitions and illustrations
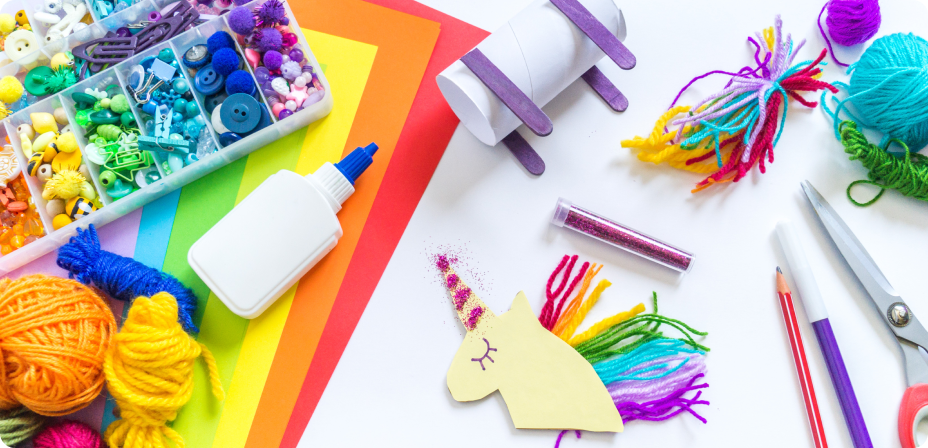
10 Letter A Crafts

Searching for playful ways to teach the letter A? These awesome letter A crafts and activities are designed to help kids learn as they create!
Letter A Song

Make learning the letter A even more engaging with a catchy, kid-approved song that teaches this letter through fun music and lively motion.
FAQ’s About the Letter A
What are some fun ways to teach the letter A?
There are many fun ways to teach the letter A! Use printable worksheets, interactive games, and crafts to make learning engaging. Singing songs about the letter A and practicing its sounds with words like “apple” and “ant” are also effective methods.
What are some words that start with the letter A?
Common words that start with the letter A include:
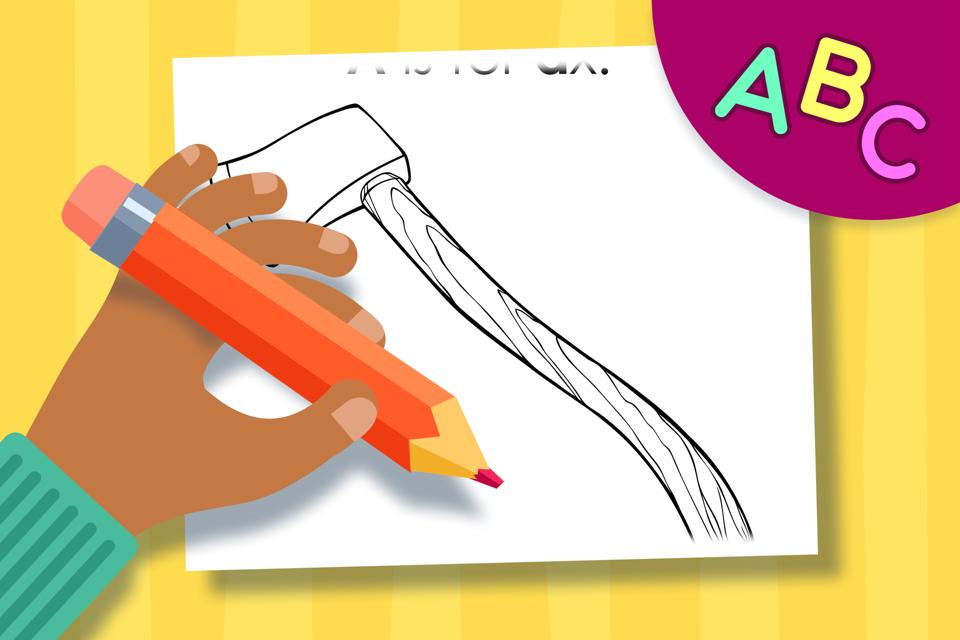
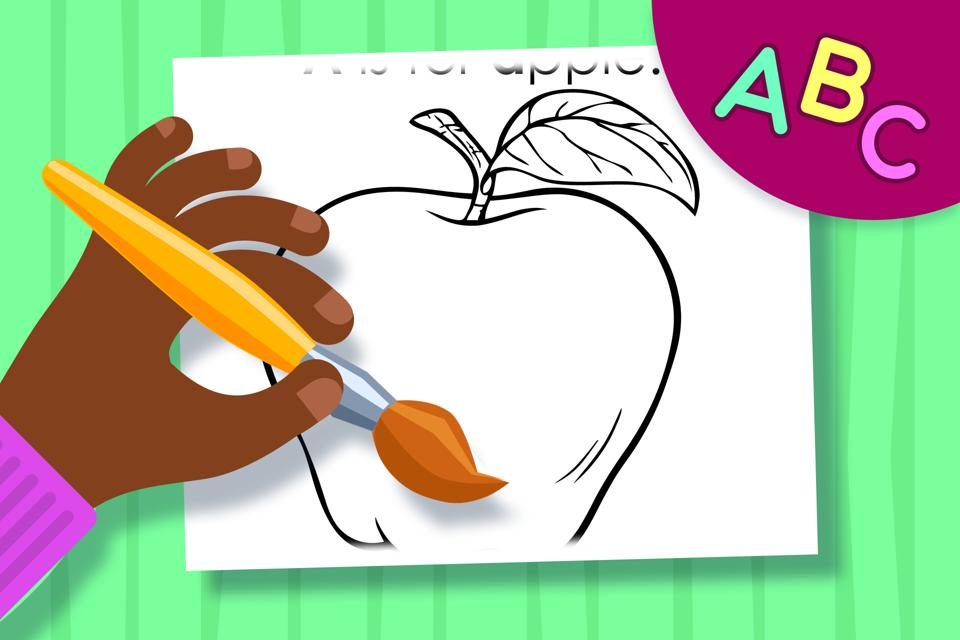
Short A (/ă/): apple, ant, alligator, astronaut, ax
Long A (/ā/): acorn, apron, April, ape, angel
How do you explain the letter A to preschoolers?
Start by showing the uppercase (A) and lowercase (a) forms of the letter. Use visuals like apples or ants to connect the letter and its sounds to familiar objects. Practice tracing the letter and saying its sounds (short /ă/ and long /ā/).
What are the two sounds of the letter A?
The letter A makes two main sounds:
Long A (/ā/): Found in words like “acorn,” “cake,” and “name.”
Short A (/ă/): Found in words like “apple,” “ant,” and “cat.”
Why is the letter A important in early literacy?
The letter A is the first letter of the alphabet and one of the most commonly used vowels. It appears in many words and helps children build foundational phonics and reading skills.
What are some crafts to teach the letter A?
Here are a few fun letter A crafts:
- Apple Stamping: Use apple halves as stamps to create art.
- Alligator Craft: Make an alligator using green paper and googly eyes.
- Airplane Craft: Build a paper airplane and decorate it with the letter A.
How can I help my child recognize the letter A?
You can help your child recognize the letter A by:
- Pointing out the letter A in books, signs, and everyday objects.
- Using printable worksheets to practice tracing and coloring the letter.
- Playing games that focus on identifying uppercase and lowercase A.
What are some activities for the letter A?
Here are some activities to make learning the letter A fun:
- Letter A Scavenger Hunt: Find objects around the house that start with A.
- Tracing Practice: Use rainbow traceables to practice writing A.
- Songs and Rhymes: Sing songs that emphasize the letter A.
More Learning Resources from ABCmouse:
-

Itsy Bitsy Spider: Halloween Craft
Create a spooky yet playful Halloween decoration with this Itsy Bitsy Spider craft for kids. Using simple materials like a trash bag, cup, and pipe cleaners,…
-

Free Printable Spelling Worksheets
Explore a variety of free, printable spelling worksheets designed for kindergarten and first-grade students. These worksheets cover topics like silent letters, letter blends, and word endings.…
-

Halloween Activity Balloon Bat
Create a fun and educational Halloween experience with this Balloon Bat activity! Kids will love crafting their own bat and watching it zoom along a string,…
-

How to Teach Letter Recognition for Young Learners
Help your child begin their literacy journey with effective letter recognition strategies. Learn why letter recognition is essential, when to start, and how to make learning…
-

Halloween Pretzel Snacks
Create a fun and festive treat with our Halloween Pretzel Snacks Activity! Perfect for kids and adults, this easy craft uses chocolate, pretzels, and Halloween-themed sprinkles…
-

Halloween Snack Craft
Create fun Halloween snack crafts with kids using simple ingredients like cheese, carrots, and olives. Learn step-by-step instructions to make cheesy pumpkins and animal faces, plus…
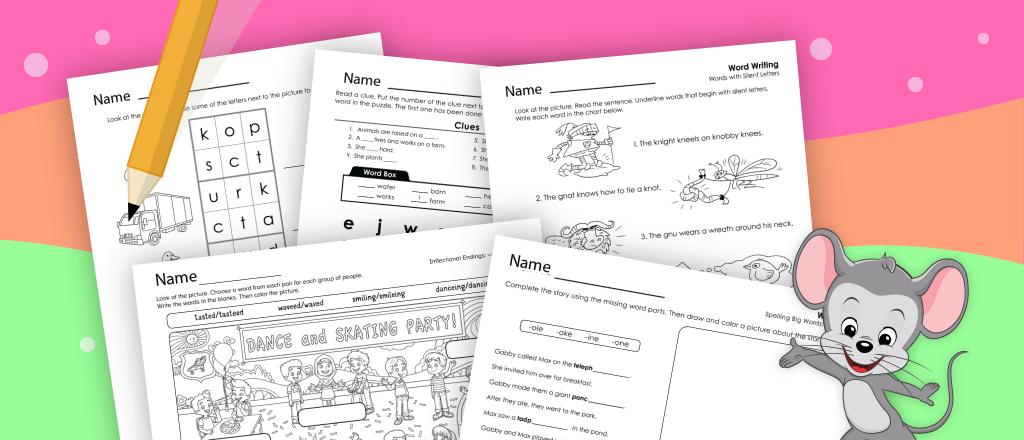
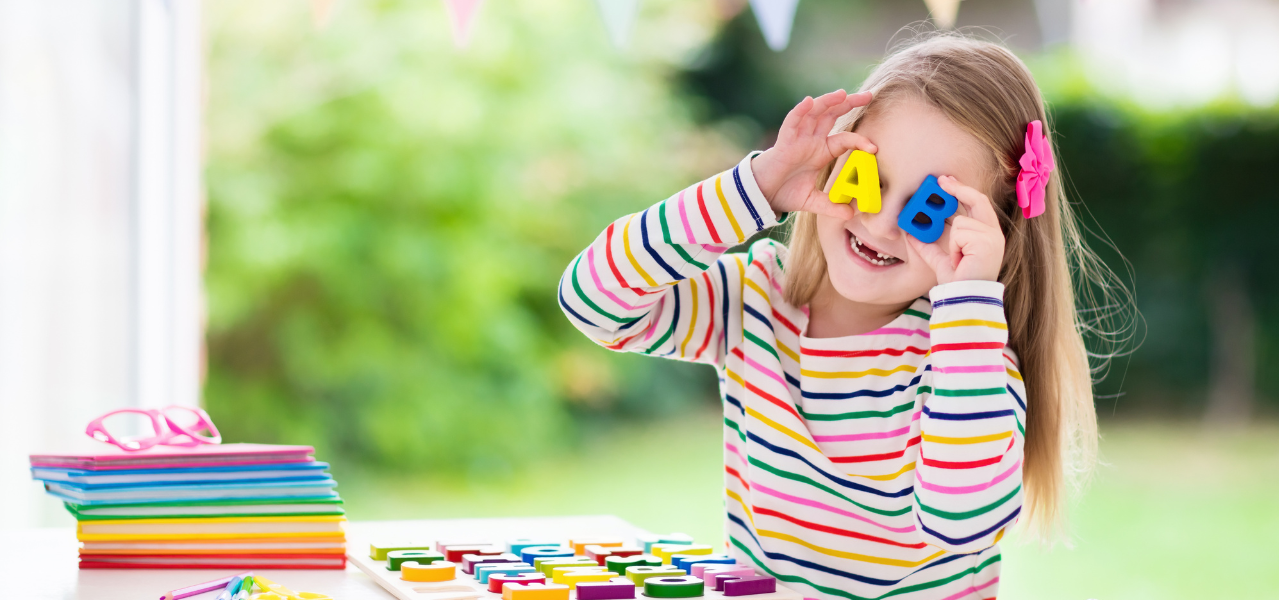
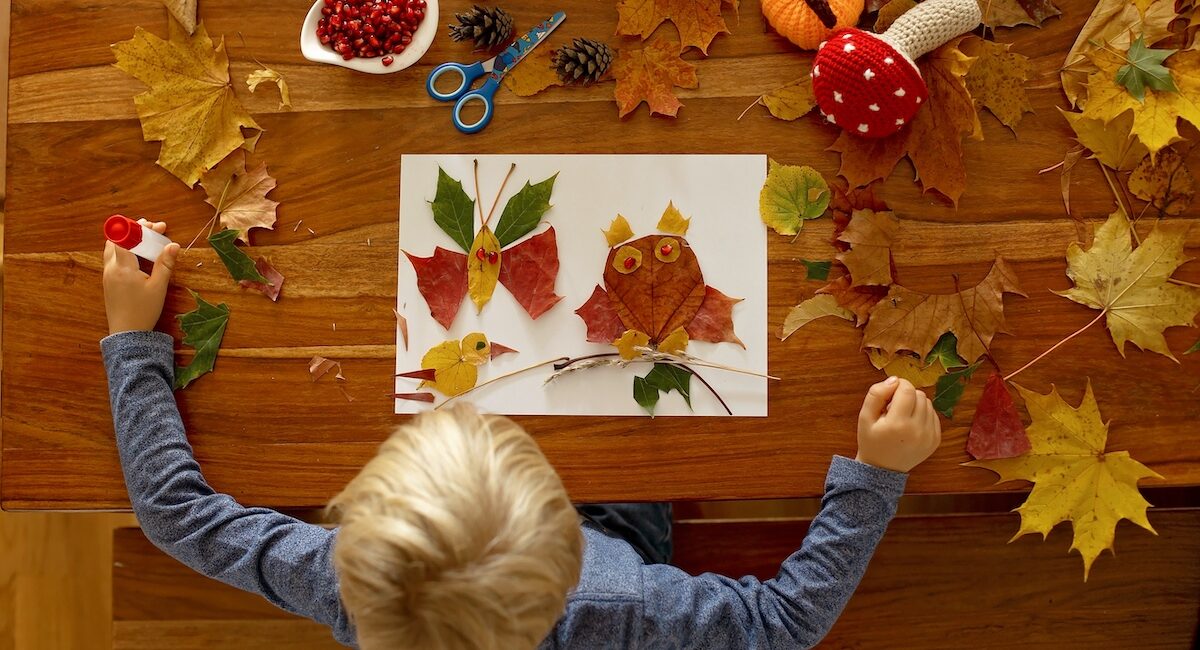
33 Fun Fall Crafts and Art Activities for Preschool and Kindergarten
Share
Celebrate the magic of autumn with hands-on art projects kids will love!
With colorful leaves, cozy themes, and plenty of inspiration from nature, fall offers endless opportunities to get creative. Whether you’re a parent or a teacher looking for easy art projects for young kids, these 30+ fall crafts and art activities are just right for preschoolers and early elementary kids. Please note that while these projects are designed for young children, they should be completed with adult supervision.
Get more fall crafts, printables, jokes, and activities our with Halloween and Thanksgiving Crafts and Activities.
Fall Crafts and Art Activities for Preschoolers
These fall crafts are designed with the littlest learners in mind! Each project is easy to make and uses simple materials you likely already have at home or in the classroom. From colorful leaves to friendly pumpkins, these art activities help preschoolers explore the season while building creativity and fine motor skills.
1. Turkey Pudding Cup
Supplies:
- sealed chocolate pudding cup
- orange, red, yellow, and brown construction paper
- googly eyes
- liquid school glue
- scissors
Instructions:
1. Cut out 4 feathers from the construction paper.
2. Cut out a small triangle from the orange construction paper for the turkey’s beak.
3. Turn the pudding cup upside down, so the lid is on the table.
4. Use liquid school glue to adhere the feathers onto the back of the pudding cup, creating the turkey’s tail feathers.
5. Glue the googly eyes onto the front of the pudding cup.
6. Glue the orange triangle onto the pudding cup to create the turkey’s beak. Then admire your cute feathered friend for as long as you can resist eating the pudding!
2. Paper Plate Apple Lacing

Supplies:
- red paper or plastic disposable plate
- hole punch
- brown and green construction paper
- yarn
Instructions:
1. Use the hole punch to make evenly-spaced holes around the edges of the plate.
2. Cut a stem from the brown paper and a leaf from the green paper, and glue them to the top of the plate.
3. Tie one end of the yarn to one of the holes, then show your toddler how to lace the yarn in and out of the holes.
Tip: If you don’t have a red plate on hand, just use paint to turn a regular white plate into a red one!
3. Fall Handprint Tree
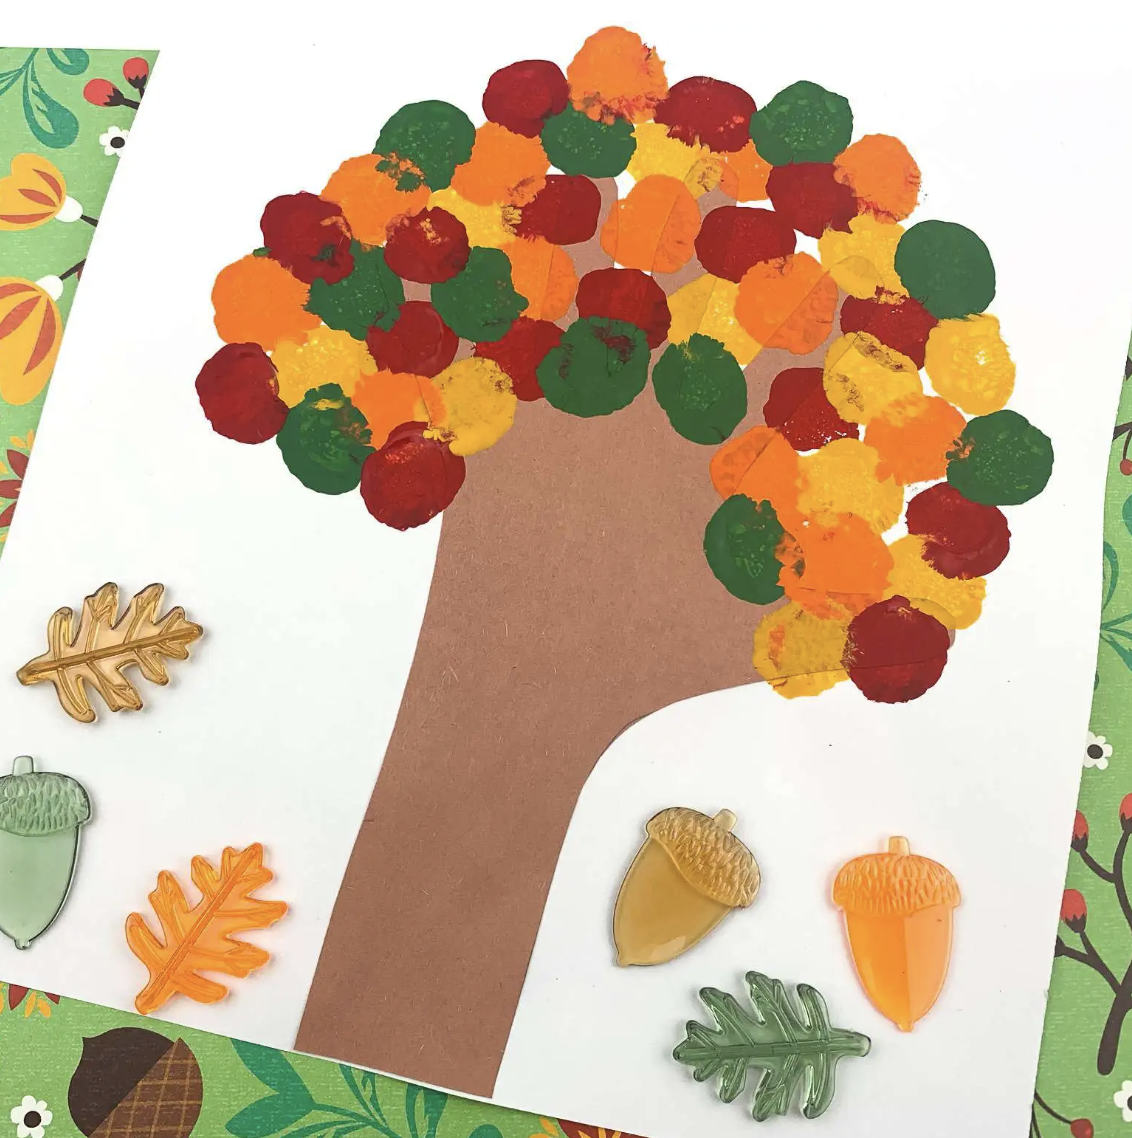
Supplies:
- brown construction paper
- white construction paper
- pencil
- glue
- paper plate
- craft paint
- clothespins
- pom poms
Instructions:
1. Trace your child’s hand and their wrist onto the sheet of brown construction paper.
2. Have your child cut out their hand print from the paper. This will act as their tree’s trunk and branches.
3. Glue their hand cutout onto a piece of white paper.
4. Squeeze some yellow, red, orange, and green paint onto a paper plate.
5. Get one clothespin and pom pom for each paint color. Pinch one pom pom into the end of each clothespin, forming a painting tool.
6. Have your child gently dip the pom pom into the paint and dab it onto their “tree,” placing the paint around the branches.
7. Once your child is done filling the tree’s branches with colorful leaves, let their creation dry.
Tip: You can skip the pom poms and just use finger paint instead, creating the leaves on the tree with your child’s thumb and finger prints.
4. Paper Bag Squirrel
Supplies:
- brown lunch bag
- googly eyes
- black marker
- brown and pink construction paper
- glue
- scissors
Instructions:
1. Cut out a longer bushy tail from the brown construction paper for the squirrel’s tail.
2. Cut out two curved ears from the brown construction paper.
3. Cut out two pink pieces similar in shape to the brown ear pieces, but slightly smaller. Glue the pink inner ear pieces on to the brown ear pieces.
4. With the flap of the paper bag facing you, glue the ears to the back, top part of the bag. Glue the tail to the back, lower portion of the bag.
5. Glue on the googly eyes to the square flap of the lunch bag.
6. Draw on a nose and mouth with marker or crayon. Now put on a show with your DIY squirrel puppet!
5. Pom Pom Acorns
Supplies:
- small craft pom poms
- real acorn caps collected and cleaned
- hot glue gun or strong craft glue
- optional: string or twine (for hanging)
Instructions:
1. Collect and clean acorn caps, then let them dry completely.
2. Choose small pom poms in fall colors that fit snugly inside the caps.
3. Add a drop of glue inside each acorn cap. If using glue guns, an adult should complete this step.
4. Press a pom pom into the glue and hold for a few seconds.
5. Let the glue dry completely, then display or use in decorations!
Tip: Glue in a string loop before adding the pom pom if you want to hang the acorns.
6. Fall Handprint
Supplies:
- white card stock or construction paper
- washable paint in fall colors (red, orange, yellow, brown)
- small paintbrush
- black marker or pen
- paper plate or paint tray
- googly eyes (for turkey)
- wet wipes or access to a sink (for cleanup)
Instructions:
1. Choose your fall design, such as a handprint leaf, handprint turkey, or handprint apple–or make all 5 designs!
2. Pour paint into a tray or paper plate, using a few different fall colors.
3. Use a brush to apply paint to your child’s hand (or let them dip into the colors).
4. Press their painted hand onto the paper to create a handprint. Repeat if making multiple prints for leaves or feathers.
5. Let the handprint dry completely before adding details.
6. Use a black marker to draw a turkey face, leaf veins, etc. depending on your design.
7. Leaf People
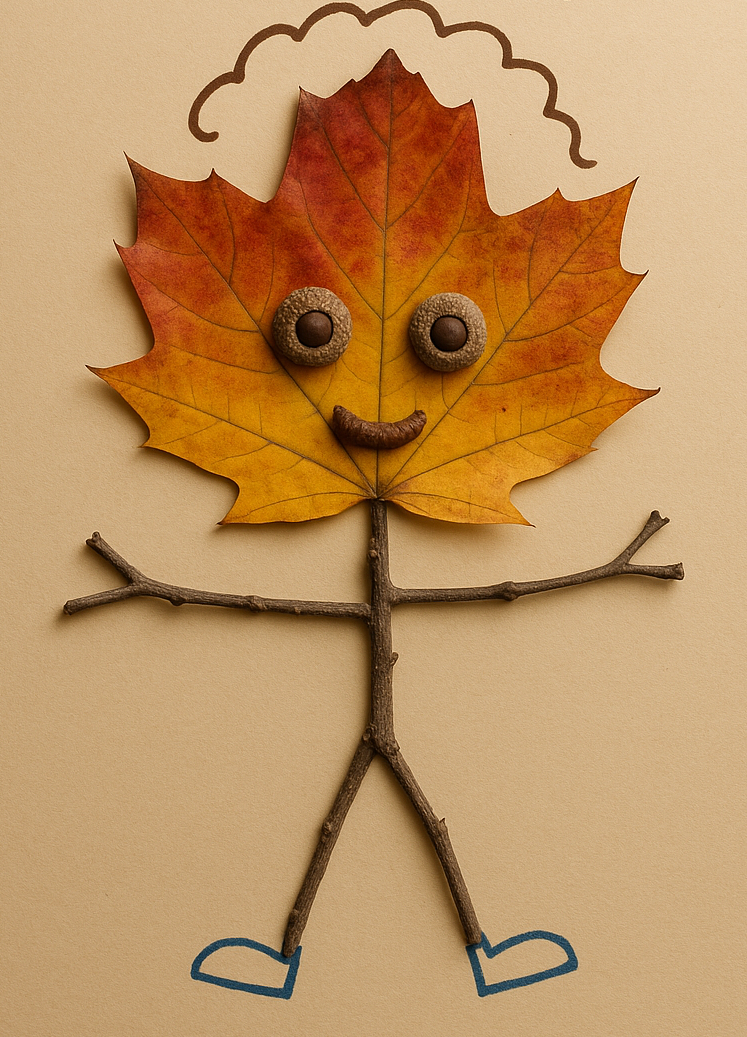
Supplies:
- variety of real or artificial leaves
- small twigs
- acorn tops and bottoms (or googly eyes or buttons)
- liquid school glue
- markers or crayons
- construction paper or cardstock
Instructions:
1. Collect leaves, acorns, and small twigs in various shapes and colors. Let them dry if they’re fresh.
2. Choose a large leaf to use as the head of your leaf person.
3. Glue the leaf to a piece of construction paper or card stock, leaving room below it to create the twig body.
4. Add a body, arms, and legs by gluing on small twigs.
5. Use the acorns to create eyes and a mouth, gluing them down one by one. If you don’t have acorns, use googly eyes and buttons or whatever household supplies you have on hand.
6. If you’d like, use markers or crayons to draw in hair or accessories like hats or shoes.
8. Button Apple
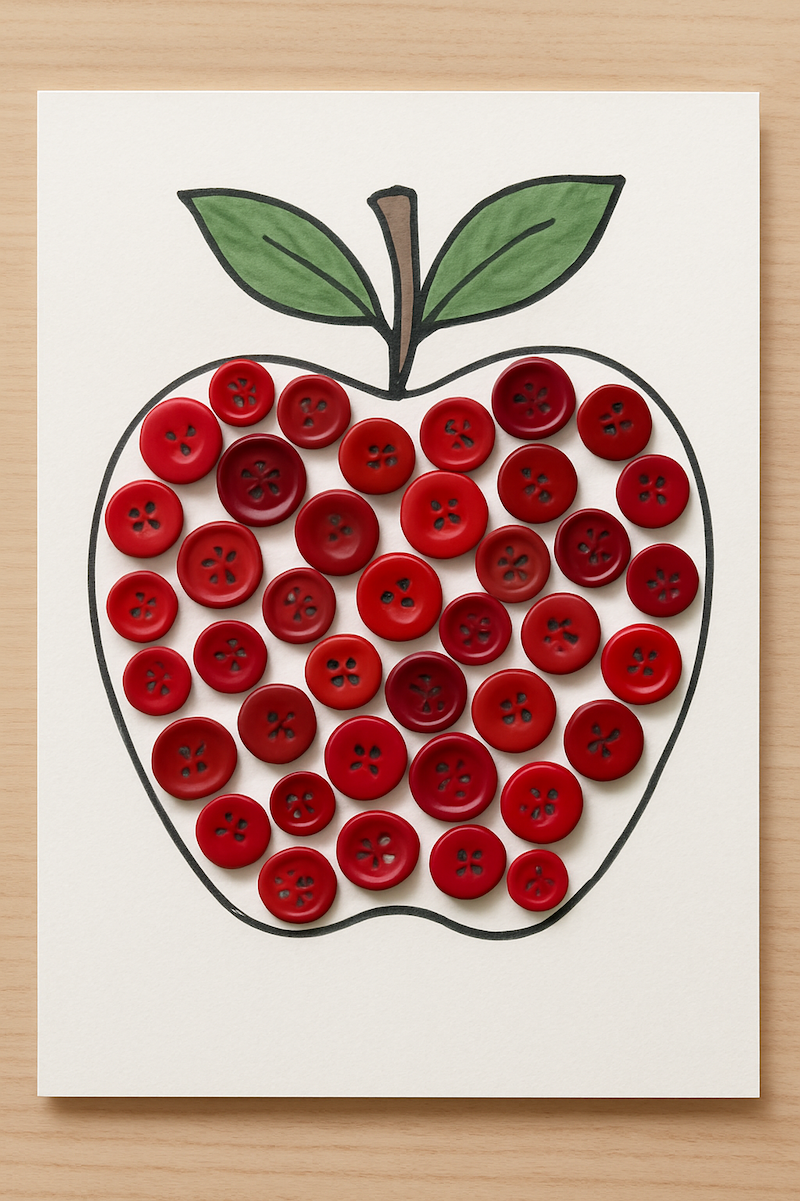
Supplies:
- red or green buttons of various sizes
- glue
- card stock
- markers
Instructions:
1. Trace the outline of a large apple onto a piece of card stock, and add a stem and leaves.
2. Help your child fill the outline with buttons, covering as much space as possible. (Supervise small children for safety.)
3. Carefully glue each button in place, then display your art!
9. Paper Plate Pumpkin
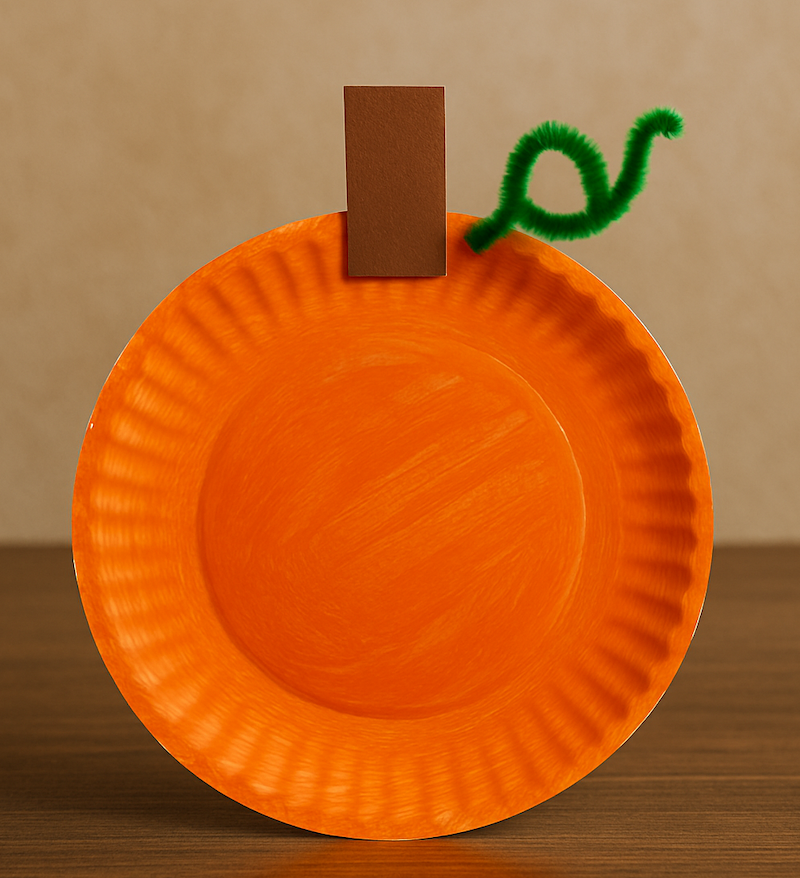
Supplies:
- paper plate
- orange paint
- paintbrush
- brown construction paper
- green pipe cleaners
- school glue
- scissors
Instructions:
1. Set up a space for painting, providing orange paint, a paint brush, and the white paper plate.
2. Have your child paint the entire paper plate orange. Let the paint dry completely.
3. Cut out a small rectangle from the brown paper to form the stem of the pumpkin and glue to the top of your orange plate.
4. Carefully bend the tips of the pipe cleaners you trimmed upward to mimic the shape of pumpkin vine tendrils. Careful–pipe cleaners can sometimes have sharp points at the end.
Tip: Keep this craft more mess-free by buying orange paper plates.
10. Butterfly Leaf

Supplies:
- variety of real leaves
- googly eyes
- glue
- scissors
- construction paper or card stock
- markers or crayons
- optional: pipe cleaners or small twigs (for antennae)
Instructions:
1. Gather a selection of leaves in different shapes and colors—choose two similar-sized leaves for each butterfly’s wings.
2. Lay out a piece of construction paper or card stock as the background.
3. Add a butterfly body by drawing it in with marker or cutting it from construction paper.
4. Arrange leaves on either side of the butterfly to form butterfly wings and glue into place.
5. Draw on the butterfly’s antennae or glue down a small pipe cleaner or twig to create them.
5. Attach googly eyes at the top of the body using glue. If you’d like, draw in more details, like flowers or grass.
11. Pumpkin Squish Ball
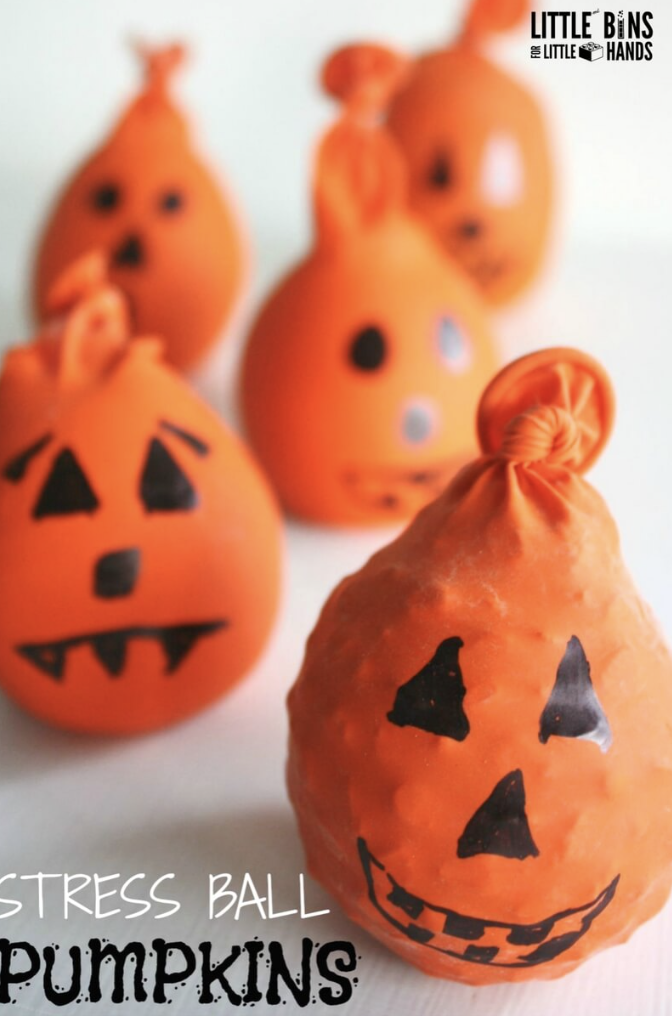
Supplies:
- orange balloons
- black permanent marker
- funnel
- filling (flour, corn starch, dried lentils, playdough, popcorn kernels)
Instructions:
1. Start by stretching the balloon to help it expand to fit the fillings. Do this by blowing up the balloon and holding it full of air for about 20-30 seconds.
2. Let the air out of the balloon and place a funnel into the skinny tube section of the balloon.
3. Slowly pour your chosen filling into the funnel in small batches, letting the contents of the funnel empty into the balloon before adding more.
4. Tie a knot into the tube of the balloon, sealing the contents in.
5. Use a permanent marker to draw on the lines of a pumpkin or a jack-o’-lantern face. Enjoy squeezing and squishy your balloon pumpkin or even playing a gentle game of catch with it!
12. Leaf Prints
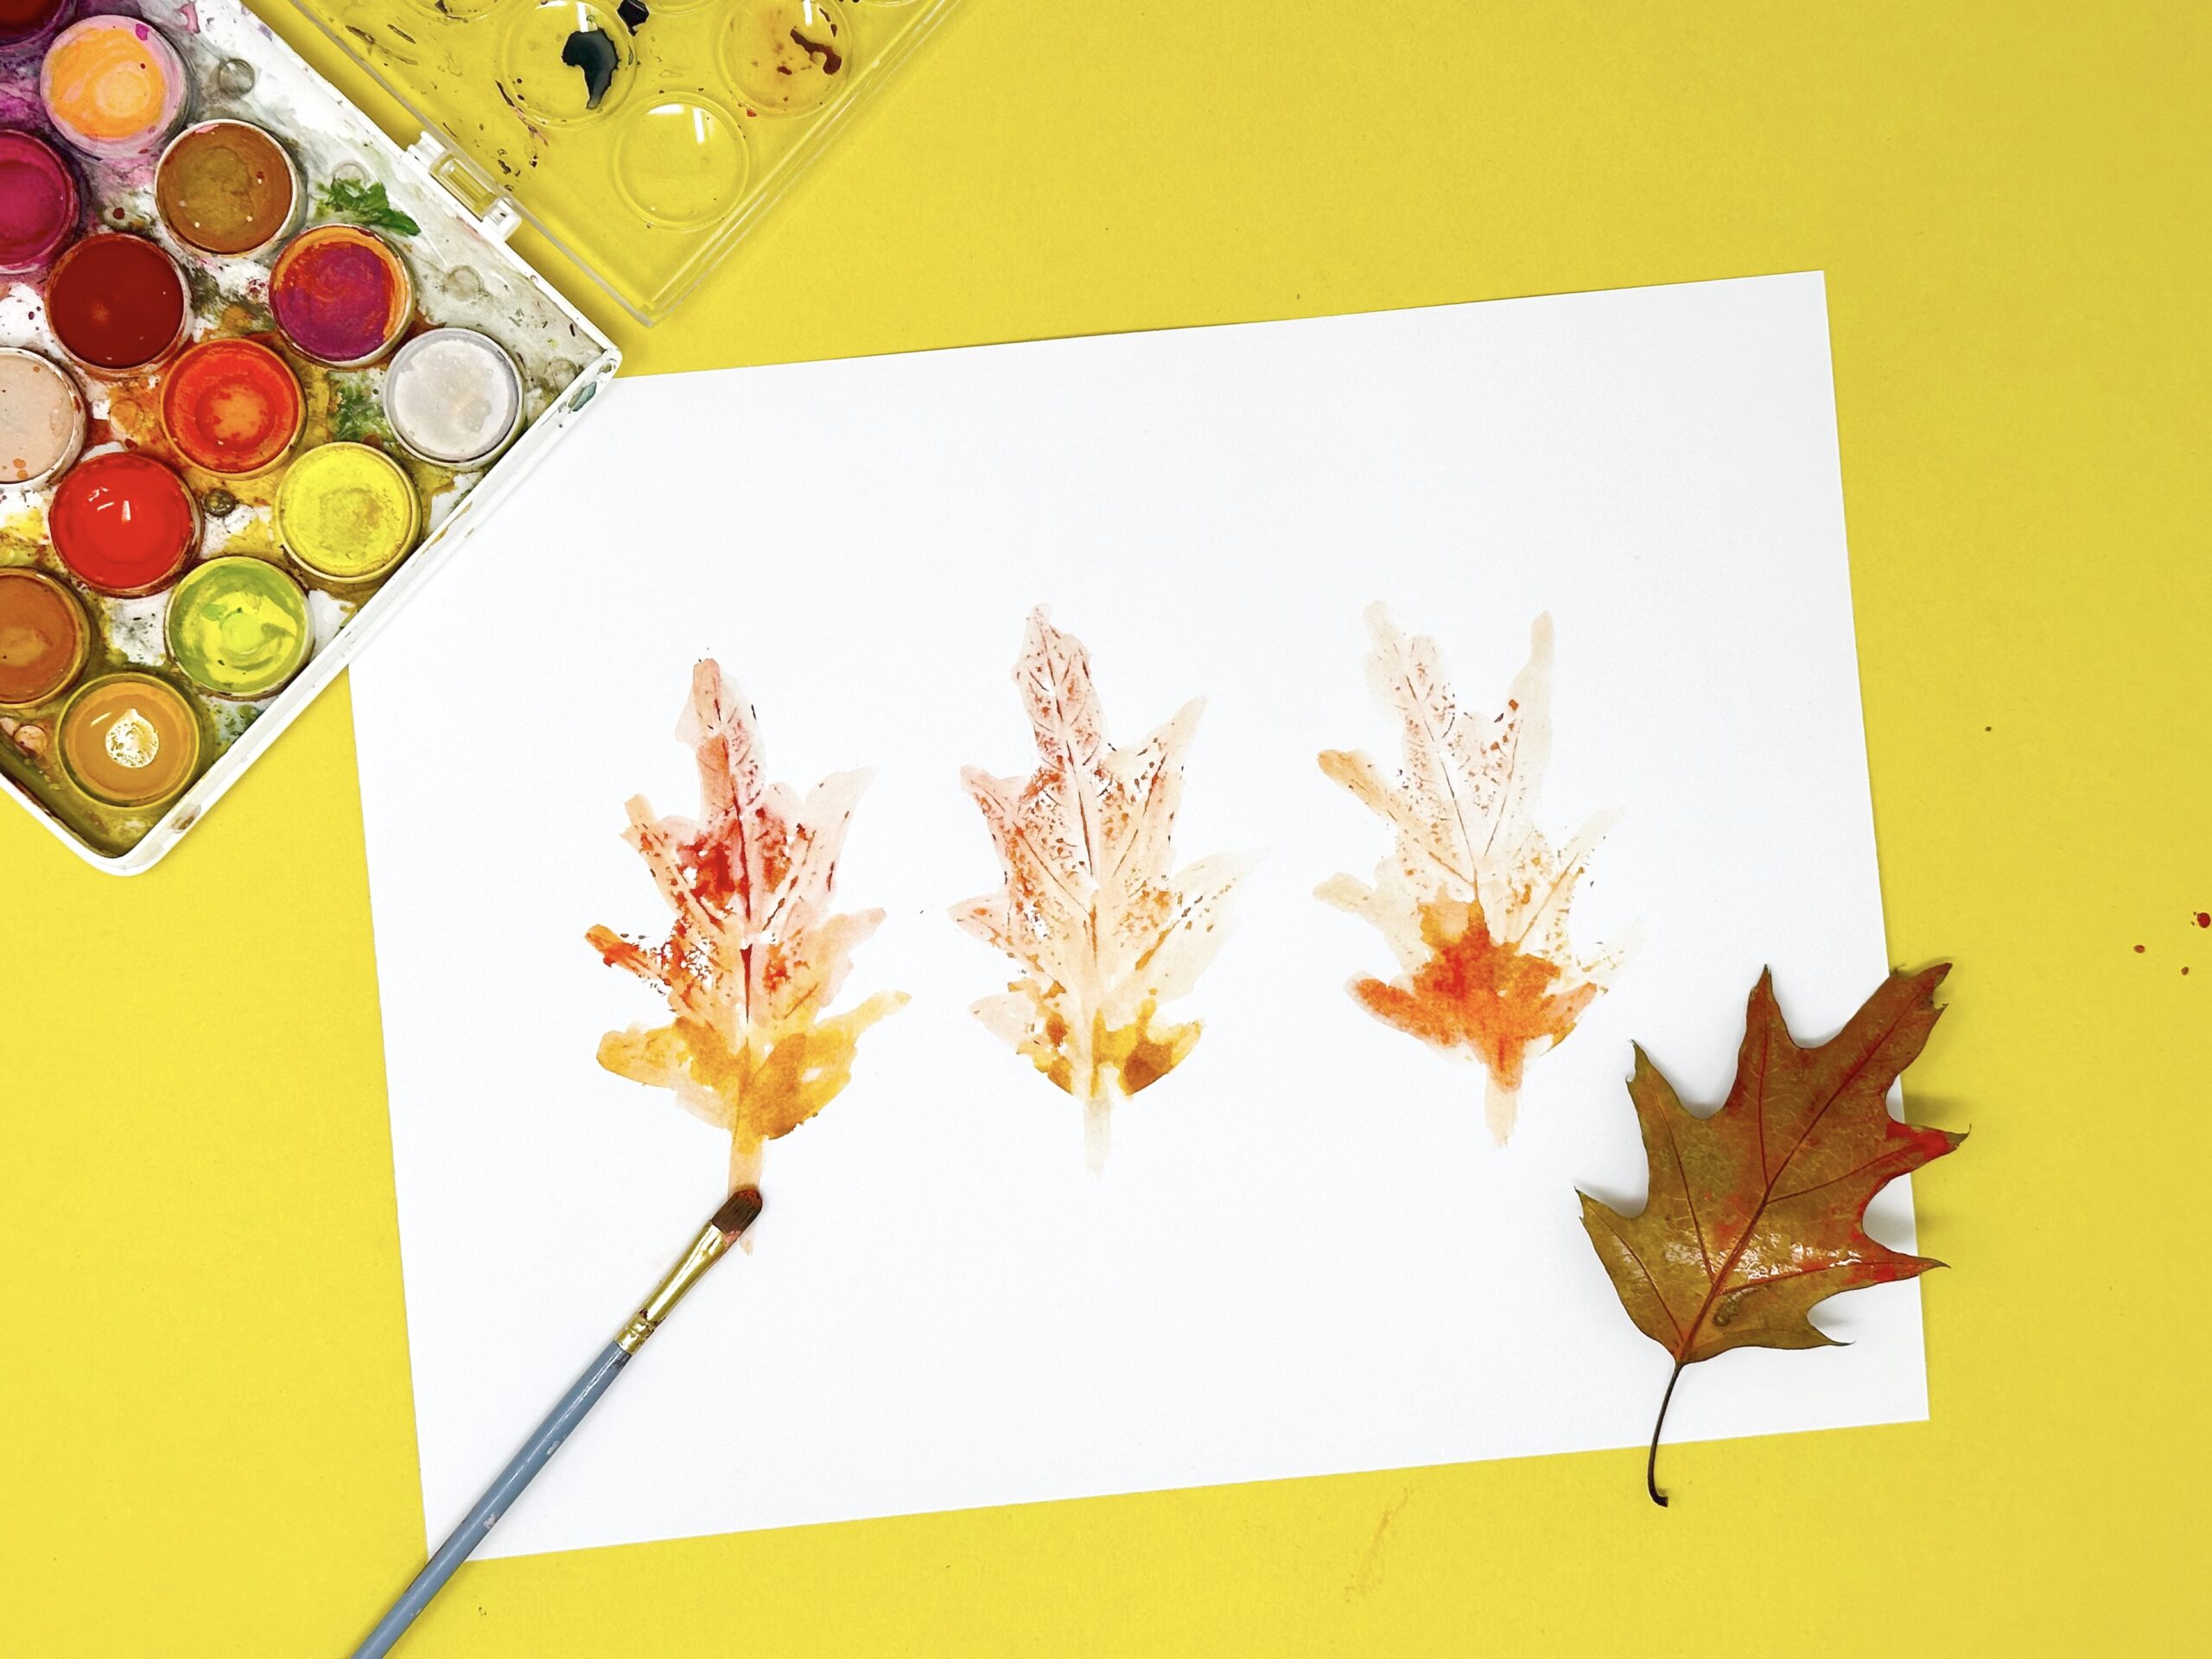
Supplies:
- leaves from outside
- paper
- paint
- paint brush
Instructions:
1. Gather up one or several sturdy leaves from outside.
2. Have your child paint the under side of the leaves (the side with more prominent veins).
3. Then, ask your child to press the paint-coated side of the leaves onto a sheet of paper, leaving behind unique and colorful leaf prints.
Tip: If using watercolor paint, be careful not to use too much water as it will make it harder for the paint to stick to the leaves. See additional leaf print techniques here!
13. Paper Plate Scarecrow
Supplies:
- paper plate
- dried straw or hay
- yellow, orange, and pink construction paper
- googly eyes
- scissors
- glue stick
- black marker or pipe cleaner
- optional: pink crayon or paper for cheeks
Instructions:
1. Cut yellow paper into a triangle large enough to fit the paper plate. This will be the scarecrow’s hat.
2. Use the dried straw to glue the hair strips around the top edge of the paper plate.
3. Glue the yellow hat down over the hair, across the top of the plate.
4. Glue down googly eyes, an orange paper triangle nose, and pink paper circles for the cheeks.
5. Curve the pipe cleaner into a smile and glue it down onto the plate (watch out for potentially sharp ends!). You could also use a black marker to draw it in.
6. Let dry and hang your scarecrow for a festive fall decoration!
14. Pumpkin Apple Stamping

Supplies:
- paper
- orange and green paint
- apples sliced in half
- paper plate
- apple stem
Instructions:
1. Pour out a bit of the paint onto a paper plate.
2. Dip the apple half into one of the paint colors and gently press it onto the paper, creating a pumpkin-shaped print.
3. Take your apple stem and press it into the green paint (you can also try painting it on with a paint brush). Then press the stem down onto the paper above the pumpkin.
4. Let dry completely, then show everyone how you turned apples into pumpkins!
15. Leaf Salt Painting
Supplies:
- white card stock
- liquid school glue
- table salt
- watercolor paints or food coloring diluted with water
- paintbrush or dropper
- pencil (optional, for drawing leaf shapes)
- tray or shallow box (to catch excess salt)
Instructions:
1. Draw a leaf shape on your paper with a pencil—or use one of our free printable leaf templates as a guide.
2. Set your paper in a baking sheet to help contain the salt.
3. Trace the leaf shape with white glue, following the pencil lines carefully.
4. Place the paper on a tray and generously sprinkle salt over all the glue lines.
5. Gently tap off the extra salt and let the glue and salt dry slightly (about 10–15 minutes).
6. Dip your paintbrush into watercolor paint, and gently touch it to the salted glue lines.
7. Watch the color spread! Continue adding different colors until your leaf is complete.
8. Let dry completely, then display your sparkling salt leaf art!
16. Sunflower Paper Plate

Supplies:
- paper plate
- black marker
- yellow and brown paint
- craft glue
- sunflower seeds
Instructions:
1. Use a marker, pen, or pencil to draw a circle in the middle of the paper plate, as well as a series of petals around the edge. You can make the petals as big or small as you’d like.
2. Fill in the petals with yellow paint.
3. Mix some craft glue into your brown paint. Then use the mixture to paint the brown circle in the center of the flower.
4. While the glue/paint mixture is still wet, sprinkle sunflower seeds onto the middle of the plate and let them dry.
Tip: After completing this craft, keep little ones enjoying this flower with our free printable sunflower coloring pages.
17. T is for Tree Fall Letter Craft
Supplies:
- brown and orange construction paper
- sheet of white paper
- scissors
- glue
Instructions:
1. Print out or draw an uppercase letter T onto a sheet of brown construction paper, then cut it out. Use our letter T outlines from this set of worksheets if needed.
2. Cut out a cloud shape from orange construction paper and glue it to the top portion of the letter T, forming the canopy of the tree.
3. Add texture (or leaves) by crumpling up small bits of orange paper and gluing them to the top of the tree.
Fall Crafts and Art Activities for Kindergarteners
Kindergarten is a great time for kids to try more hands-on projects, and fall is full of inspiration! These seasonal crafts give children a chance to cut, glue, paint, and create while exploring autumn themes like trees and pumpkins and even work in some letter recognition practice too.
18. Hand Print Acorn
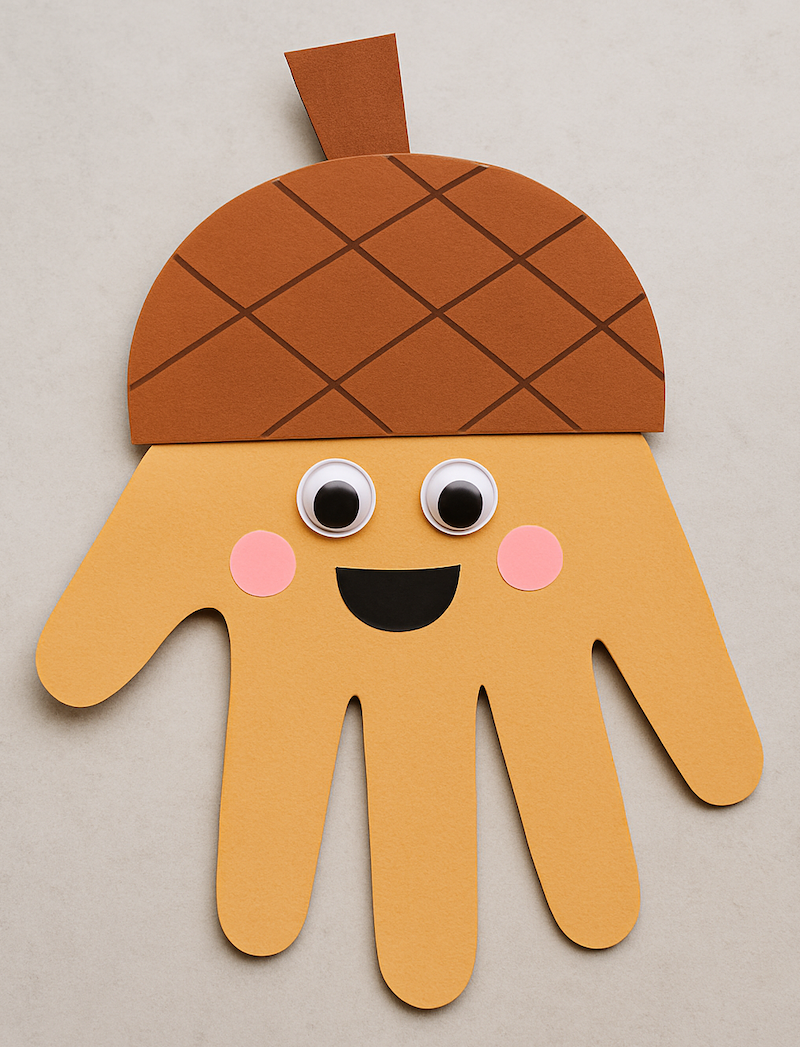
Supplies:
- tan, pink, and brown paper
- googly eyes
- glue
- black and brown markers
Instructions:
1. Trace your child’s hand onto the tan paper and cut it out.
2. Trace and cut out a semi-circle from the brown paper. The semi circle should be wide enough to fit the end of your child’s handprint.
3. Cut out a small tapered rectangle from the brown paper to be the acorn’s stem.
4. Cut out two small circles from the pink construction paper. You can also use pink marker to create the acorn’s rosy cheeks.
5. Assemble and glue down all the pieces, gluing on the googly eyes at the end.
6. Use a brown marker to draw the grid lines onto the acorn’s cap and a black marker to draw on a smile.
19. Bubble Wrap Corn
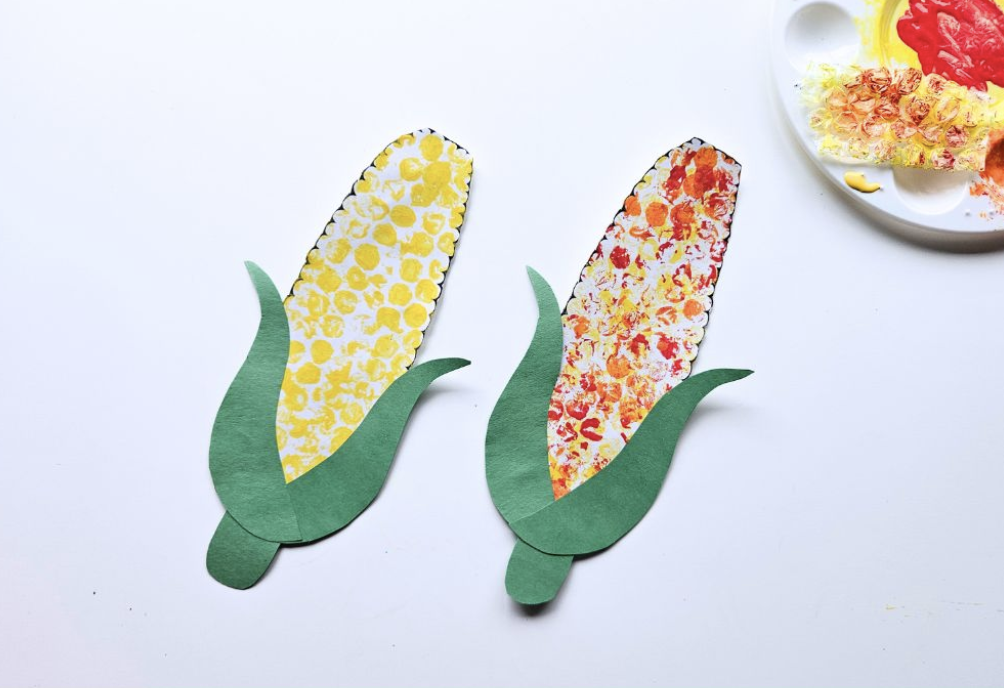
Supplies:
- white and green paper
- yellow, red, and orange paint
- bubble wrap (cut into small squares)
- paper plate
Instructions:
1. Draw and cut out the shape of a corn cob from the white paper.
2. Draw and cut out two corn husks and a stem from the green paper.
3. Squeeze the paint onto a paper plate.
4. Have your child gently dip a square of bubble wrap into the paint and press it onto their corn cob. Repeat this process until their satisfied with how their corn looks. Let it dry.
5. Glue the green paper husks and stem to the painted corn cobs and enjoy your corn masterpiece!
20. Pinecone Turkey
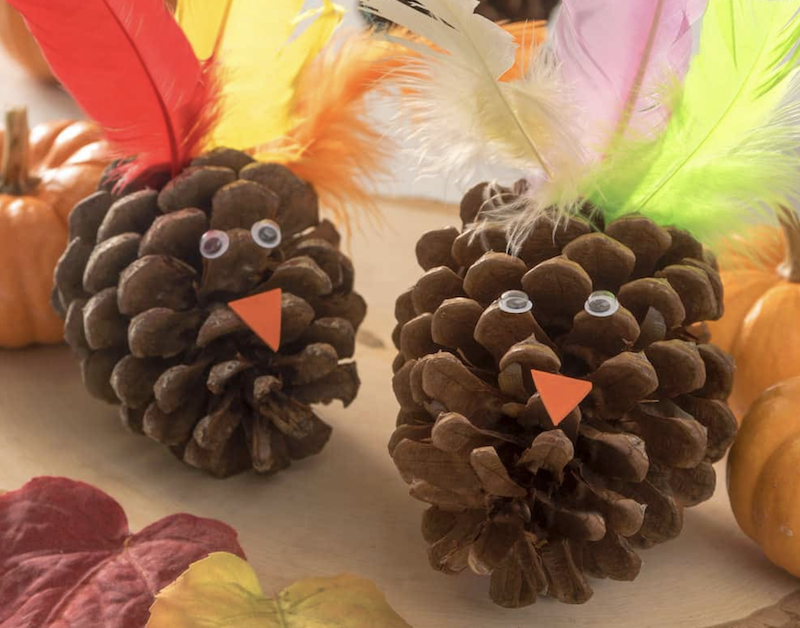
Supplies:
- pine cone
- feathers
- liquid glue
- paint brush
- colored paper
- scissors
- googly eyes
Instructions:
1. Turn your pine cone on its side so the bottom of it is facing you.
2. Have your child pick out the feathers they’d like to use on their pine cone turkey and cut out a small orange triangle to form the turkey’s beak.
3. Use the paint brush to brush the liquid glue onto the upper back of the pinecone. Place the feathers in the glue. Hold them in place briefly to dry a bit.
4. Glue the googly eyes to the front of the turkey and then add it’s beak.
21. Foil Painted Tree
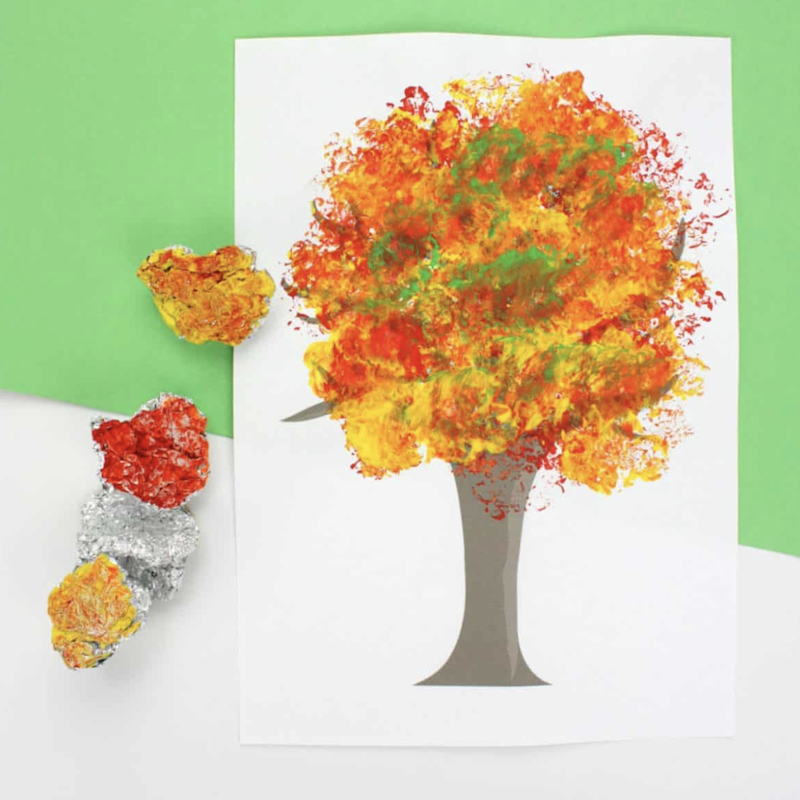
Supplies:
- white paper
- brown paper
- red, orange, and yellow paint
- paper plate
- tin foil
Instructions:
1. Cut out the shape of a tree trunk and glue onto the white sheet of paper.
2. Squeeze some of the paint onto a paper plate.
3. Rip off several small squares of tin foil and crumple them up slightly.
4. Have your child dip the foil into the paint and then onto the paper, creating fall colored leaves for their tree.
22. Yarn Pumpkin
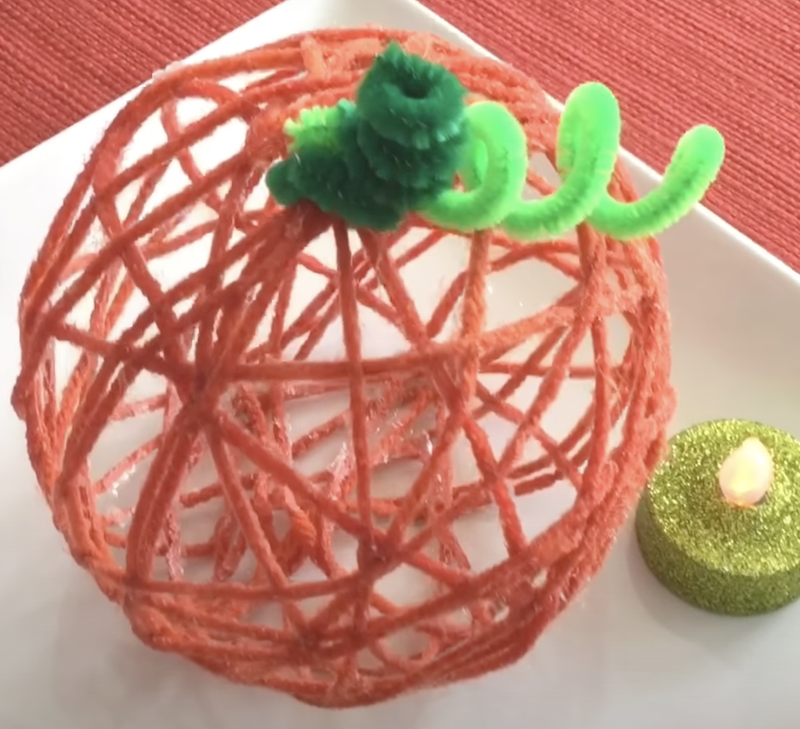
Supplies:
- orange yarn
- balloon
- glue
- green pipe cleaners
- pencil
- disposable gloves
Instructions:
1. Blow up a small balloon to a round pumpkin-like shape and tie it.
2. Mix white glue with water (about 2 parts glue to 1 part water) in a bowl.
3. Dip orange yarn into the glue mixture and coat it fully.
4. Put on your disposable gloves. Wrap the gluey yarn around the balloon in different directions until mostly covered.
5. Let it dry overnight until the yarn hardens completely.
6. Pop and remove the balloon carefully from inside the hardened yarn shape.
7. Twist green pipe cleaners into a stem and curly vines, then insert them into the top of the pumpkin.
Tip: Watch a full video tutorial on creating the pumpkin yarn craft here.
23. Bead Corn
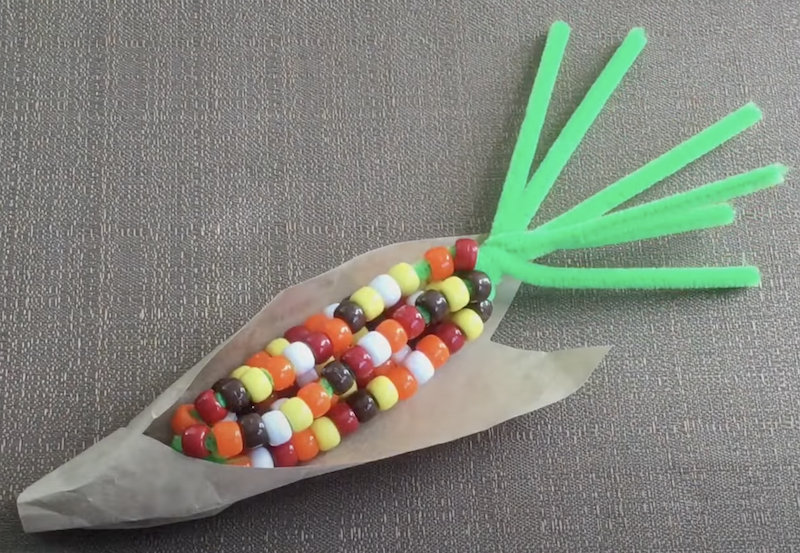
Supplies:
- 6 green pipe cleaners
- assorted pony beads (about 100)
- scissors
- brown paper (optional)
Instructions:
1. String the beads onto the pipe cleaner. Repeat six times so you have six beaded pipe cleaners.
2. Group your six beaded pipe cleaners together and twist them together at the top and bottom to prevent the beads from falling off.
3. Trim the bottom ends of the pipe cleaners (leave the top ends long). Careful–the tips of the pipe cleaners will be sharp after they are cut!
4. Carefully bend the tips of the pipe cleaners you trimmed upward and towards the middle so that the sharp points will not stick out.
5. For an additional fun look, you can cut a piece of brown paper to wrap your corn cob in. A brown lunch bag or grocery bag can also work great for this.
Tip: We used 16 beads on each pipe cleaner in our example.
24. Scarecrow Popsicle Craft
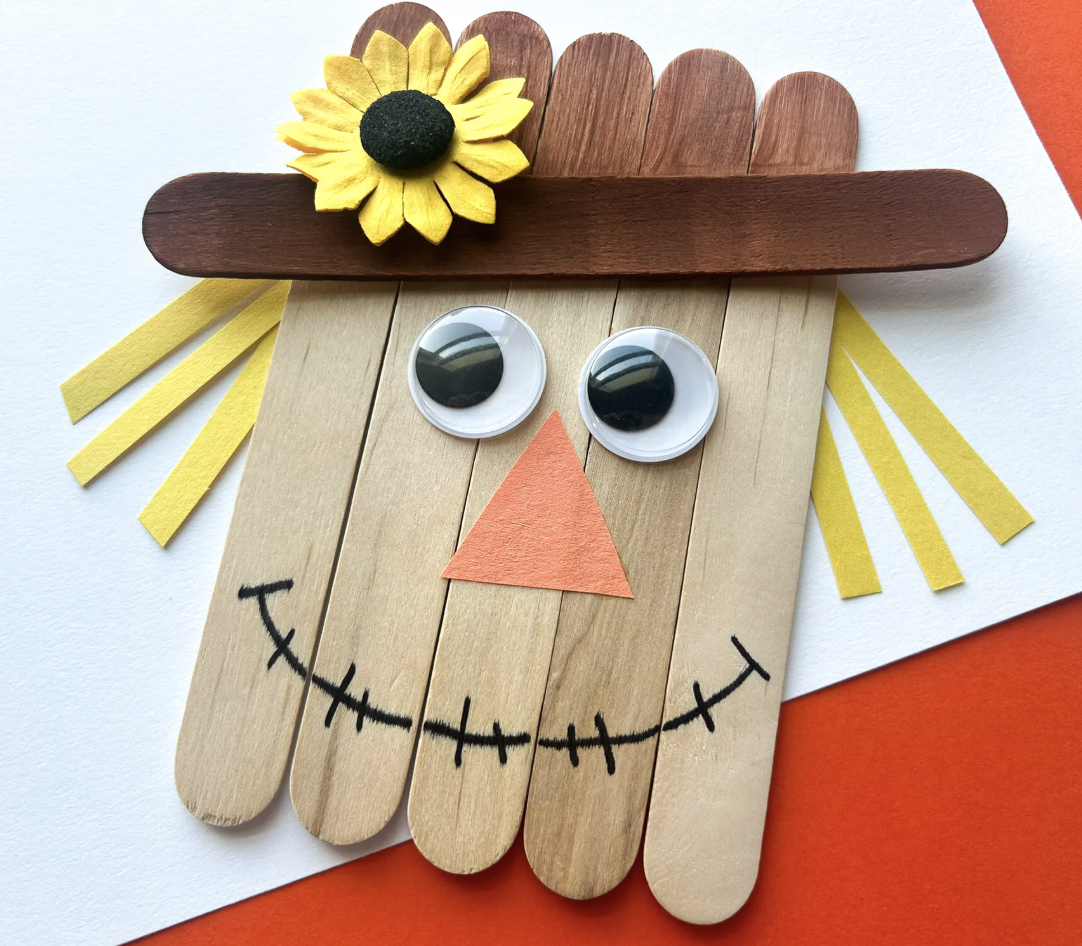
Supplies:
- 6 craft sticks
- liquid glue
- card stock
- orange and yellow paper
- brown paint
- googly eyes
- black and orange marker
- dried or artificial flower (optional)
Instructions:
1. Line 5 craft sticks up on a piece of card stock and glue them down.
2. Place the last craft stick on a diagonal towards the top of the other craft sticks, forming the brim of the scarecrow’s hat.
3. Paint the “hat” portion of the craft sticks brown, leaving the rest unpainted.
4. Glue down googly eyes and any dried flowers or straw you may want to add to the scarecrow’s hat.
5. Cut a triangle from the orange paper to form the scarecrow’s nose and several thin strips of yellow paper for the scarecrow’s hair. Glue it all into place.
6. Use the black marker to draw a smile onto the scarecrow.
25. O is for Owl Letter Craft
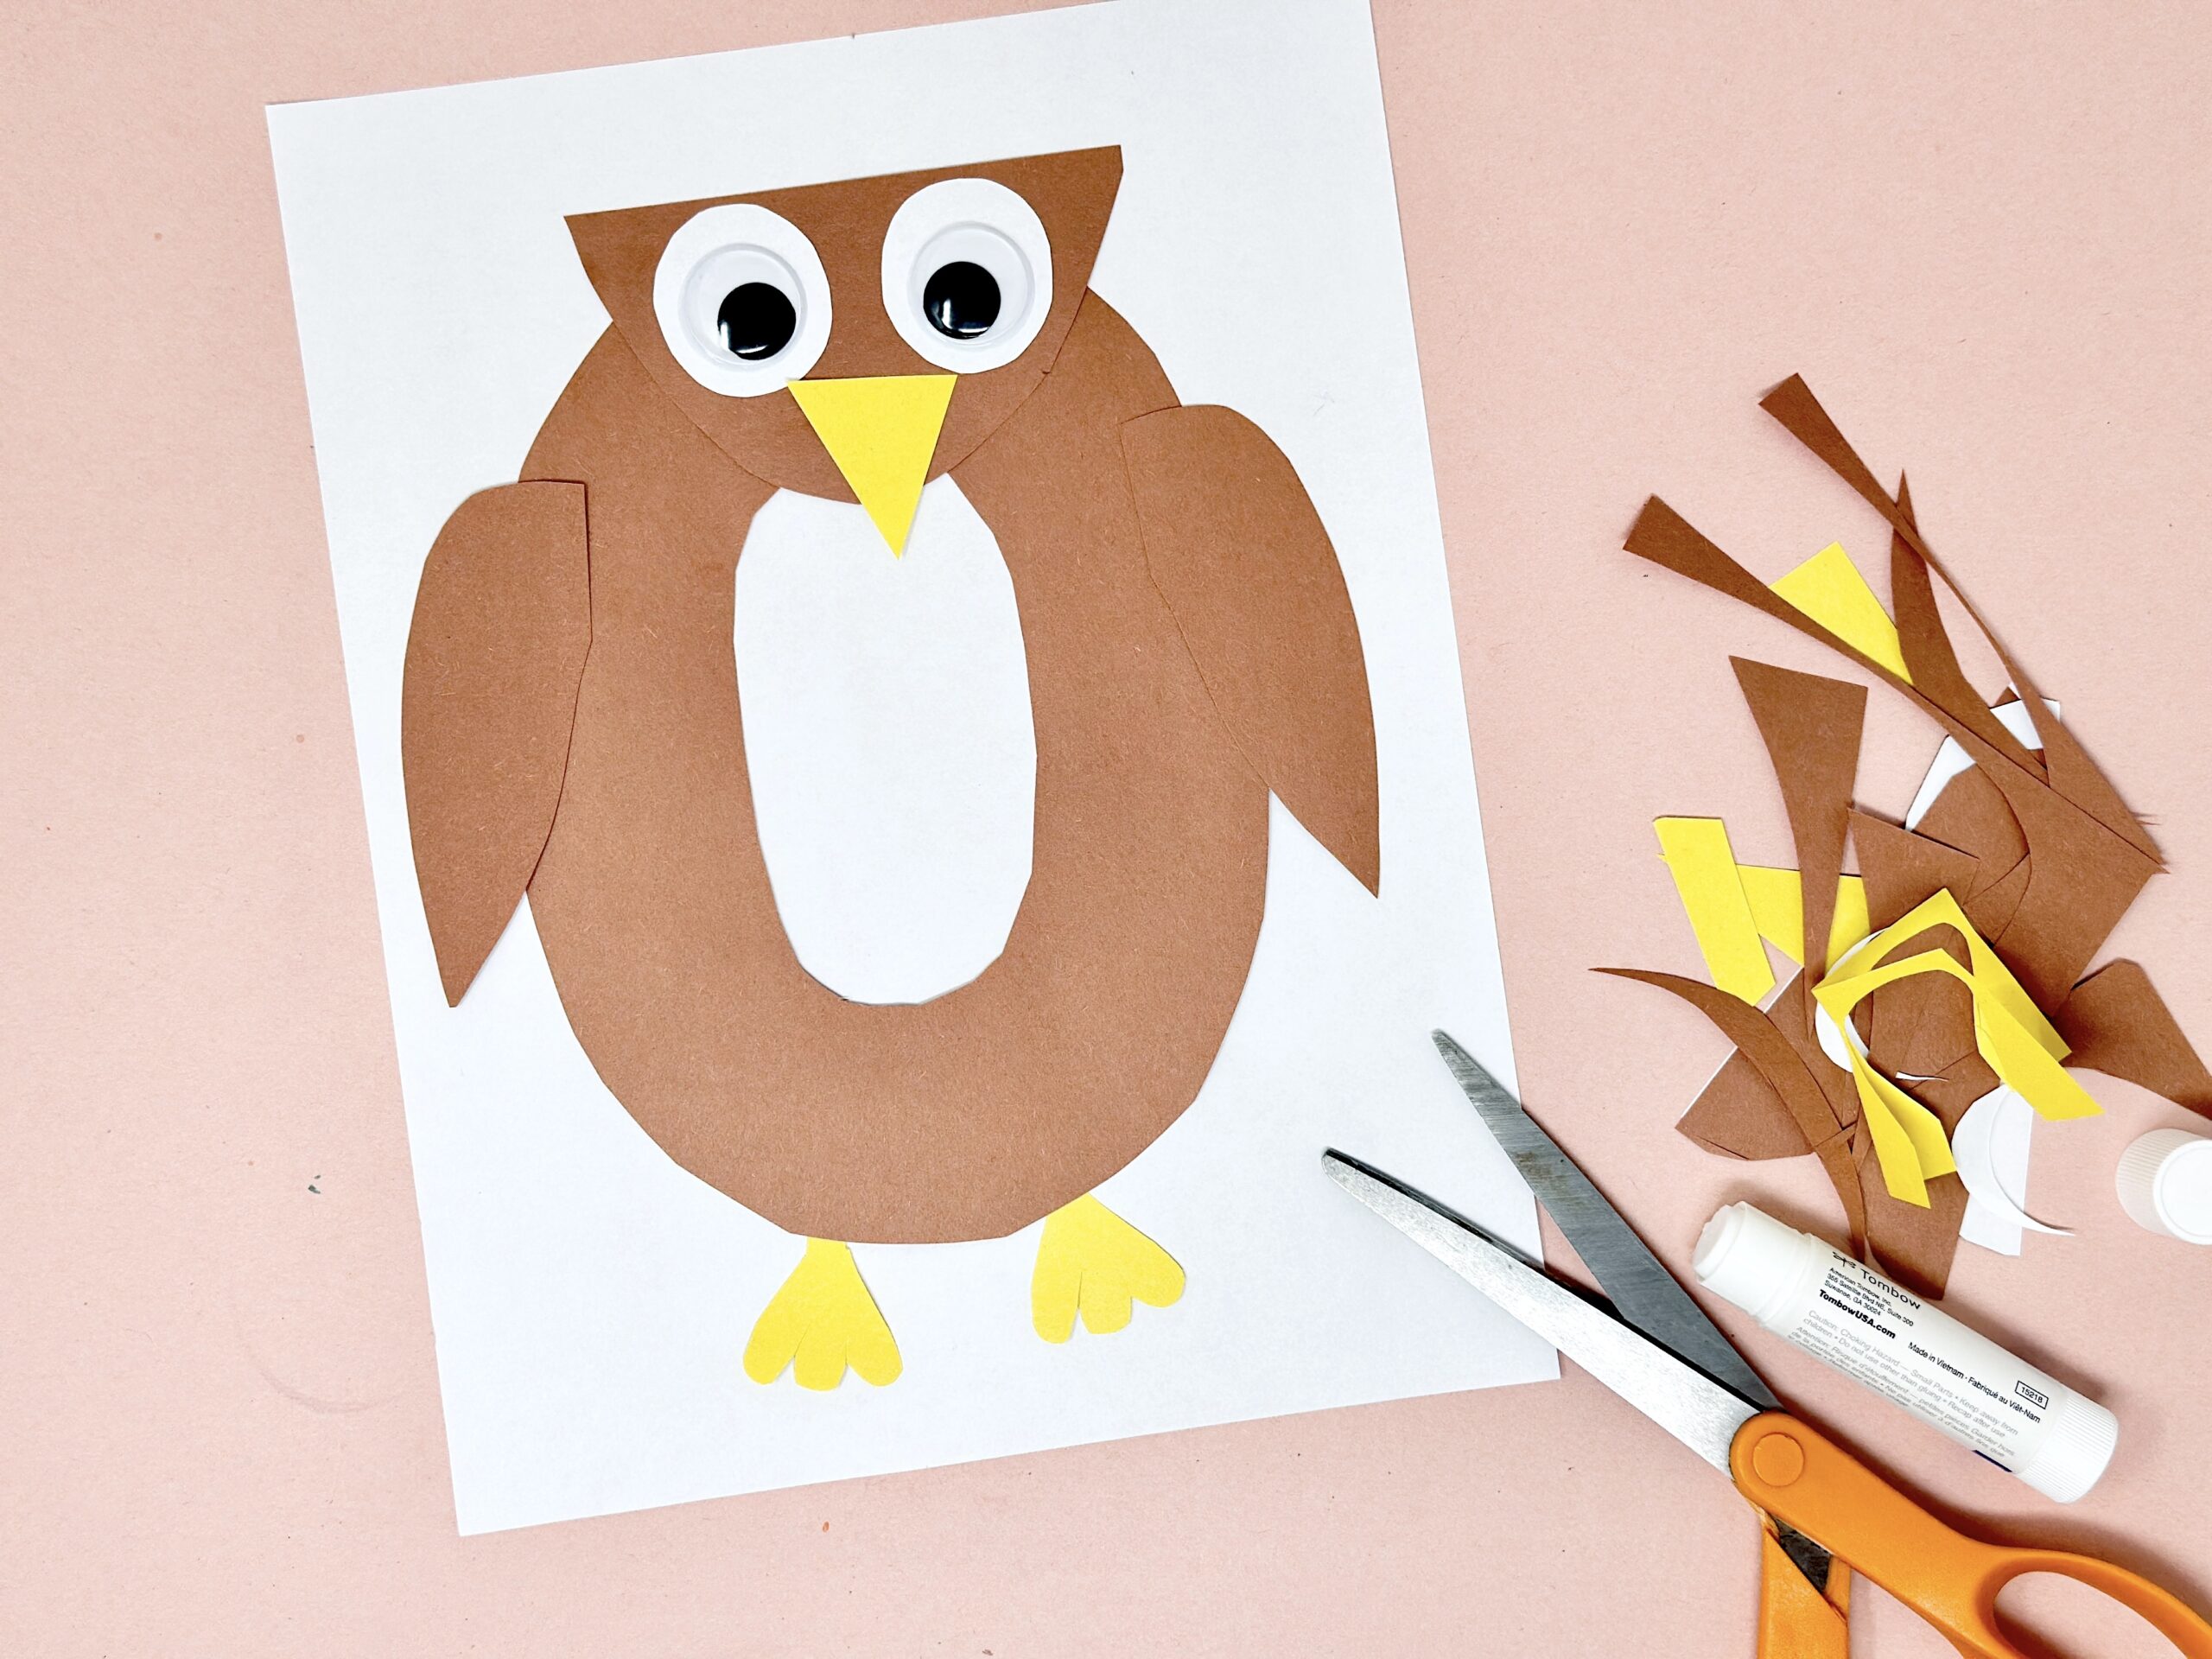
Supplies:
- brown, white, and yellow construction paper
- scissors
- glue
- googly eyes
Instructions:
1. Trace the letter O onto a piece of brown construction paper and cut it out. Use a template from our free letter O worksheets if you’d like.
2. Cut out a semi-circle for the owl’s head and two long pointy ovals for its wings.
3. Cut out a yellow triangle for the owl’s beak and two triangles with a wavy edge for the owl’s feet
4. Cut out two white circles for the owl’s eyes.
5. Work with your child to assemble and glue down all the pieces of the owl, saving the googly eyes for the end.
Tip: Pair this craft with out free printable owl coloring pages for even more creative fun!
26. Toilet Paper Tube Tree
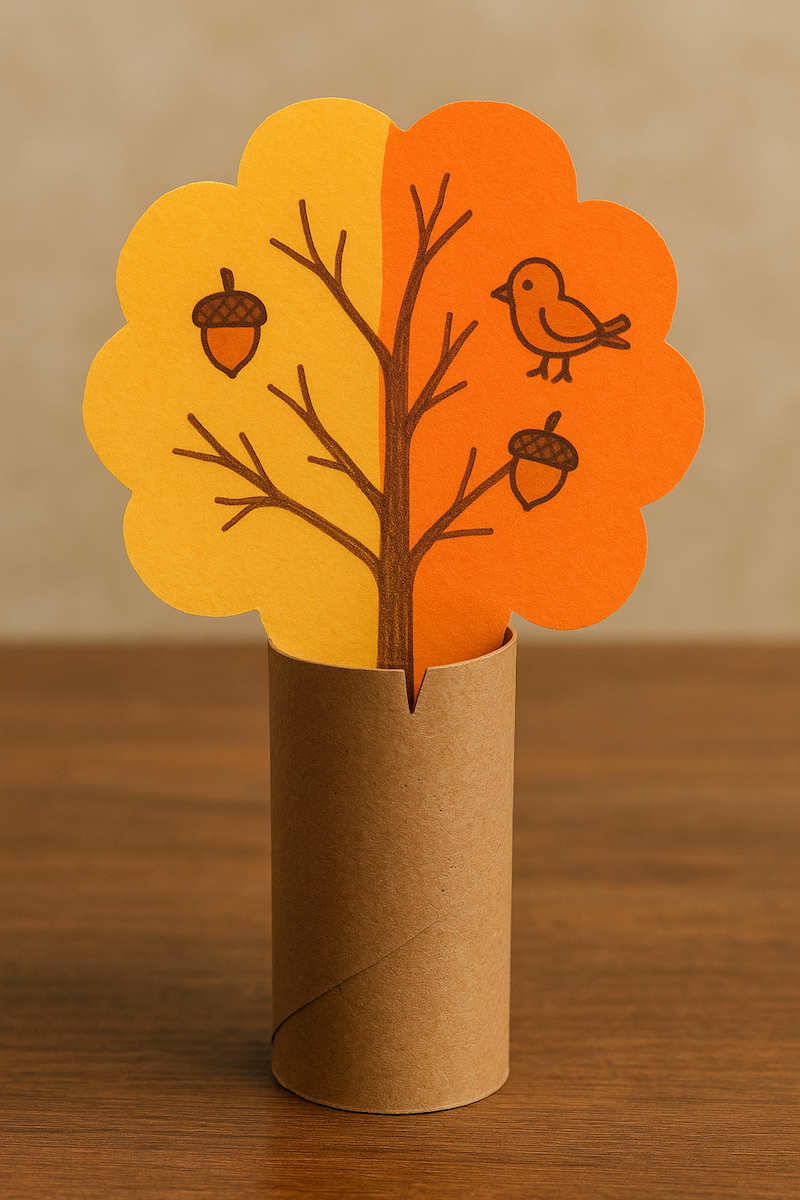
Supplies:
- brown toilet paper tube
- orange and yellow construction paper or white card stock
- liquid school glue
- scissors
- fall stickers
- markers or crayons
Instructions:
1. Use the orange and/or yellow construction paper to cut out a cloud shaped tree top. You can also trim and color a white piece of card stock, as we did here.
2. Use stickers of markers to decorate your tree top with branches, animals, acorns, and whatever else you’d like.
3. There are two different ways to attach the tree top to the toilet paper tube: 1) You can trim the bottom of your tree top to slide into the toilet paper tube. 2) You can cut slits into opposite sides of the toilet paper tube and slide the paper into them.
4. Create more trees each day until you have a forest!
27. Sunflower Letter Craft
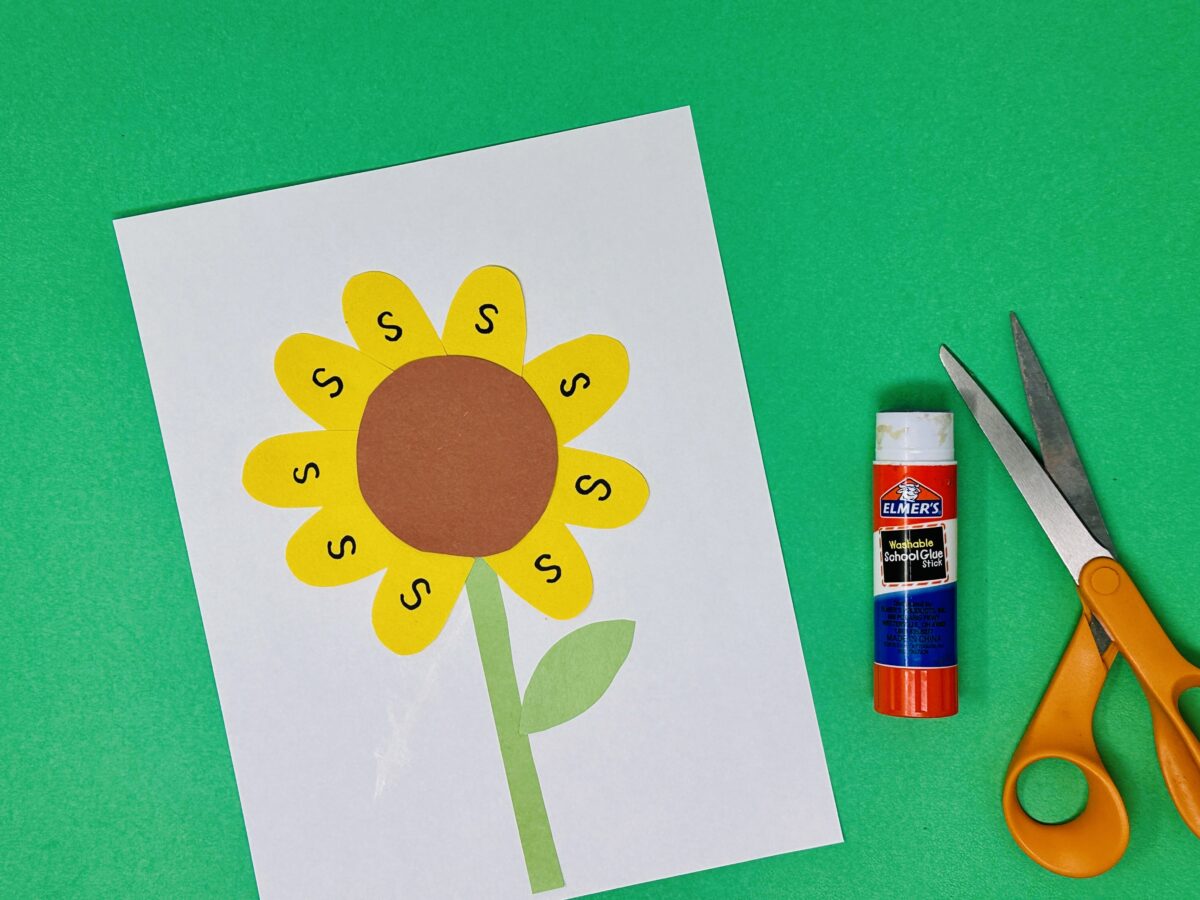
Supplies:
- yellow, brown, white, and green paper
- marker
- scissors
- glue
Instructions:
1. Cut out a circle from a brown piece of paper.
2. Cut out oval-shaped semi-circles from the yellow paper to create the sunflowers petals.
3. Cut out a long stem and leaf from the green paper.
4. Have your child assemble and glue down the sunflower parts.
5. Have your child assemble and glue down the sunflower parts.
6. Next, have them practice making the letter S shape in each sunflower petal, using a pencil, marker, or crayon.
Tip: Keep practicing with the letter S with out Letter S Worksheets.
28. A is for Apple
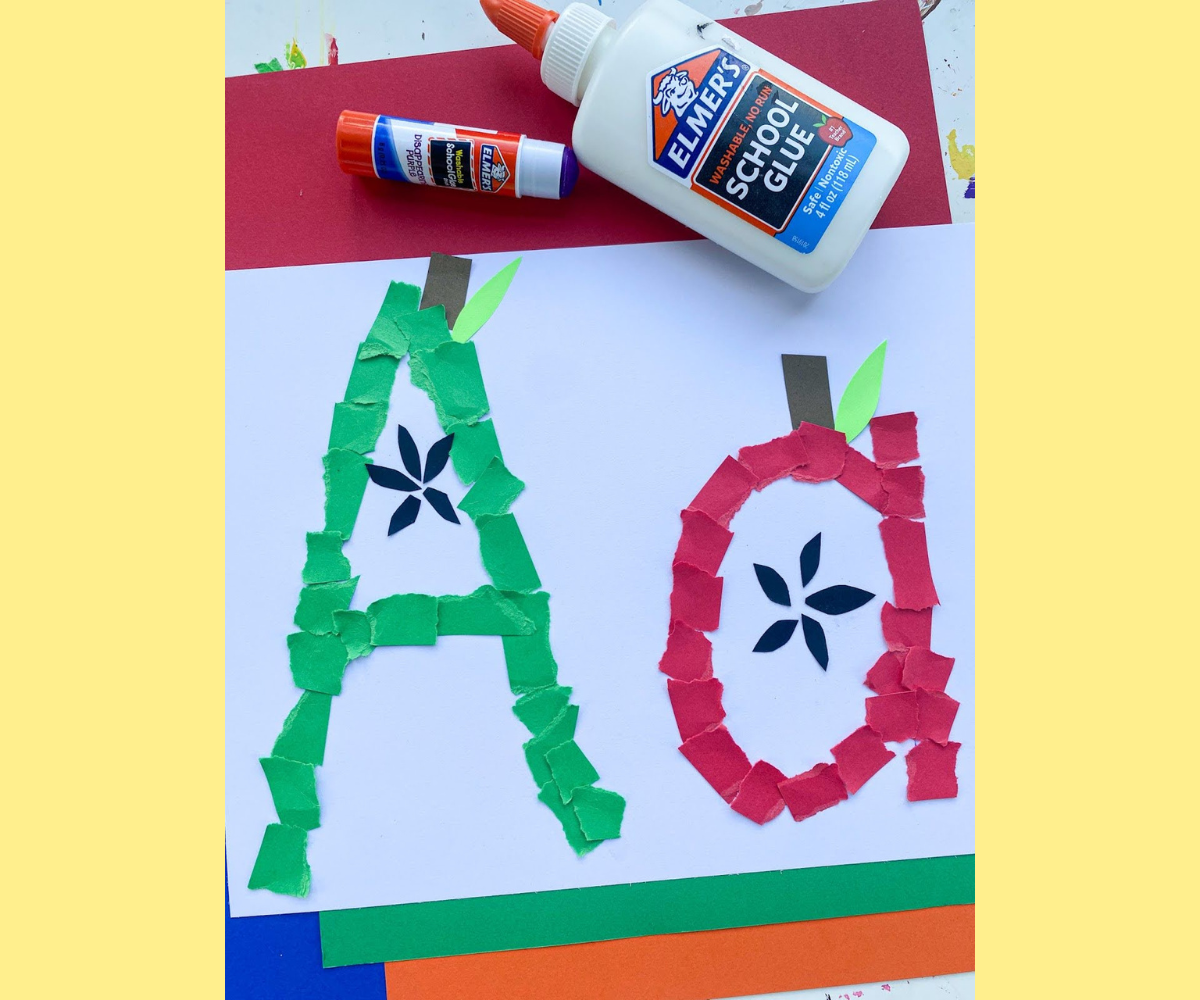
Supplies:
- white card stock paper
- red, green, and brown construction paper
- marker
- glue stick
- scissors (optional)
Instructions:
1. Trace an uppercase and lowercase A onto the card stock.
2. Have your child cut or tear the construction paper into small pieces, then glue them over the letter shapes you traced. Use red for one letter and green for the other.
3. When they’re done, add brown stems and use a marker to draw little seeds inside as shown.
29. Paper Pumpkin Wreath
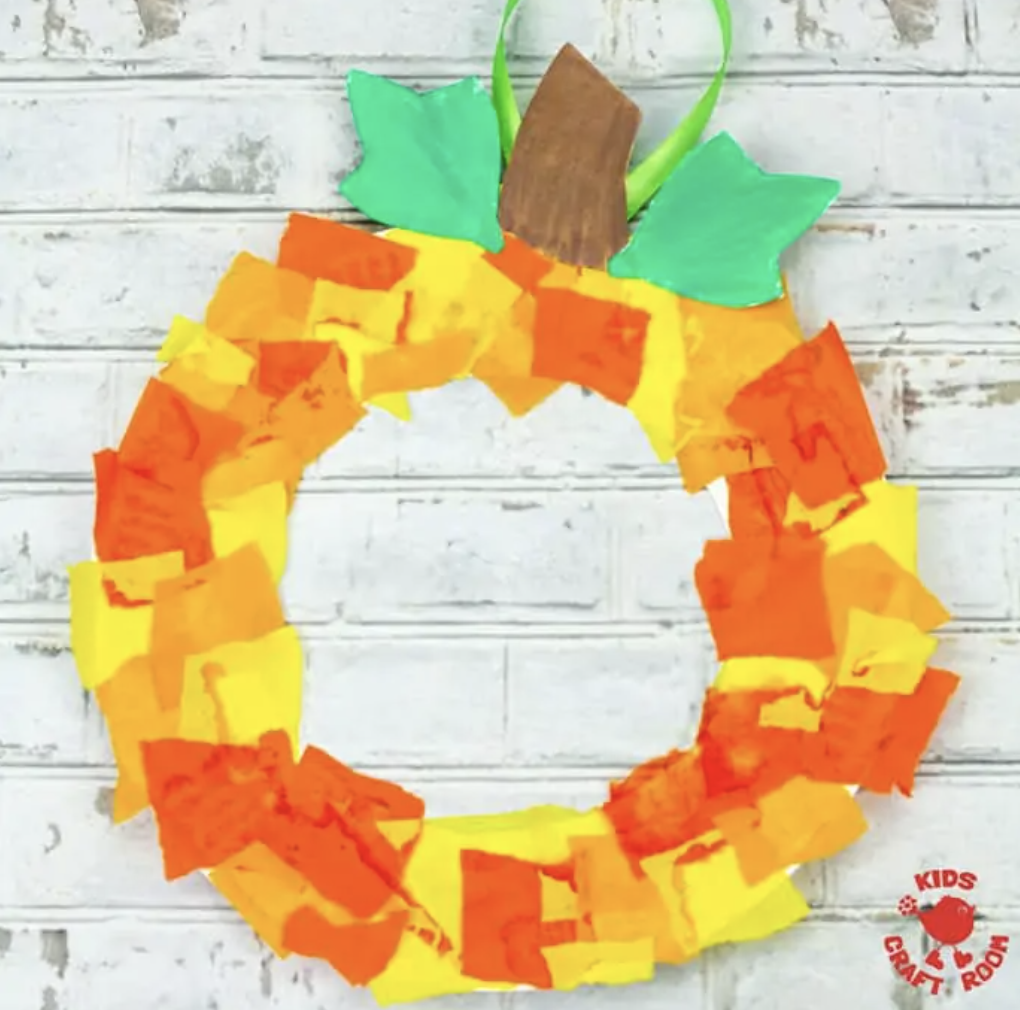
Supplies:
- 1 paper plate
- orange , green, and brown construction paper
- scissors
- glue stick or white glue
- pencil (optional)
Instructions:
1. Cut the center out of a paper plate to create a wreath ring.
2. Tear orange and yellow construction paper into small pieces.
3. Glue the orange and yellow pieces all around the paper plate ring to cover it completely.
4. Cut green leaves and brown stems from construction paper and glue them to the top of the wreath.
5. Add a string at the top for hanging.
30. Balloon Bat
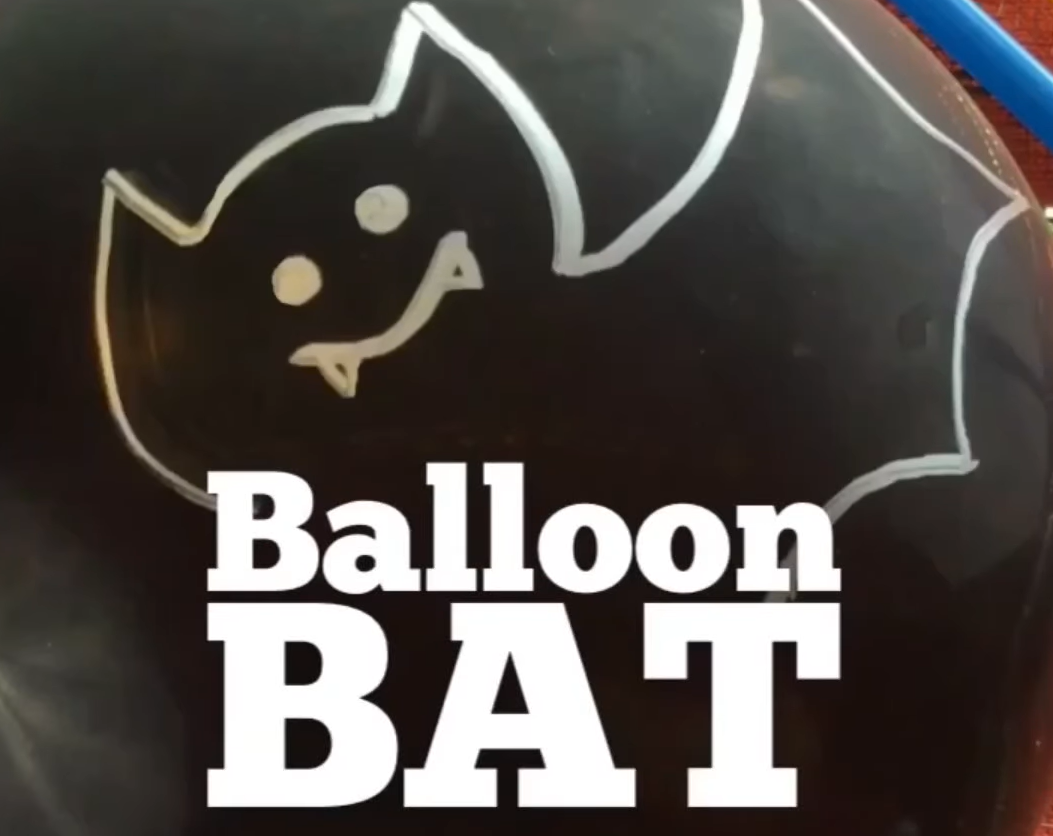
Supplies:
- dark-colored balloons
- binder clip
- tape
- silver marker
- string
- drinking straws
Instructions:
1. Wrap a piece of tape around the balloon’s neck (the opening) to make it sturdier for clipping.
2. Blow up the balloon to your desired size, but don’t tie it. Pinch the opening, fold it over a few times, and secure it with a binder clip.
3. On the opposite side of the balloon opening, use a marker to draw a bat—outline the wings, body, and head, then add eyes, ears, and a mouth.
4. Thread a long piece of string through a drinking straw. This will guide the balloon as it flies.
5. Tape the straw securely to the top center of the balloon (above your drawing) to ensure a straight flight.
6. Tie each end of the string to sturdy objects (like chairs or doorknobs) so it’s stretched tight and level.
7. Unclip the binder clip. The escaping air will propel your balloon bat along the string for a fun flying effect!
31. Pumpkin Suncatcher
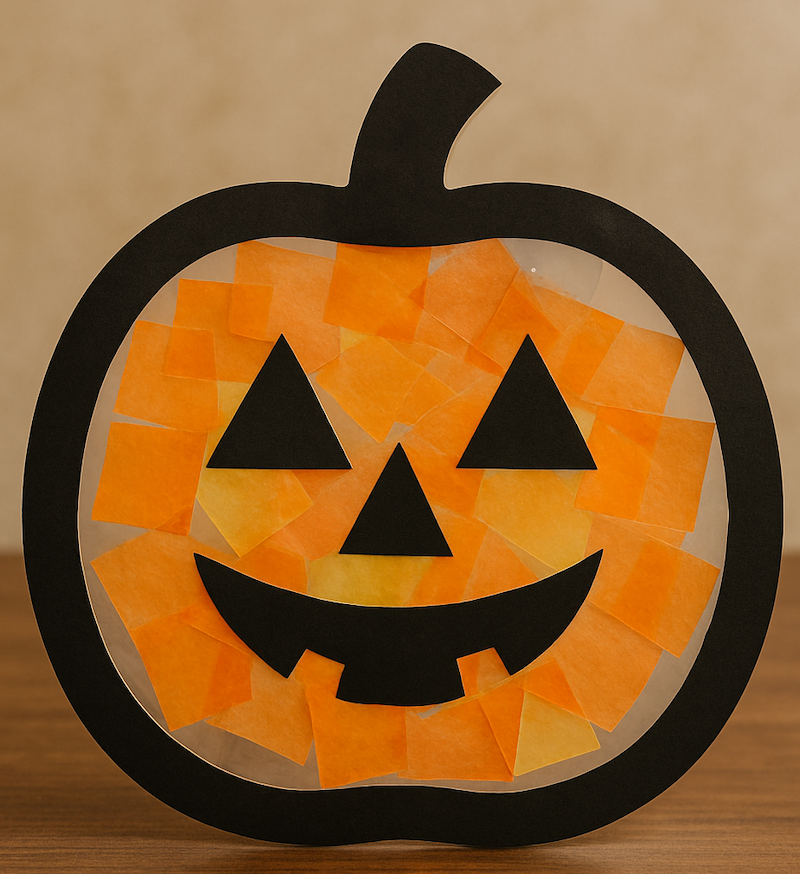
Supplies:
- tissue paper
- black construction paper
- clear contact paper
- paper trimmer
- scissors
- masking tape
- sharpie
- pumpkin outline
- card stock (optional)
Instructions:
1. Cut a large pumpkin shape out of black construction paper, then cut out the inside to make a hollow frame.
2. Cut a piece of clear contact paper and stick it—sticky side up—behind the pumpkin frame. Trim the edges of the contact paper to fit the shape of your pumpkin outline.
3. Tear or cut orange tissue paper into small squares or strips.
4. Stick tissue paper pieces onto the sticky contact paper inside the pumpkin frame to fill it in completely.
5. Cut and add black face pieces (triangle eyes, nose, and smile) or make it plain.
6. Seal the back by placing another sheet of contact paper over the tissue-paper-filled side (sticky sides together).
7. Punch a hole or tape a string at the top to hang your pumpkin in the window.
Tip: Try using our pumpkin coloring pages to create a template – simply cut one out around the edges of the pumpkin and trace it.
32. X is for Fox Fall Letter Craft
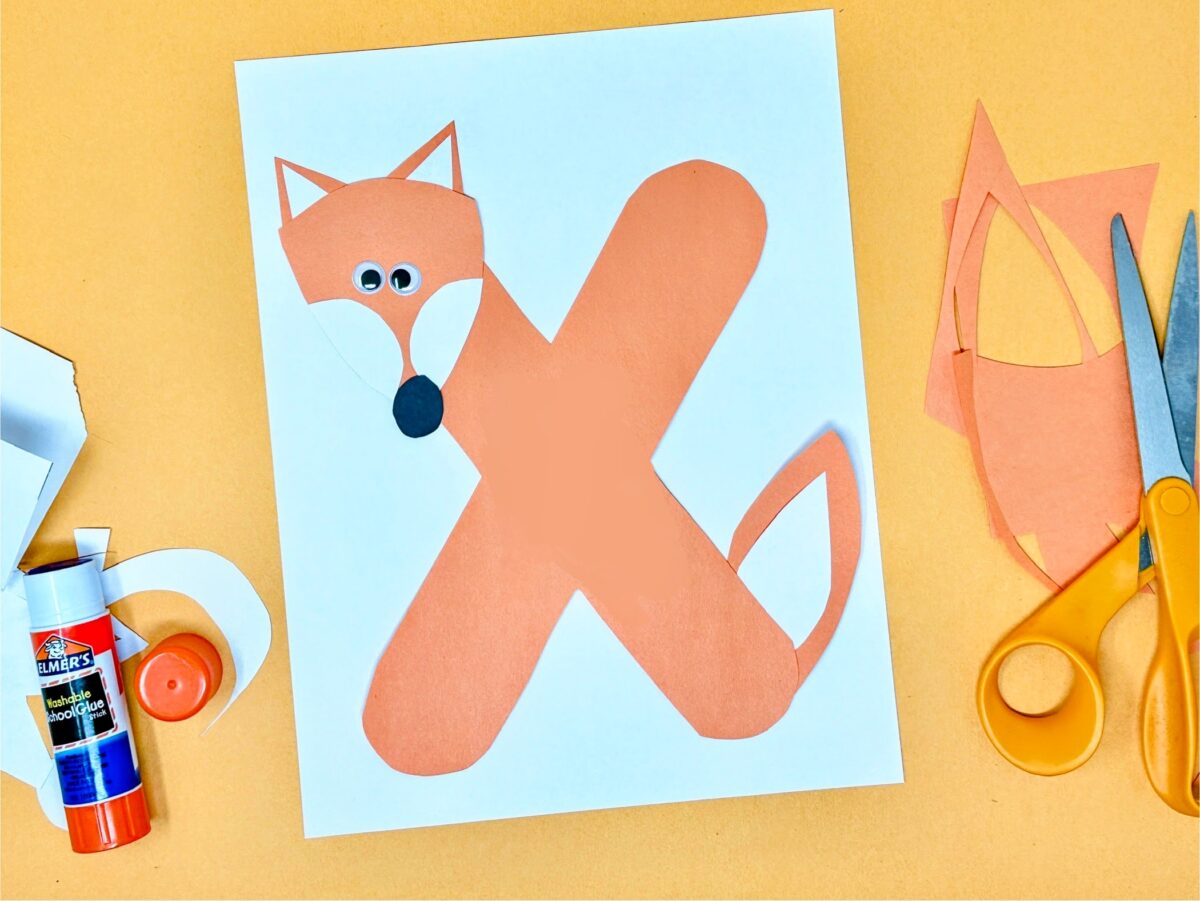
Supplies:
- orange, white, and black construction paper
- scissors
- glue
- googly eyes
Instructions:
1. Draw the shape of a letter X onto a piece of orange paper and cut it out (use our letter X template from above if you need something to trace).
2. Trace the shape of the fox’s head, tail, and ears onto the orange paper and cut them out (all of these shapes are slight variations on a triangle).
3. Cut out smaller white triangles to form the inner part of the fox’s ears and tail.
4. Cut out two oval semi-circles to form the fox’s cheeks.
5. Have your child assemble the pieces to create their fox, gluing them down when they’re ready.
6. Use a black marker or a black circular piece of paper to create the fox’s nose. Glue down googly eyes to complete the fox’s cute face!
Tip: Explore more foxes with our free printable fox coloring pages for kids!
33. Paper Pumpkin
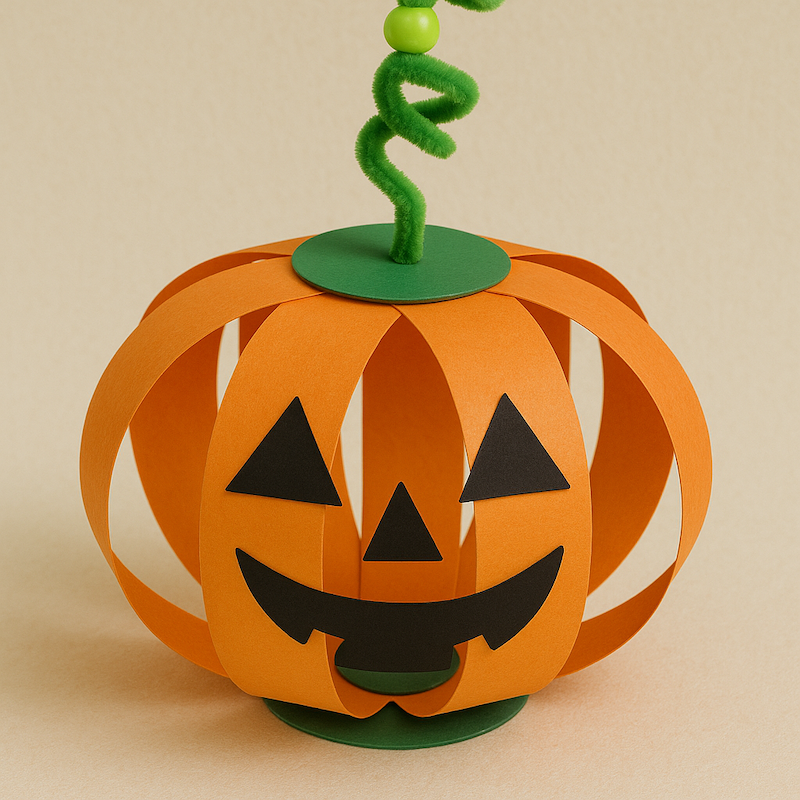
Supplies:
- green, orange, and black construction paper
- scissors
- green pipe cleaners
- pencil or pen
- hole punch
- beads
- glue stick
Instructions:
1. Start by taking two sheets of orange construction paper and layering them on top of each other. Cut four equal strips lengthwise from the paper.
2. Using the green construction paper, cut out two circles, each about 2.5 inches in diameter.
3. Take each of the orange strips and use a hole punch to punch holes at both ends of the strips. The holes should be about 3/4 of an inch from the ends. Then punch a hole in the center of each green circle—this is where you will thread the pipe cleaners through.
4. Take one of the green circles and thread a pipe cleaner through the center hole. Bend the pipe cleaner into a U shape underneath the circle to secure it in place. This will be the base of your pumpkin.
5. Take the other end of the pipe cleaner and thread it through one end of all the orange strips. Once all the strips are threaded onto the pipe cleaner, thread the pipe cleaner through the holes on the other end of the strips. Finally, thread it through the hole in the second green circle, which will be the top of your pumpkin.
6. Once the pipe cleaner is threaded through the top green circle with about 4-5 inches to spare, you can add some beads onto the end of the pipe cleaner.
7. Now take a pencil or pen and wrap the remaining pipe cleaner around it to create a curly stem. Once it’s twisted, slide the pencil out, and your stem will have a fun, curly shape, adding character to your pumpkin.
8. Gently spread out the orange paper strips in all directions to form a round pumpkin shape. The strips should fan out evenly from the top to the bottom, creating the body of your pumpkin.
9. Using black construction paper, cut out shapes to create a spooky or silly face for your pumpkin. You can also use markers if you prefer. Glue or tape the face onto one of the orange strips of your pumpkin.
34. Hanging Bat Craft
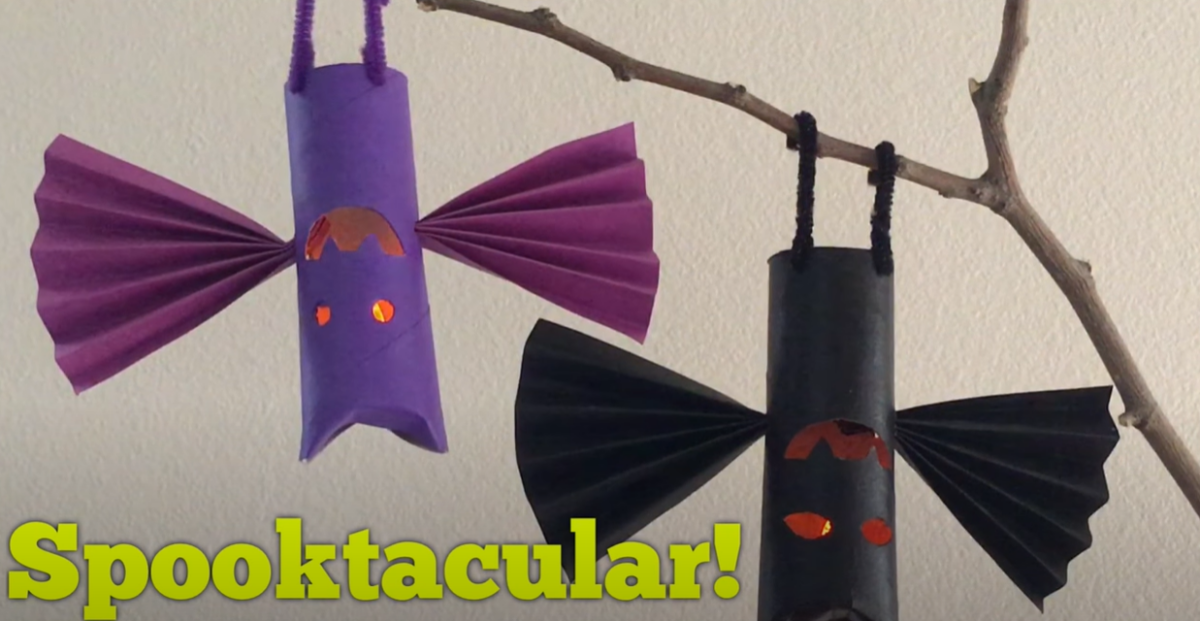
Supplies:
- Paper towel tube (or toilet paper roll)
- Black or purple acrylic paint
- Construction paper (black or purple)
- Pipe cleaners
- LED tea lights
- Scissors
- Pencil
- Glue
- Water and paper towels (for cleanup)
Instructions:
1. Begin by gathering your materials and preparing your workspace. Lay down newspaper or a plastic tablecloth to protect your surface from paint.
2. Cut the paper towel tube in half. You can make two bats or save one half for later.
3. Paint the outside of the cardboard tube with black or purple acrylic paint. Let it dry completely. Apply a second coat if needed.
4. Once the paint is dry, draw simple facial features—eyes, nose, and mouth—on the front of the tube using a pencil. Then, with adult help, cut out the shapes to create the bat’s face.
5. Fold the top and bottom edges of the tube inward slightly to give your bat a more finished shape.
6. Cut two squares from your construction paper and fold each one accordion-style to make the wings.
7. Make a small slit on each side of the painted tube. Insert the folded wings into the slits and secure them with glue if needed.
8. Cut two pieces of pipe cleaner for legs. Attach them to the bottom of the tube by poking small holes or gluing them in place. Bend the ends so the bat can hang from a branch or shelf.
9. Turn on your LED tea light and insert it into the bottom of the tube. The light will glow through the face cutouts.
10. Hang your bat from a branch or hook and enjoy your glowing Halloween decoration!
Legal Disclaimer: Any links to third-party resources are provided for informational purposes only. We are not affiliated with and do not sponsor/endorse these third parties and bear no responsibility for the accuracy of content on any external site.
Looking for Printable Activities?
90+ Fun Texas Facts Kids Will Love to Learn
(Free Printable List)
Share
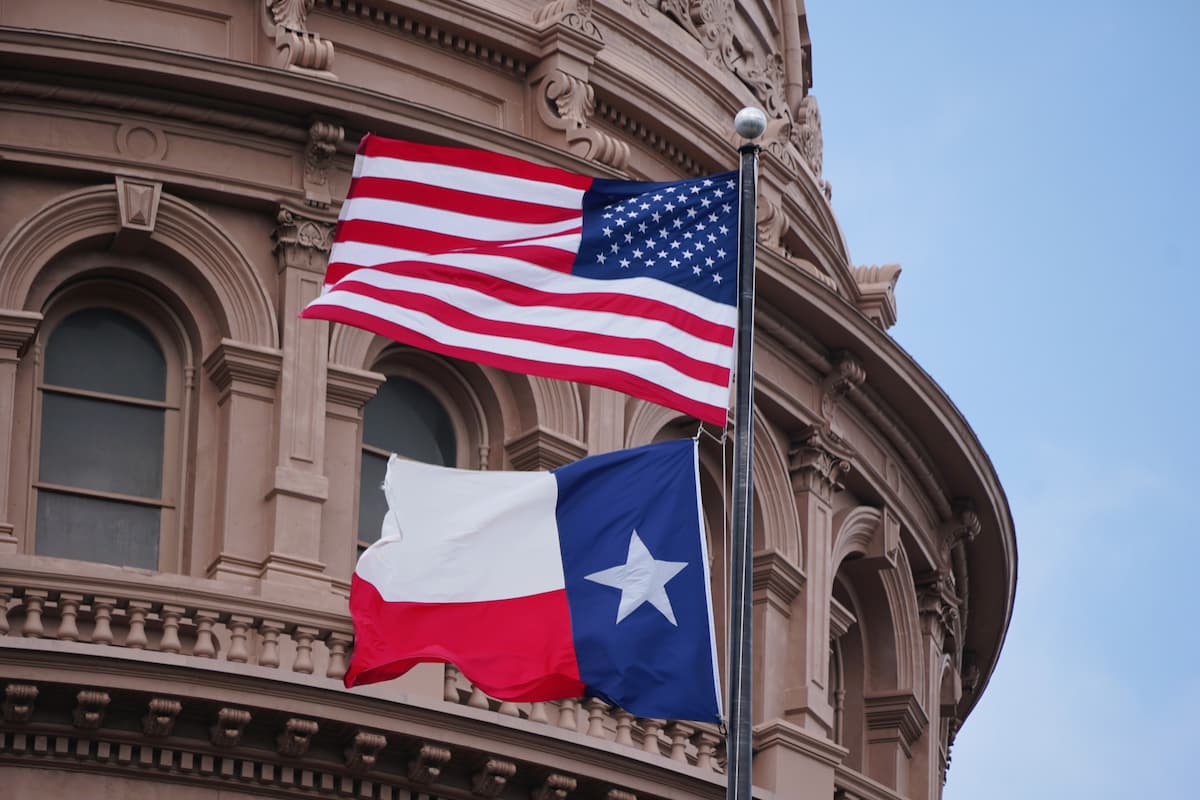
Six flags have flown over the Lone Star State, and each one tells a story. From Spain to Mexico, from being its own republic to joining the United States, Texas has a rich and exciting history. But that’s just the beginning. These fascinating facts about Texas include information about its size, wildlife (armadillos and alligators!), state symbols, and more, proving that everything really is bigger here!
Share these Texas facts for kids with your child or student by printing them out or reading them together online. They’re terrific for the classroom, to help prepare for a family trip, or just to learn more about the second-largest state in the U.S!
TEXAS STATE FACTS
State Nickname:
The Lone Star State
Date of Statehood:
December 29, 1845
State Capital:
Austin
State Sport:
Rodeo
State Motto:
“Friendship”
State Dish:
Chili
State Animal:
Texas Longhorn (and others)
State Butterfly:
Monarch
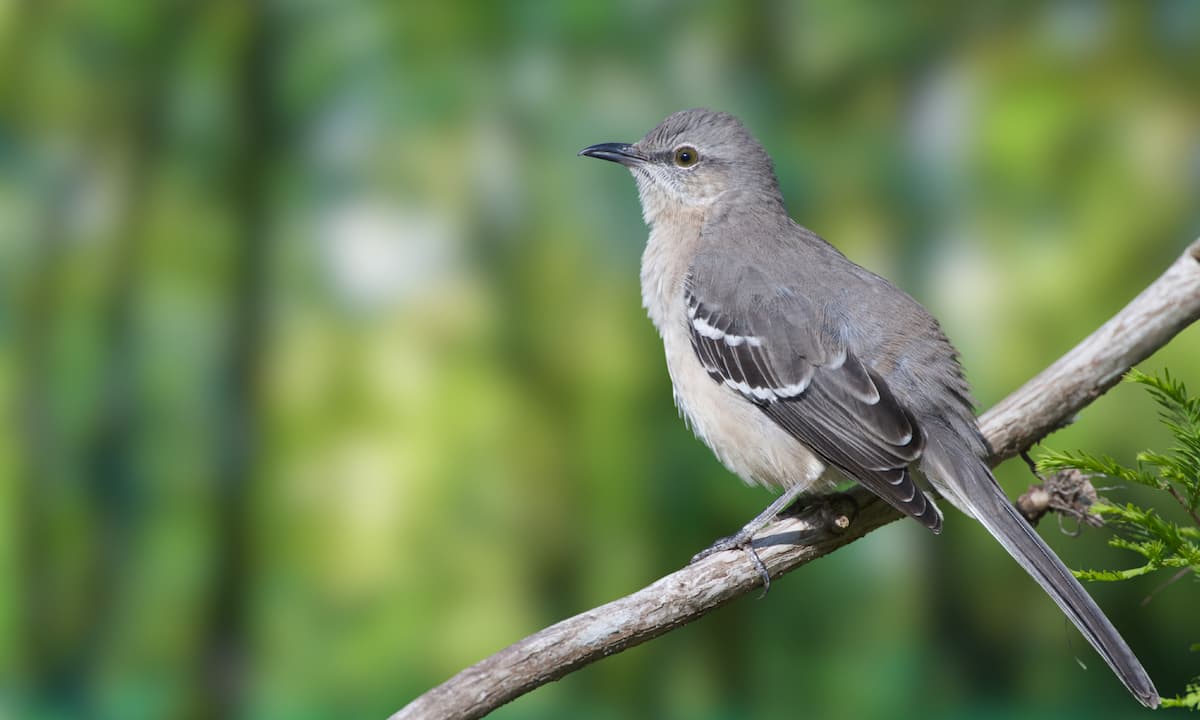
State Bird: Mockingbird
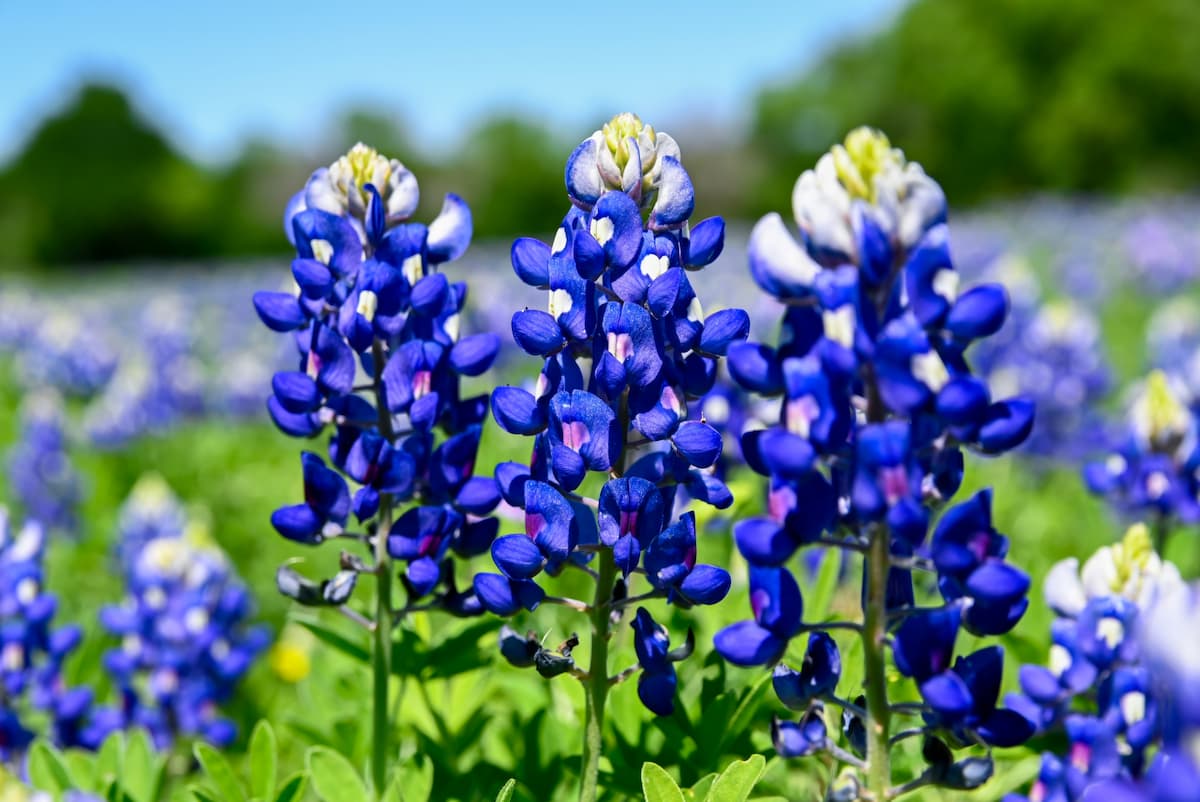
State Flower: Bluebonnet
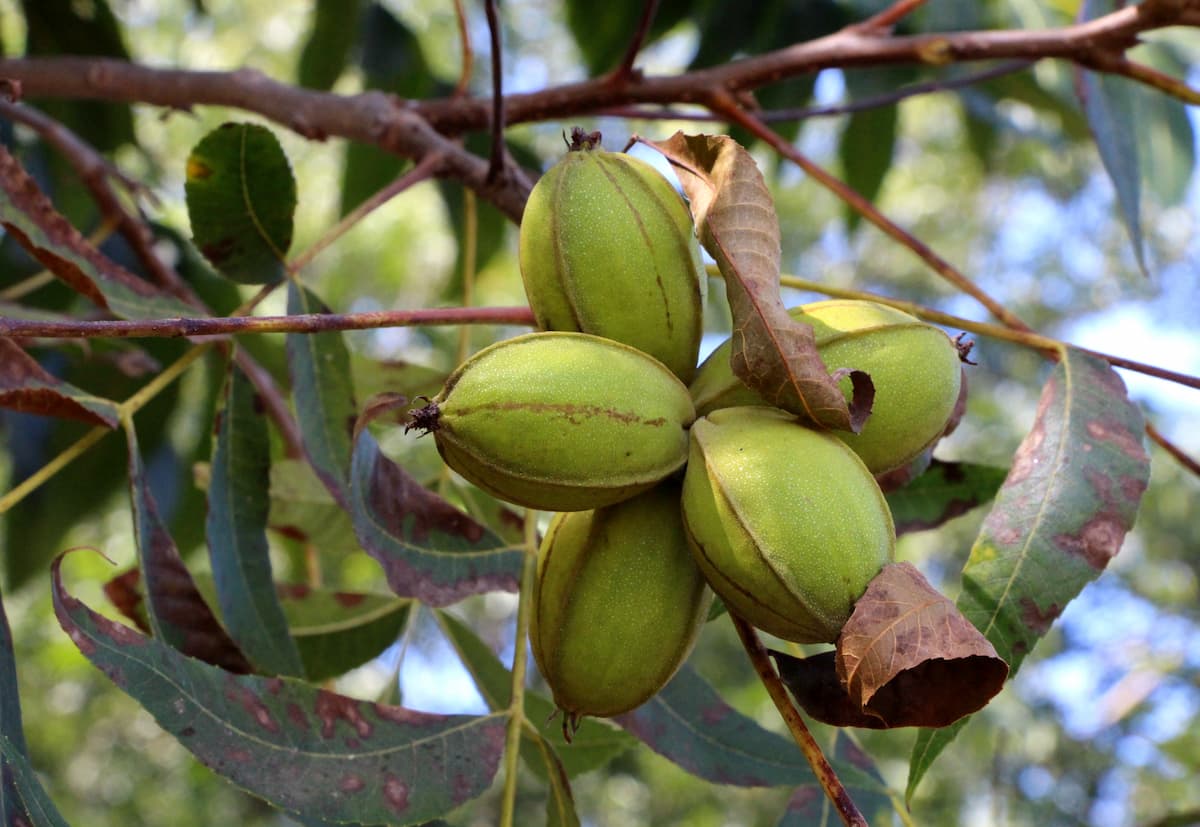
State Tree: Pecan Tree
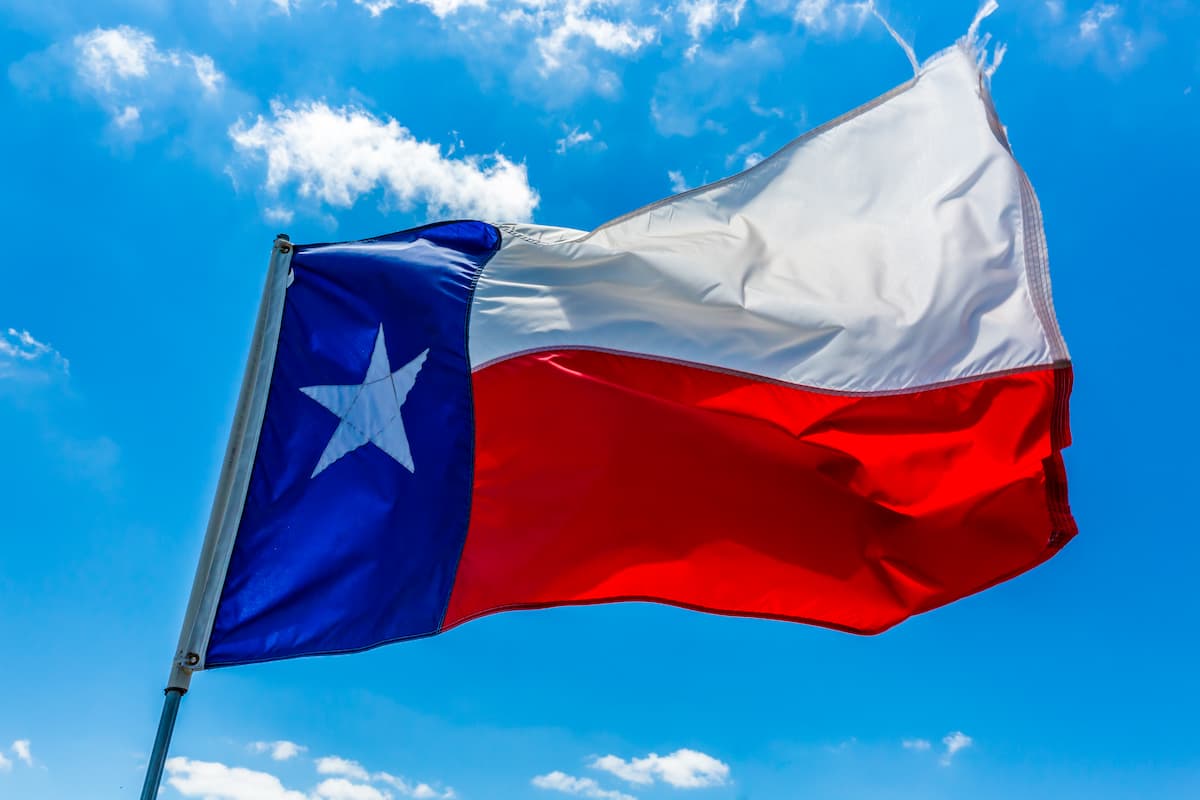
State Flag:
Lone Star Flag
?
DID YOU KNOW?
A total of six flags have flown over Texas: France, Spain, Mexico, the Republic of Texas, the Confederate States of America, and the United States of America. Note: some historians argue France never governed firmly, but this is widely accepted cultural history.
FUN FACTS ABOUT TEXAS
Fun Fact #1:
Texas is the second largest state after Alaska, at 268,820 square miles. Texas is so big, it’s larger than the country of France!
Fun Fact #2:
The Congress Avenue Bridge in Austin is home to the world’s largest urban bat colony. Up to 1.5 million Brazilian free-tailed bats call the bridge home in summer. People watch them emerge to hunt at dusk each evening in a spectacular display.
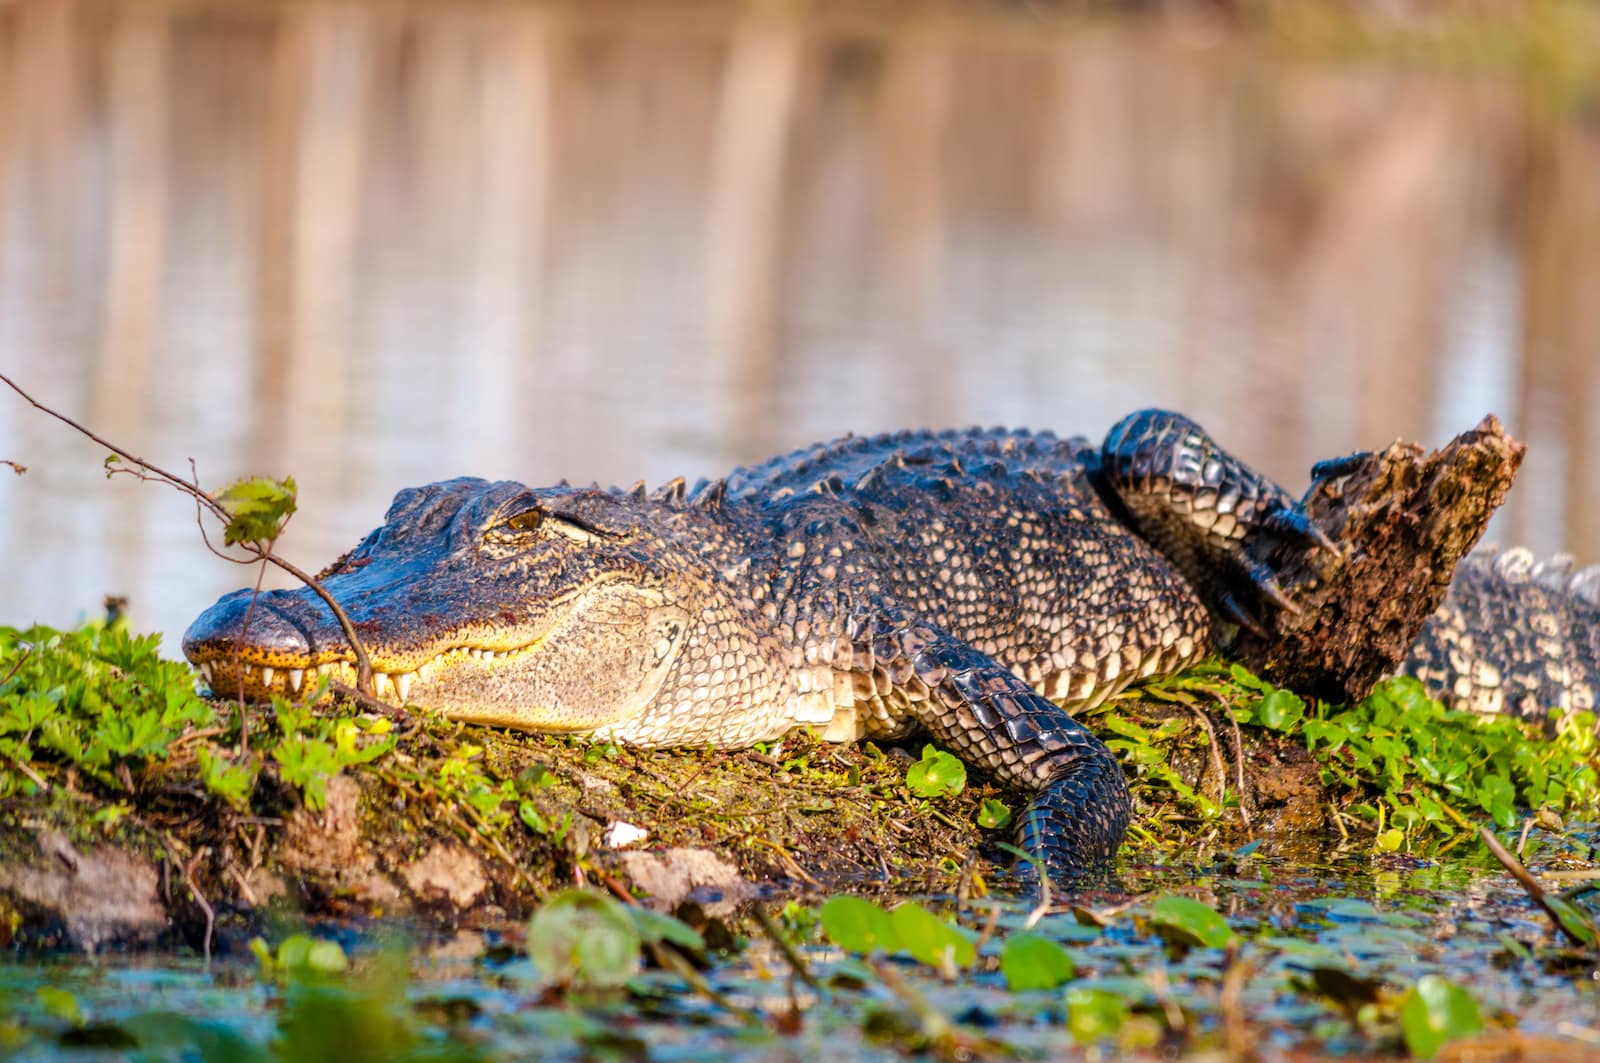
Alligator in a State Park
Fun Fact #3:
Alligators live in Texas, especially in the eastern swamps and wetlands.

San Antonio, Texas
Fun Fact #4:
The largest cities in Texas are Houston, San Antonio, Dallas, Austin, and Fort Worth.
Big Tex Statue
Fun Fact #5:
At the State Fair of Texas in Dallas, there’s a giant cowboy statue named Big Tex. He’s 55 feet tall, and greets fairgoers with a hearty, “Howdy, folks!”
Dr Pepper Museum
Fun Fact #6:
Dr Pepper was invented at Morrison’s Old Corner Drug Store in Waco, Texas, in 1885. That makes it the oldest major soft drink brand in America.
Dragon Stadium in Southlake Texas
Fun Fact #7:
High school football is incredibly popular in Texas. Some schools have stadiums that can seat 20,000+ people.

Active oil rig in the Texas Panhandle
Fun Fact #8:
Texas’s major industries include oil and natural gas, livestock and agriculture, aerospace and aviation, and tourism.
Fun Fact #9:
The official state motto is “Friendship,” but unofficially, people are more likely to say, “Everything’s bigger in Texas!”
Fun Fact #10:
Native peoples used words like tejas, texias, and tayshas to describe other people living in the area; these words are believed to mean “friends.” Over time, the words became associated with the region, eventually leading to “Texas” as the name of the state.
TEXAS GEOGRAPHY FACTS
Regions:
Gulf Coastal Plains, the Interior Lowlands, the Great Plains, and the Basin and Range Province
Climate:
Humid subtropical in the east half of the state, semi-arid to arid in the west
Location:
Bordered by New Mexico to the west, Oklahoma to the north, Arkansas to the northeast, Louisiana to the east, and Mexico to the southwest, with the Gulf of Mexico along its southeastern coast

The Alamo in San Antonio
Landmarks:
Alamo, San Antonio River Walk, Texas State Capitol, NASA’s Johnson Space Center, Padre Island National Seashore, Fort Worth Stockyards, Natural Bridge Caverns

Big Bend National Park
National Parks:
Big Bend National Park, Guadalupe Mountains National Park

Scenic View of Guadalupe Mountains
Mountain Ranges:
Guadalupe Mountains, Davis Mountains, Chisos Mountains, Franklin Mountains

South Padre Island
Ocean Front:
Southeast Texas stretches for nearly 370 miles along the Gulf of Mexico, from the Louisiana border south to Mexico.
The Rio Grande at Santa Elena Canyon
Rio Grande:
This river forms the border between the U.S. and Mexico along the southern edge of Texas. It’s the only major river system in the Chihuahuan Desert, and the longest in Texas.
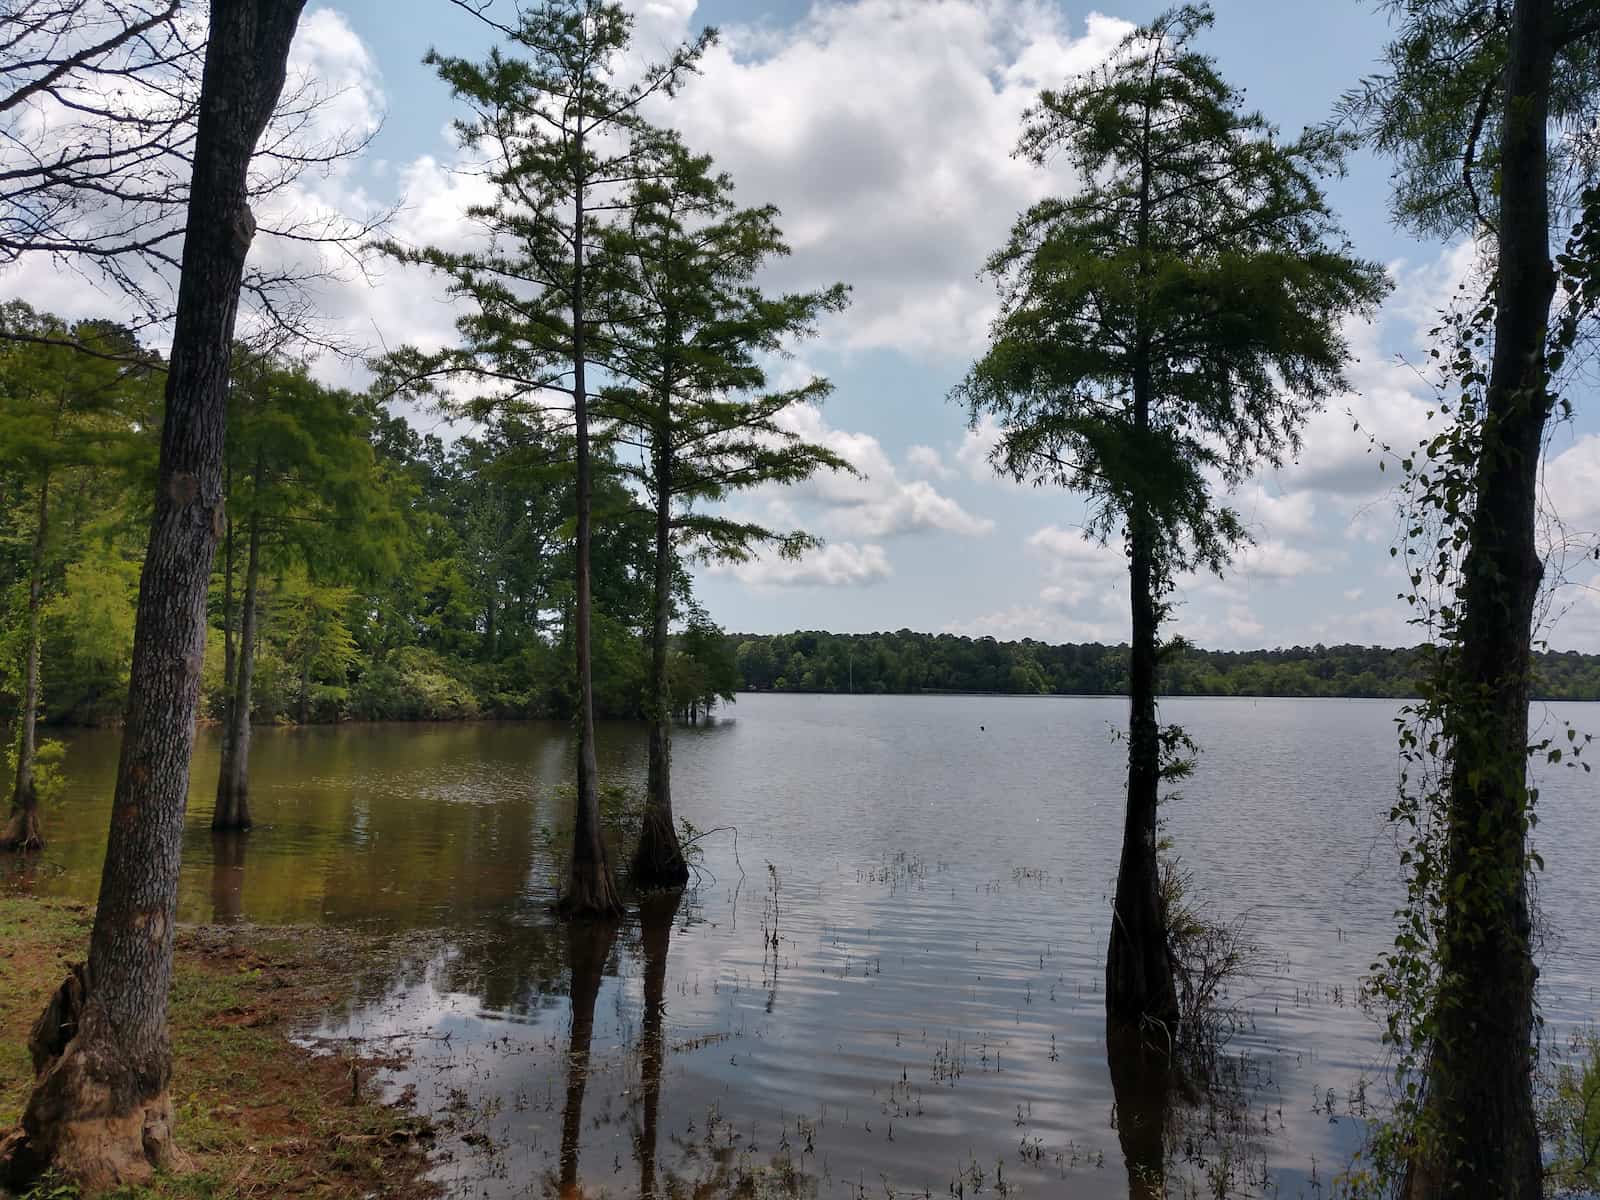
Toledo Bend Lake Swamp
Lakes:
The four largest lakes in Texas are Toledo Bend, Amistad, Sam Rayburn, and Texoma. These vast reservoirs support water supply, recreation, and flood control across the state. Some, like Toledo Bend and Texoma, span state borders.

Chihuahuan Desert
Chihuahuan Desert:
This is one of the largest deserts in the U.S., and one of only four found in the whole country. It covers 200,000 square miles of Texas and New Mexico.

Pecos River
More River Systems:
Brazos River, Pecos River, Colorado River, Red River, Canadian River
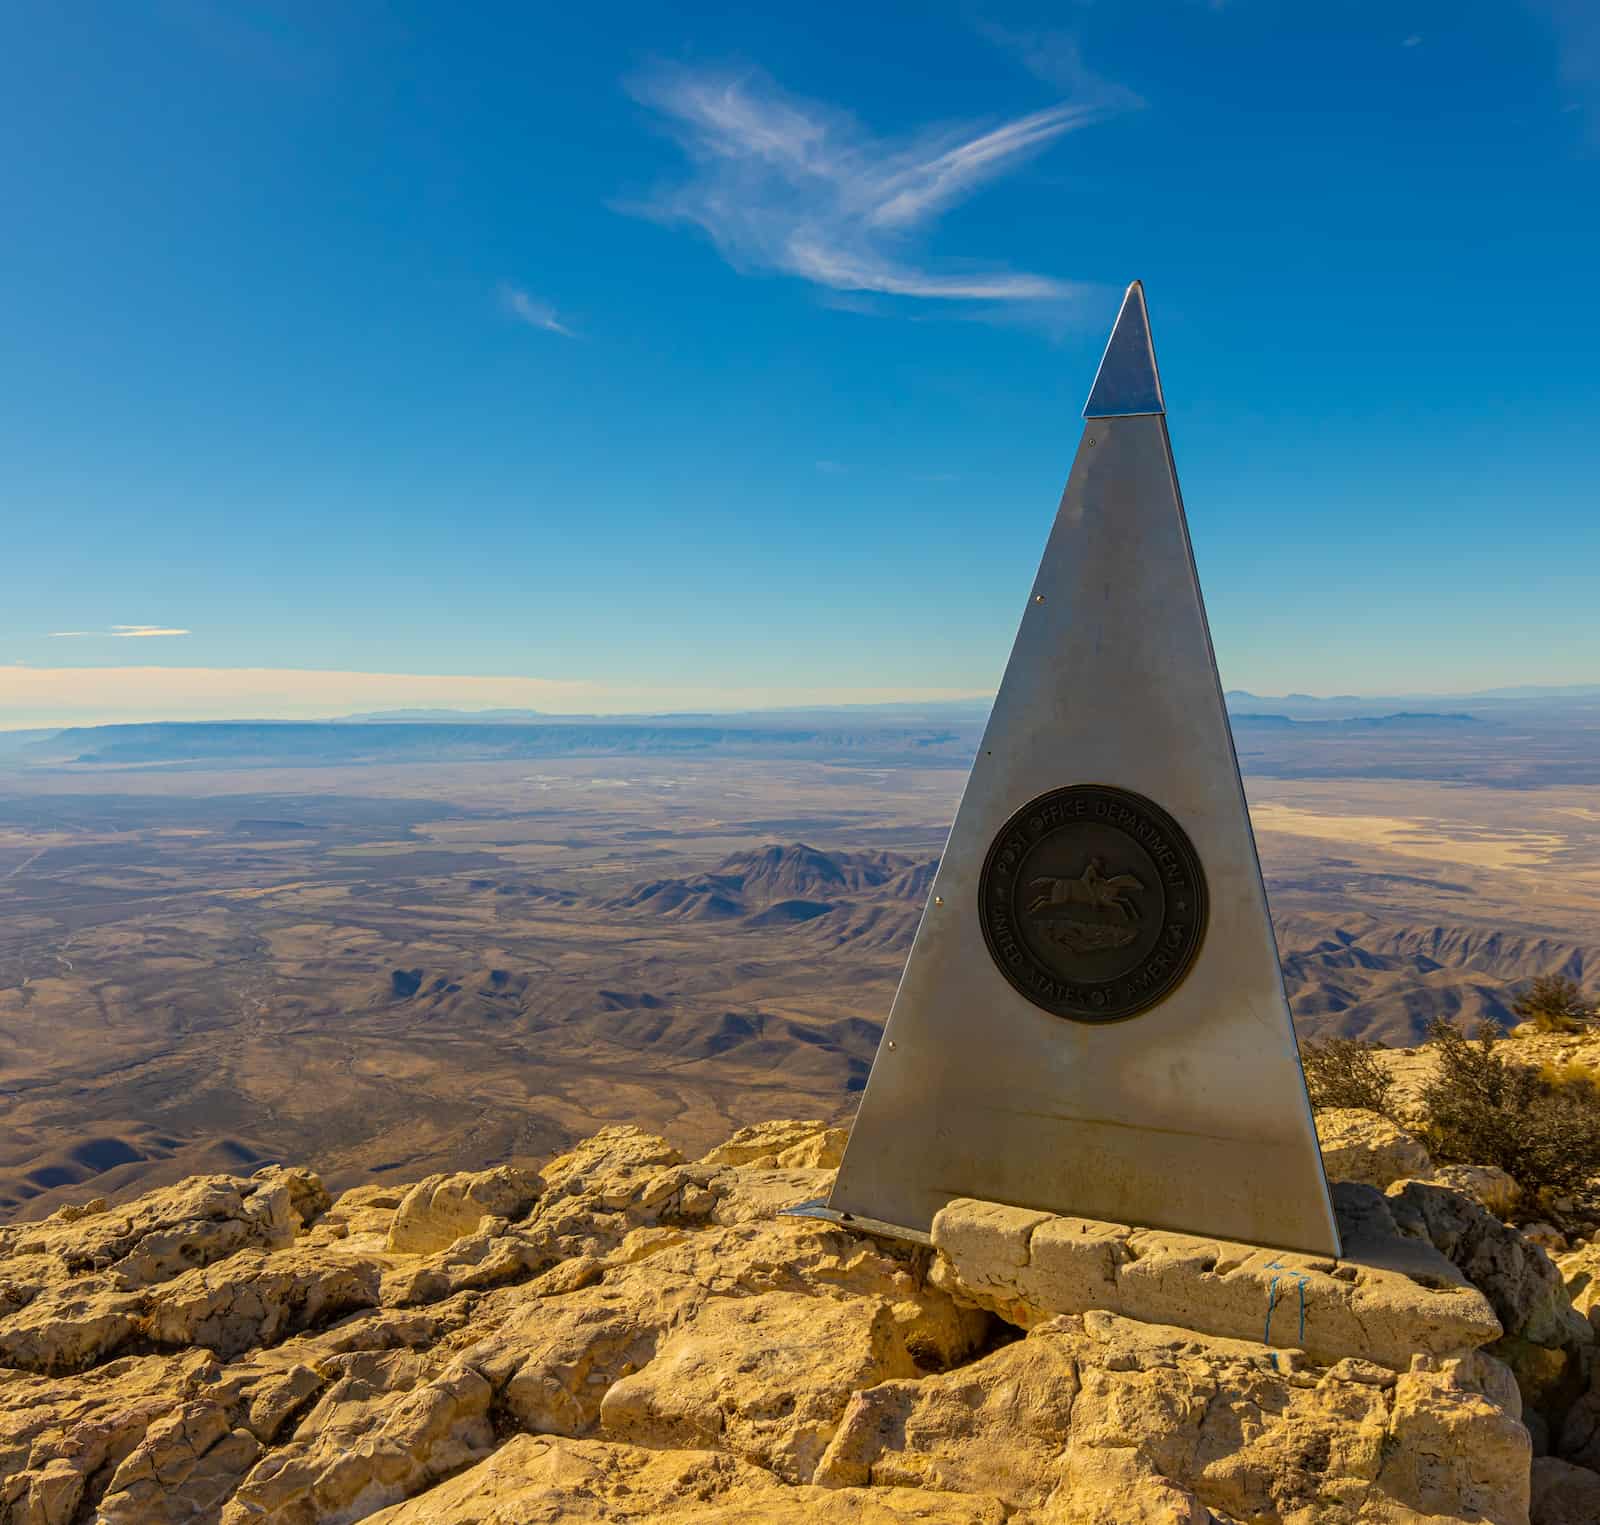
Guadalupe Peak
Highest Point:
Guadalupe Peak, 8,751 feet
TEXAS WILDLIFE & NATURE FACTS
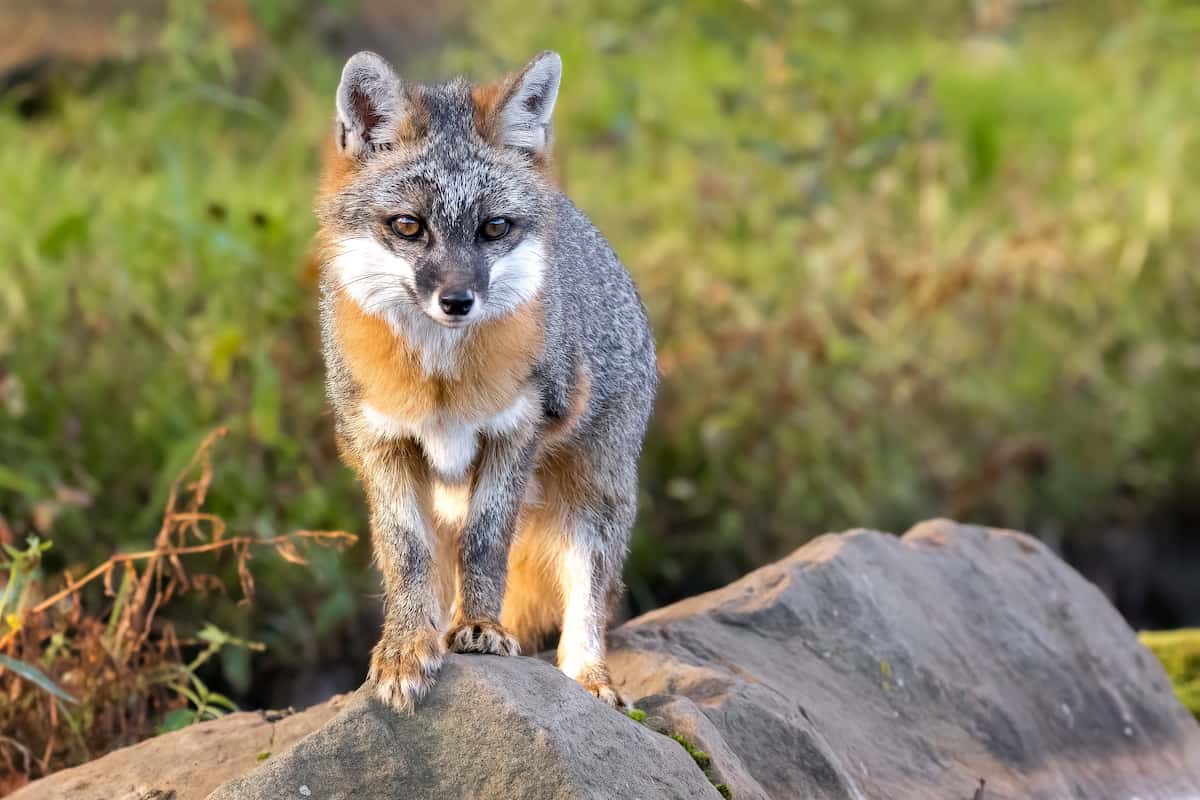
Gray Fox
Common Mammals:
White-tailed deer, nine-banded armadillo, raccoon, coyote, gray fox, Mexican free-tailed bat, eastern cottontail rabbit, bobcat
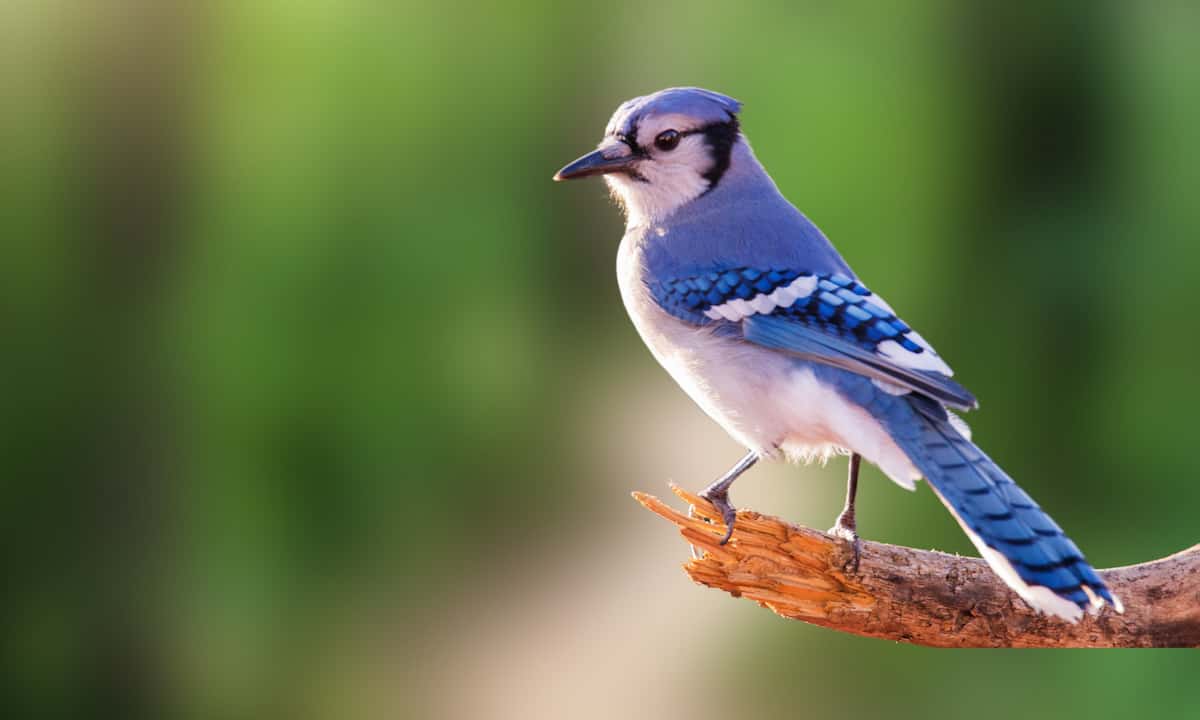
Blue Jay
Common Birds:
Northern mockingbird, mourning dove, northern cardinal, blue jay, great-tailed grackle, red-tailed hawk, scissor-tailed flycatcher, barn swallow, American robin, black vulture
Texas Horned Lizard
Common Reptiles and Amphibians:
Texas horned lizard, green anole, Texas spiny lizard, western diamondback rattlesnake, american bullfrog, Gulf Coast toad
Largemouth Bass
Common Fish:
Largemouth bass, channel catfish, bluegill, white bass, crappie, red drum, spotted seatrout
Bald Cypress
Common Trees:
Live oak, pecan tree, mesquite, bald cypress, eastern red cedar, ash juniper, Texas red oak
Indian Paintbrush
Common Plants and Flowers:
Bluebonnet, Indian paintbrush, Texas sage, prickly pear cactus, black-eyed Susan, yucca, little bluestem
Whooping Crane
Selected Endangered Species:
Ocelot, whooping crane, Houston toad, Attwater’s prairie chicken, golden-cheeked warbler, jaguarundi, black-footed ferret
Lake Brownwood State Park
Selected Invasive Animal Species:
Zebra mussel, quagga mussel, emerald ash borer, giant African snail, feral hogs, fire ants, European starlings, nutria, hammerhead flatworms
?
DID YOU KNOW?
Ocelot
Ocelots, an endangered species of Texas, are around twice the size of the average house cat. They’re nocturnal, hunting at night for small prey that they swallow without even chewing!
Giant Reed
Texas’ common invasive plant species include the tree of heaven, giant reed, hydrilla, common water hyacinth, bamboo, kudzu, chinaberry, salt cedar, and Chinese tallow tree. These fast-growing plants can disrupt local ecosystems and outcompete native species.
TEXAS HISTORY FACTS
Arrowheads found in East Texas
First Inhabitants:
People first came to Texas more than 13,000 years ago. However, recent archaeological discoveries from the Debra L. Friedkin site suggests it may have been even earlier. These early inhabitants used stone tools to hunt animals like mammoths and giant sloths and pre-dated the Clovis culture, the first known inhabitants of Texas.
?
DID YOU KNOW?
The Comanche moved into Texas from the Rocky Mountains in the 1700s after being pushed out of their original lands. Their skill with horses (brought by the Spanish) enabled them to control a huge territory for nearly 150 years, until the U.S. took their lands and forced them onto reservations in the 1860s and early 1870s.
Native Americans:
Texas has been home to many Native American tribes. The Caddo in East Texas were farmers who lived in villages and built large, round houses. The Comanche and Apache were strong horse riders who hunted buffalo on the plains. Along the coast, the Karankawa fished and traveled in canoes, while the Tonkawa hunted deer and gathered plants.

Alvar Nunez Cabeza De Vaca at Hawkins Sculpture
First European Visitor:
The first known European to set foot in what is now Texas was Spanish explorer Álvar Núñez Cabeza de Vaca. He arrived in 1528 after surviving a shipwreck off the coast and lived among the indigenous peoples for 8 years as he made his way throughout what would become Texas and down to Mexico City.
Early map of the area
New Spain:
Texas was part of New Spain, a huge Spanish colony in the Americas started in 1521. It included Mexico, the American Southwest, Florida, Central America, and parts of the Caribbean.
Mission System:
To control their land claims in New Spain and spread Christianity, the Spanish set up Catholic missions starting in the late 1600s. Missions were like religious community centers, where Native Americans were taught the Catholic faith as well as other European customs like farming.
Heroes of the Alamo
Mexican Independence:
In 1821, after an 11-year war, Mexico won its independence from Spain. At the time, the land that would become Texas was still part of Mexico, along with the rest of what had been New Spain.

Texas State Capitol
Father of Texas:
In 1825, American Stephen F. Austin led a group of 300 families into Texas to begin a new settlement. These families became known as the “Old Three Hundred,” and Austin earned the nickname “Father of Texas.” Today, the state capital is named for him.

San Jacinto Battleground State Historic Site
Texas Revolution:
The new colonists often disagreed with the government of Mexico, wanting more control over the land and the people living there (including the ability to allow slavery, which had been abolished by Mexico in 1829). The Texas Revolution was fought in 1835-36, ending at the Battle of San Jacinto, when Sam Houston forced General Santa Anna to sign a treaty giving Texas its independence.
Replica of an 1836 Republic of Texas Flag
Republic of Texas:
From 1836 to 1845, Texas was an independent country with its own government, president, laws, and flag. The new government was closely modeled on the one established in the United States a few decades earlier.
?
DID YOU KNOW?
In 1836, a small group of Texan defenders, including James Bowie and Davy Crockett, fought bravely against a much larger Mexican army led by General Santa Anna at the Alamo, an old Spanish mission. Although the Texans lost, their story encouraged many people to support the Texans, with the cry “Remember the Alamo!”
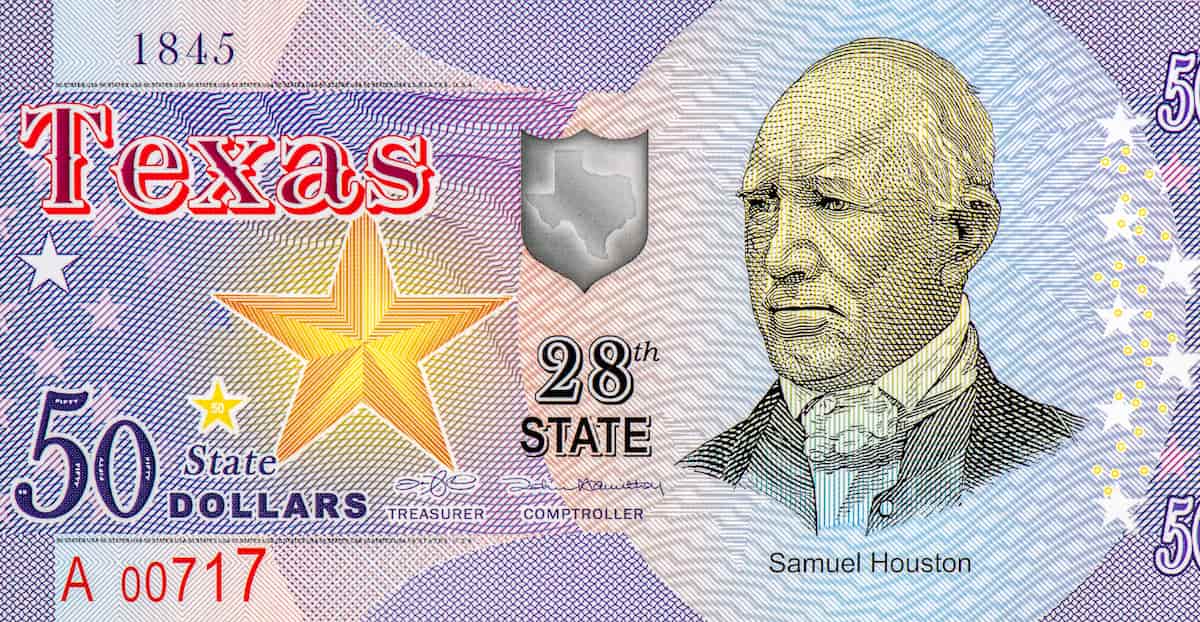
Samuel Houston on fictional $50 bill
U.S. Statehood:
The U.S. government had been trying to purchase Texas from Mexico since 1826, and many Americans came to Texas in the years following the Mexican War of Independence. Finally, on December 29, 1845, Texas was admitted to the U.S. as the 28th state.
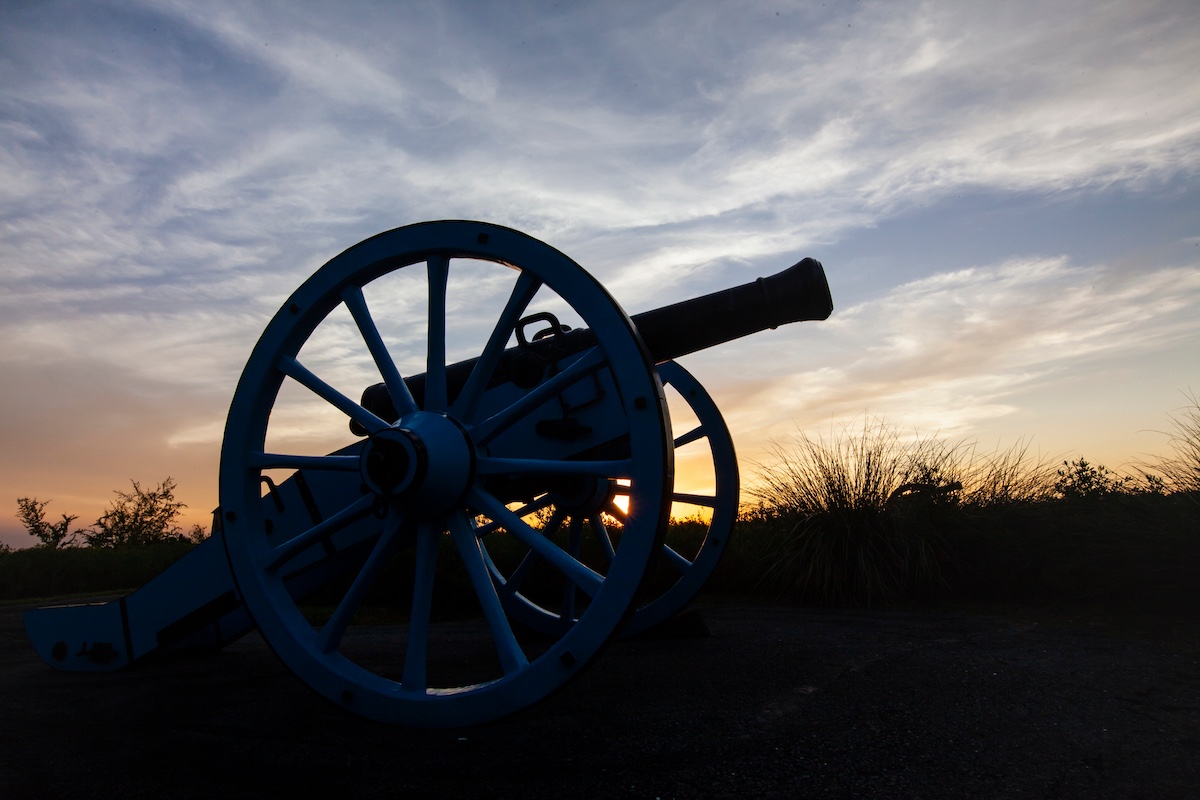
Canon, Palto Alto Battlefield, Texas
Mexican-American War:
Texas disagreed with Mexico over its southern boundary, and the U.S. went to war with Mexico to defend its new state. In the end, Mexico lost much more than a strip of land in Texas: The Treaty of Guadalupe Hidalgo ceded present-day California, Arizona, New Mexico, Texas, and more to the United States.

Civil War Museum in Fort Worth Texas
Civil War:
During the Civil War, Texas joined the Confederacy and fought alongside the southern states. Texans helped supply the Confederate army and fought in battles, including the Battle of Galveston in 1863.
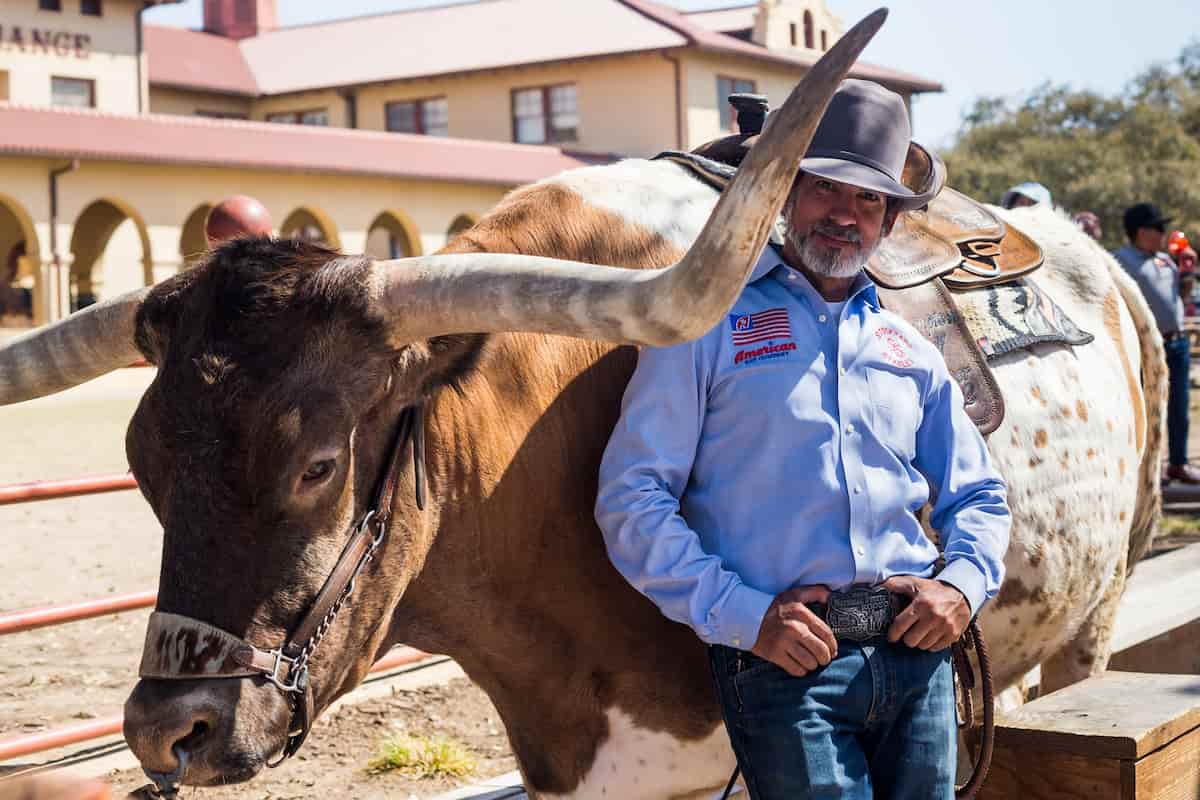
Texan cowboy with a Long Horn Bull
Longhorns and Cowboys:
The Spanish first brought cattle to Texas. Americans brought another breed when they arrived later, and the two breeds mixed to become today’s famous Texas Longhorns. The cowboy culture in Texas grew up around the massive cattle ranches that have long been a big part of the state.
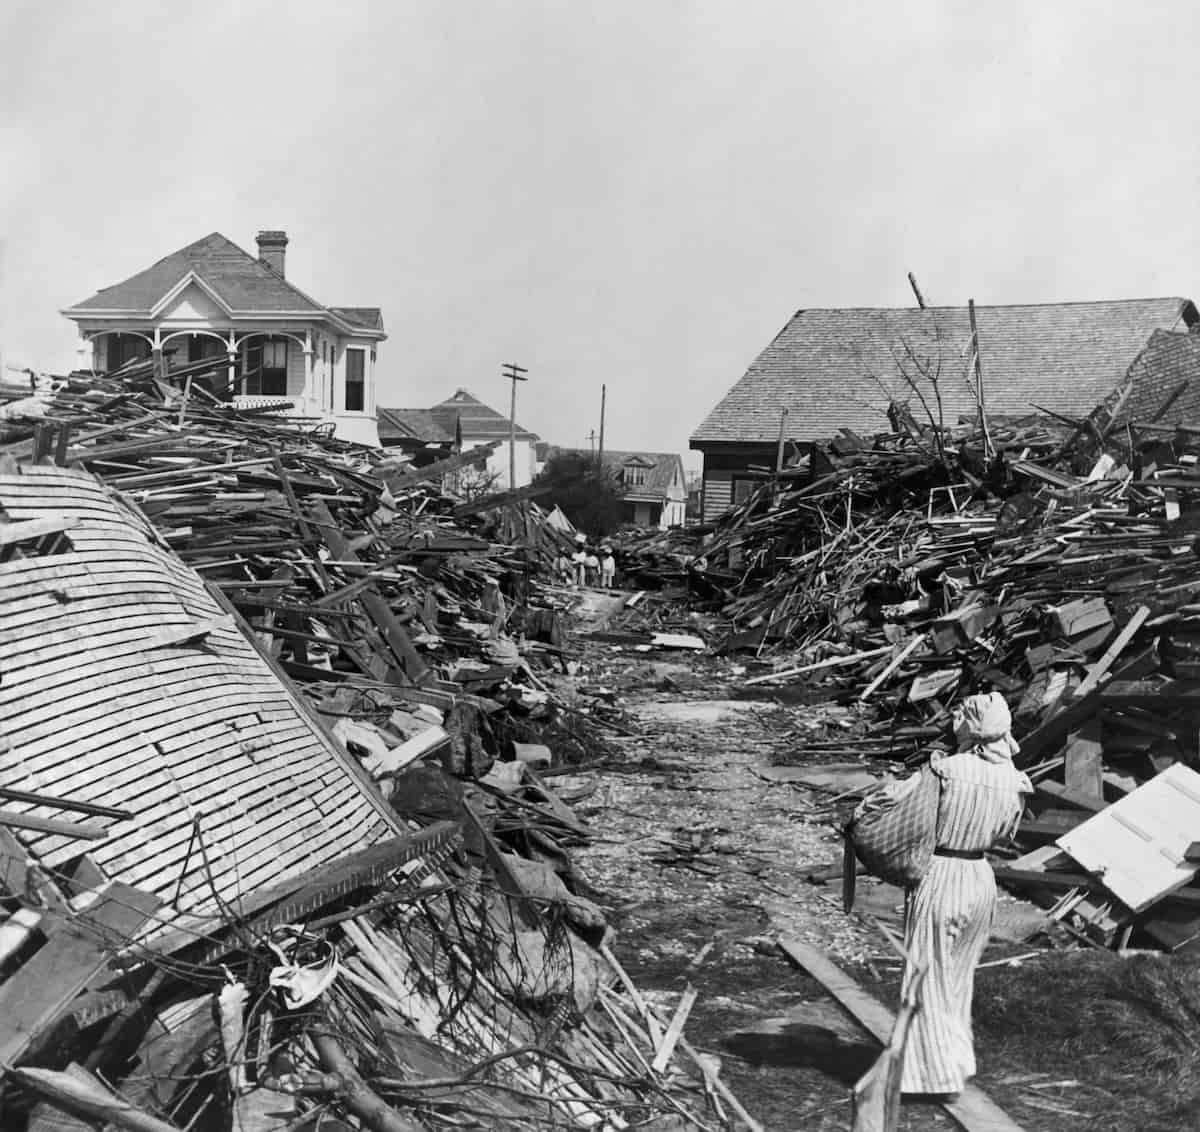
Debris of the 1900 Galveston Hurricane
Galveston Hurricane:
In 1900, an incredibly powerful hurricane struck Galveston. With no modern warning system in place, the city was completely destroyed and thousands of people died. It’s still the deadliest natural disaster in American history.
1901 Texas oil gush
Spindletop:
Texas’s history and economy changed forever when drillers struck oil at Spindletop, near Beaumont, in 1901. A geyser shot oil 100 feet into the air!
?
DID YOU KNOW?
Over 153,000,000 barrels of oil had been produced from the Spindletop fields by 1985. Today, Texas produces more oil than any other state by far—more than two billion barrels of oil in 2024.
Looking for Fun Learning Activities?
More Activities…
Number Coloring Pages for Kids (Free Printables)
Let’s make numbers fun! Our free printable number coloring pages help kids explore counting from 0 to 100 in a creative, hands-on way—plus, we’ve included fun number groups and themed sets to make learning math even more engaging for young learners.
You can print the full number sets or choose individual number pages to match your child’s learning pace. Whether you’re at home, in the classroom, or need a screen-free activity on the go, these free printable coloring pages are a fantastic way to build early number recognition and counting skills.
Numbers 0-10 Simple Coloring Sheets

Numbers 1-10 Objects and Counting Coloring Pages

Number Seven Coloring Pages
Number Ten Coloring Pages
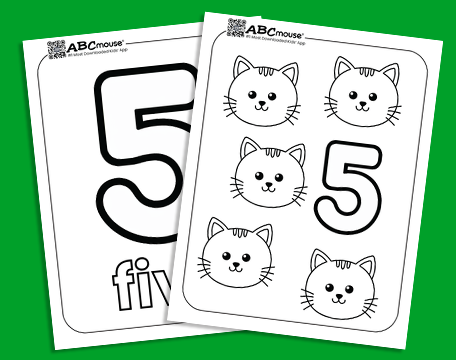
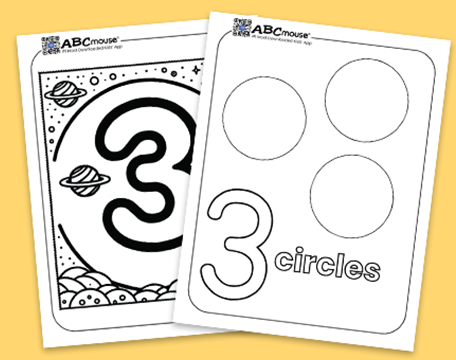
Find more number coloring pages below!
Number Groups by Fives Coloring Pages

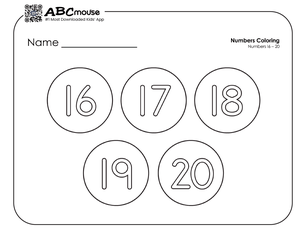
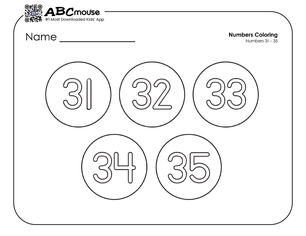
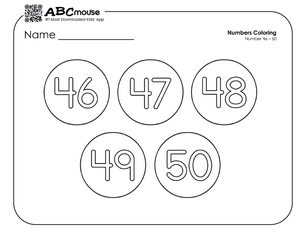
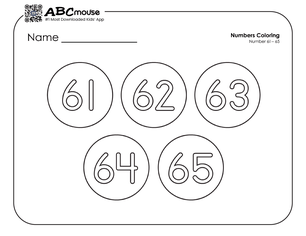
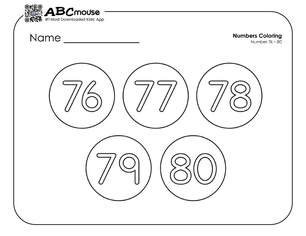
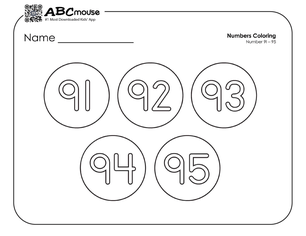
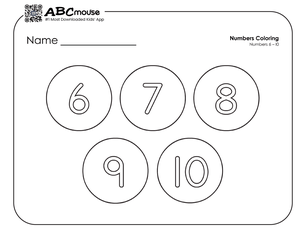
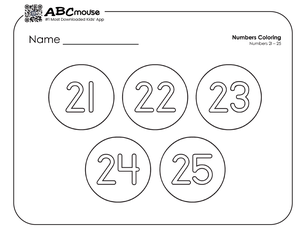
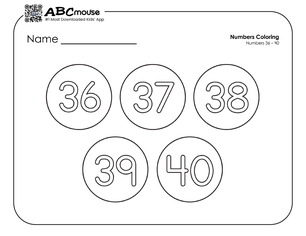
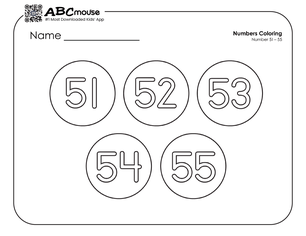

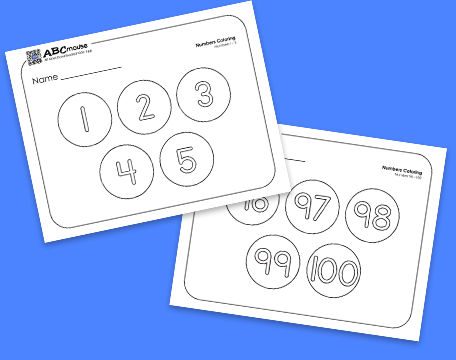
Find more number coloring pages below!
Number Groups by Tens Coloring Pages
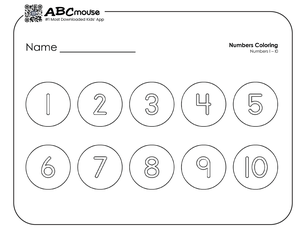


Nifty Number Learning Activities
Recommended for: Kids of all ages
⭐ Sticker Match
Use small stickers (or draw dots with markers) to match the number on each coloring page. For example, if your child colored the number 6, have them place 6 stickers on the page or add 6 colorful circles to the page with crayons or markers.
⭐ Count & Clip
After your child colors a number page, help them practice counting and fine motor skills by clipping clothespins or paper clips to the page—one for each number. For example, if they colored the number 4, they’ll clip 4 clothespins to the edge of the paper. This simple activity helps to reinforce quantity and number recognition.
⭐ Number Scavenger Hunt
Turn learning into a hands-on game! After coloring a number page, challenge your child to find that number of objects around the house or outside. For example, if they colored the number 7, they can collect 7 leaves, 7 blocks, 7 grapes, or 7 buttons. Place the items next to the colored page for a fun counting and matching activity.
Additional Number Learning Resources
Want even more number fun? Check out these helpful resources for teaching and reinforcing early math skills:
Color by Number Worksheets
A fun and relaxing way for kids to practice number recognition while expressing their creativity.
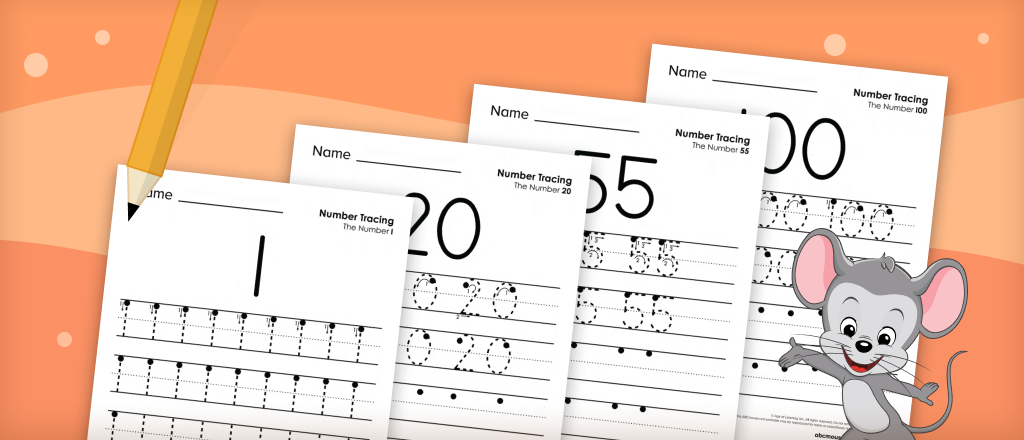
Number Tracing Worksheets
Great for building fine motor skills and helping kids learn to write numbers with confidence.
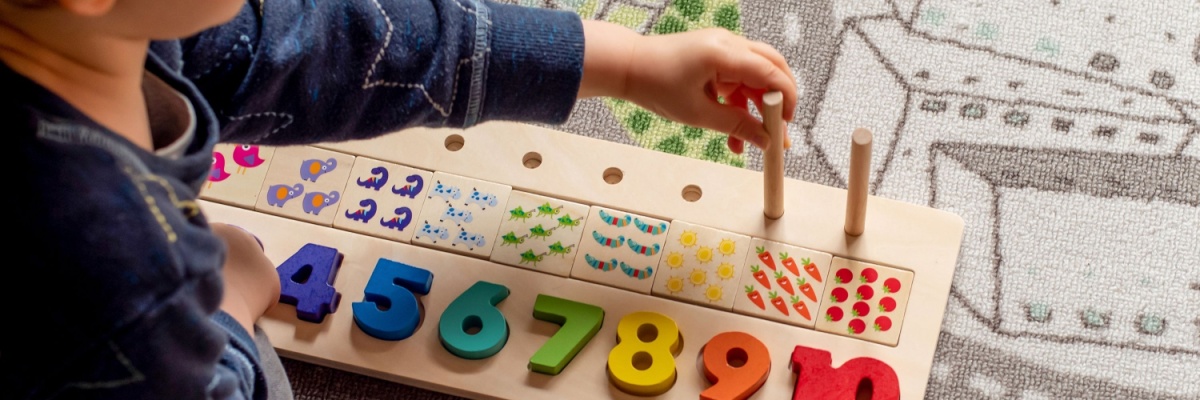
How to Teach Number Recognition to Preschoolers
Packed with simple strategies and playful ideas to help little ones identify and understand numbers.
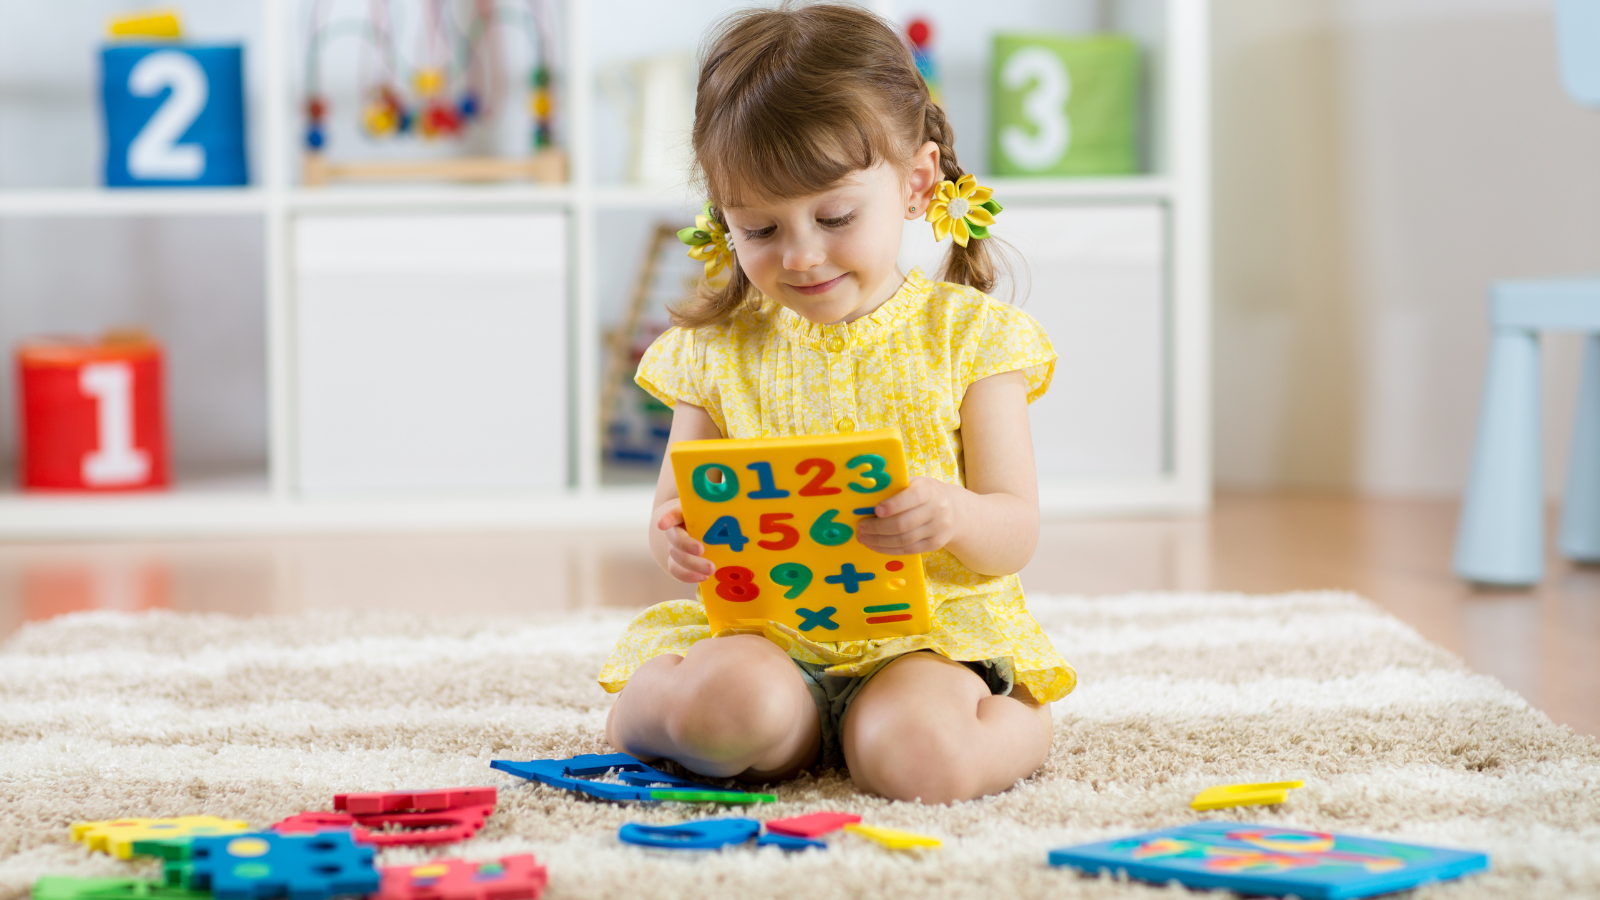
Number & Counting Activities for Preschoolers
Easy-to-do activities that bring numbers to life through play, movement, and exploration.
30 Fun and Engaging Number Sense Activities for Pre-K and Early Elementary
A collection of hands-on games and creative activities that make learning numbers exciting.

Looking for More Coloring Pages?
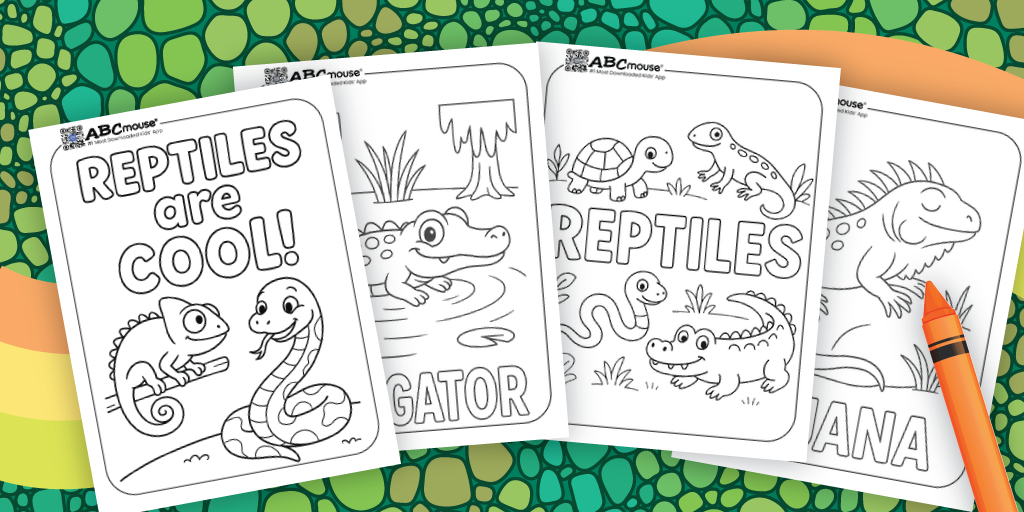
Reptile Coloring Pages for Kids (Free Printables)
Explore the word of reptiles with these free printable reptile coloring pages! Kids can use their favorite colors to bring each creature to life — from sunbathing snakes and lizards to mighty alligators and slow-moving turtles.
These coloring pages are designed for children of all ages, with simple images for younger children and more intricate and realistic pictures for older kids. Print out as many as you’d like for a creative activity at home, a reptile-themed party, or as a fun way to learn about these incredible creatures!
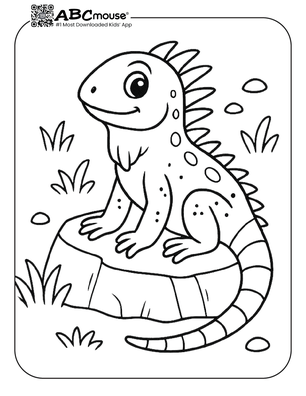
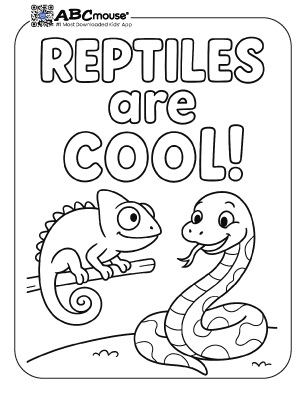
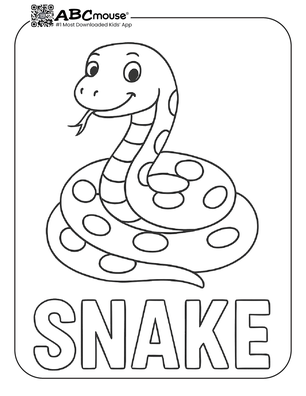
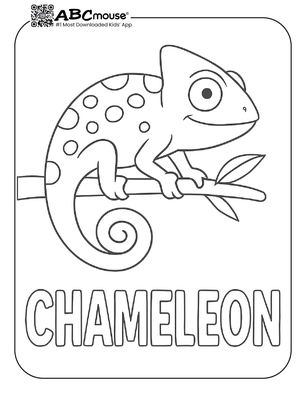
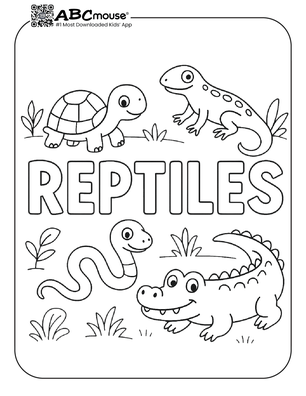
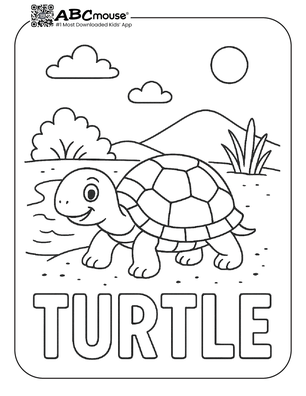
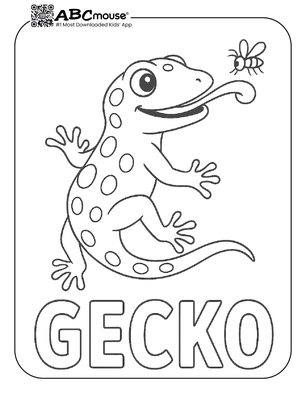
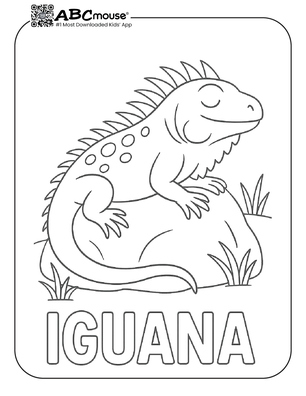
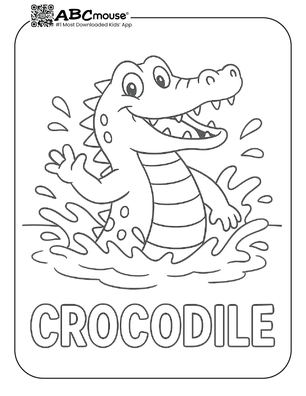
More Reptile Coloring Pages

Kids will love coloring charming turtles as they swim through the ocean, rest on sunny shores, or show off their unique patterned shells. Pick from easy or intricate designs to suit every young artist’s style and creativity!
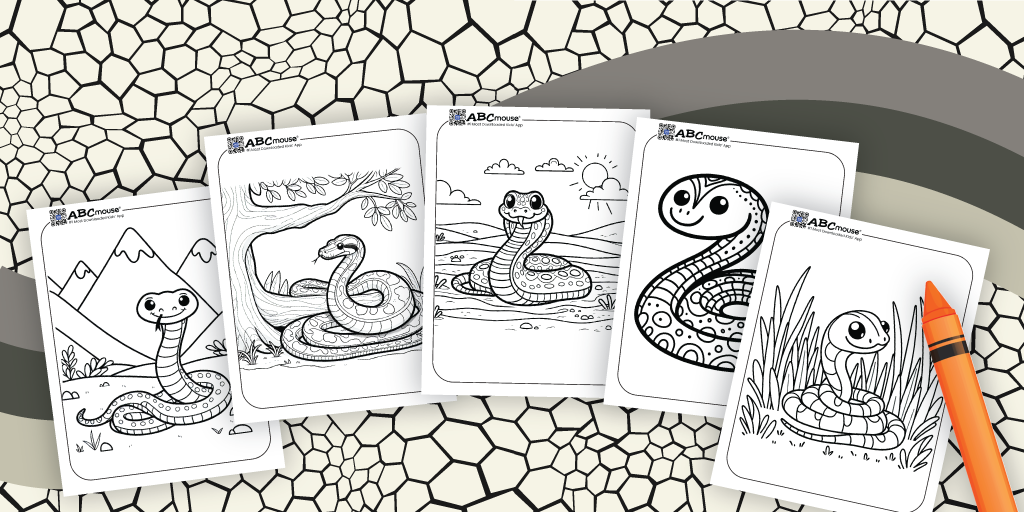
These sleek and slithering creatures sure look cute with big eyes and friendly smiles. There are realistic snakes to pick from too!
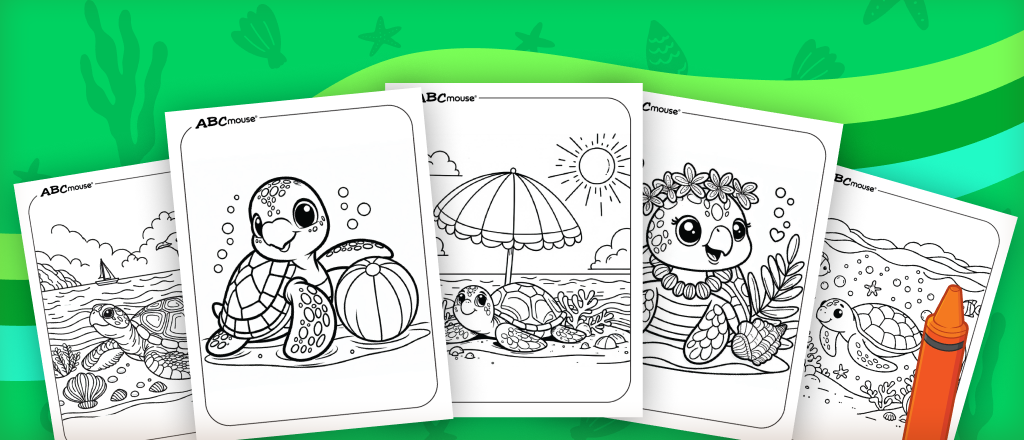
From tiny hatchlings to graceful swimmers gliding through the waves, these sea turtle coloring pages showcase this beloved ocean creature in a variety of fun and creative scenes.
Keep a look out for our frog coloring pages coming soon.
Games with Reptiles
Life Cycles with Lester
Join Lester as you explore the fascinating life cycle of a turtle, from egg to adult. Through interactive gameplay, kids learn each stage of different animals development while building essential science skills.
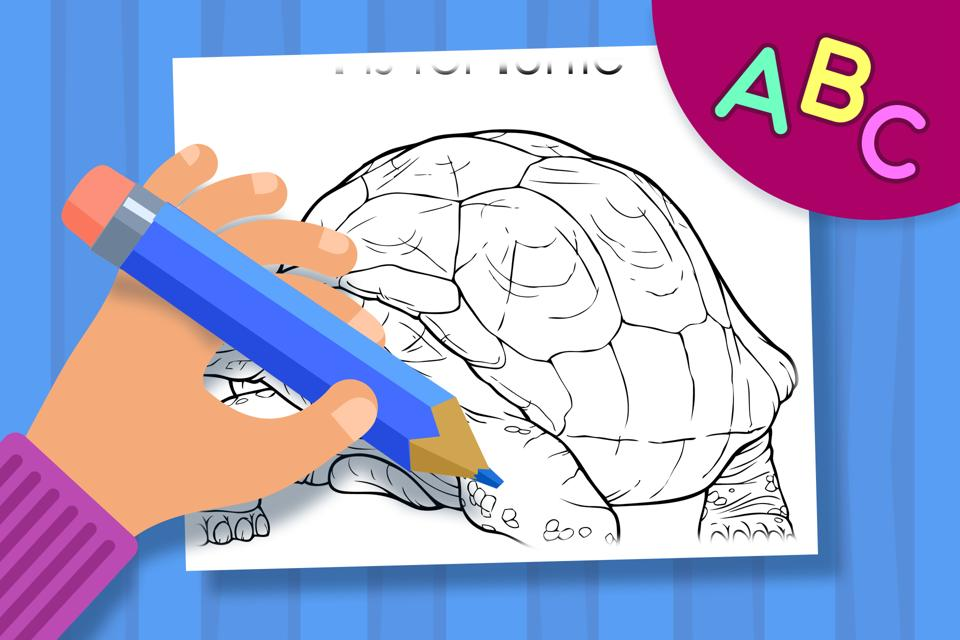
T is for Turtle – Online Coloring Page
Color a friendly turtle while learning the sound of the letter T in this fun and phonics-focused activity. Kids build early reading skills and letter recognition through animal-themed coloring that reinforces vocabulary and concentration.
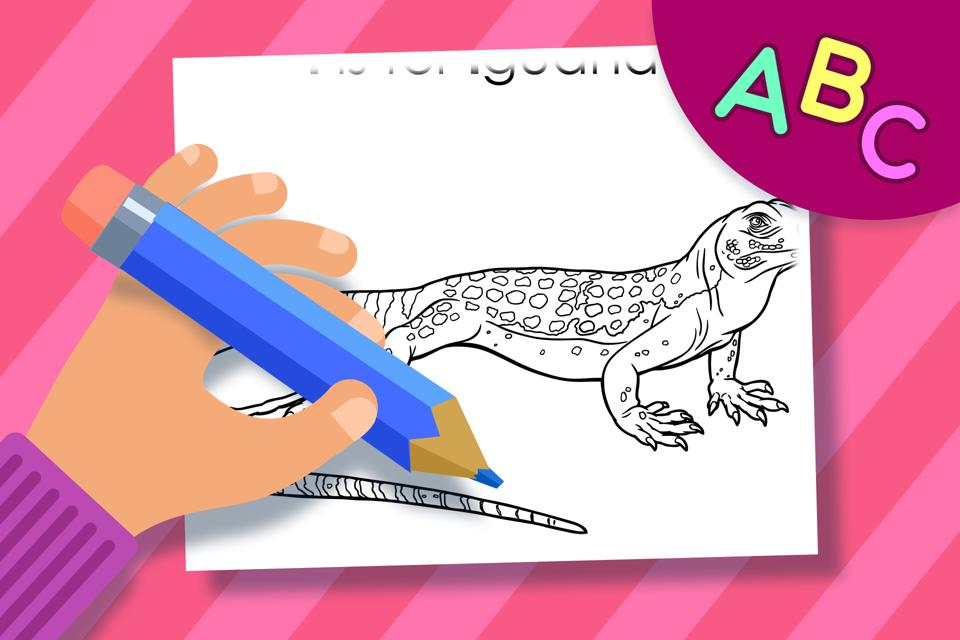
I is for Iguana – Online Coloring Page
Explore the letter I while coloring a cool iguana—one of nature’s fascinating reptiles. This activity boosts phonics skills and vocabulary as kids connect the /i/ sound with a scaly, real-world animal.

S is for Snake – Online Coloring Page
Color a slithery snake and discover the letter S while learning about this interesting reptile. This engaging activity strengthens /s/ sound recognition and builds vocabulary with a fun, scaly twist.
