40+ Spooktacular Halloween Games, Activities, and Crafts That Kids Will Love
Share
Delight kids of all ages with hands-on Halloween fun, including Halloween snacks, coloring pages, and even Halloween Bingo.
Kids love Halloween, and their excitement for the season makes it the perfect time for fun, hands-on activities. This collection of Halloween crafts, printables, games, snack, and activities embraces that delight with a variety of simple, engaging ideas to enjoy at home or in the classroom.
From Halloween activities for toddlers and preschoolers to Halloween printables and crafts, these festive projects are a wonderful way to celebrate this fun and spooky holiday and make it even more memorable.
Halloween Crafts for Kindergarten and Up
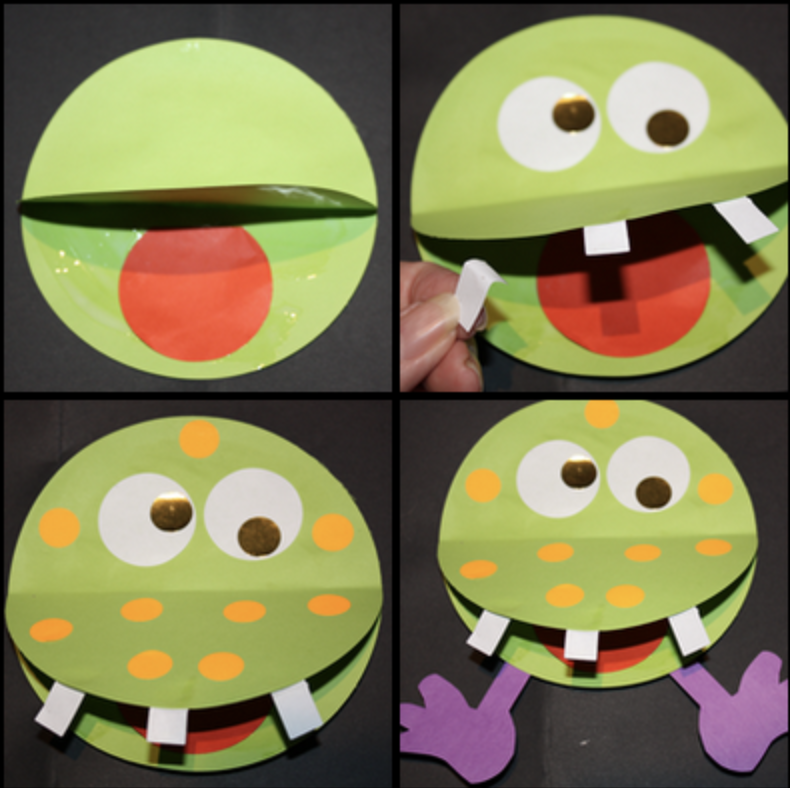
1. Paper Monster Faces
Supplies:
- Construction paper
- Scissors
- Glue stick
- Markers
- Optional: Glitter, stickers, googly eyes, or other supplies
Instructions:
- Cut two large circles of the same size from construction paper.
- Fold one in half to form a “mouth” and glue it on top of the other circle.
- Decorate the monster face! Add eyes, ears, teeth, hair, and more to make it as spooky or cute as you like.
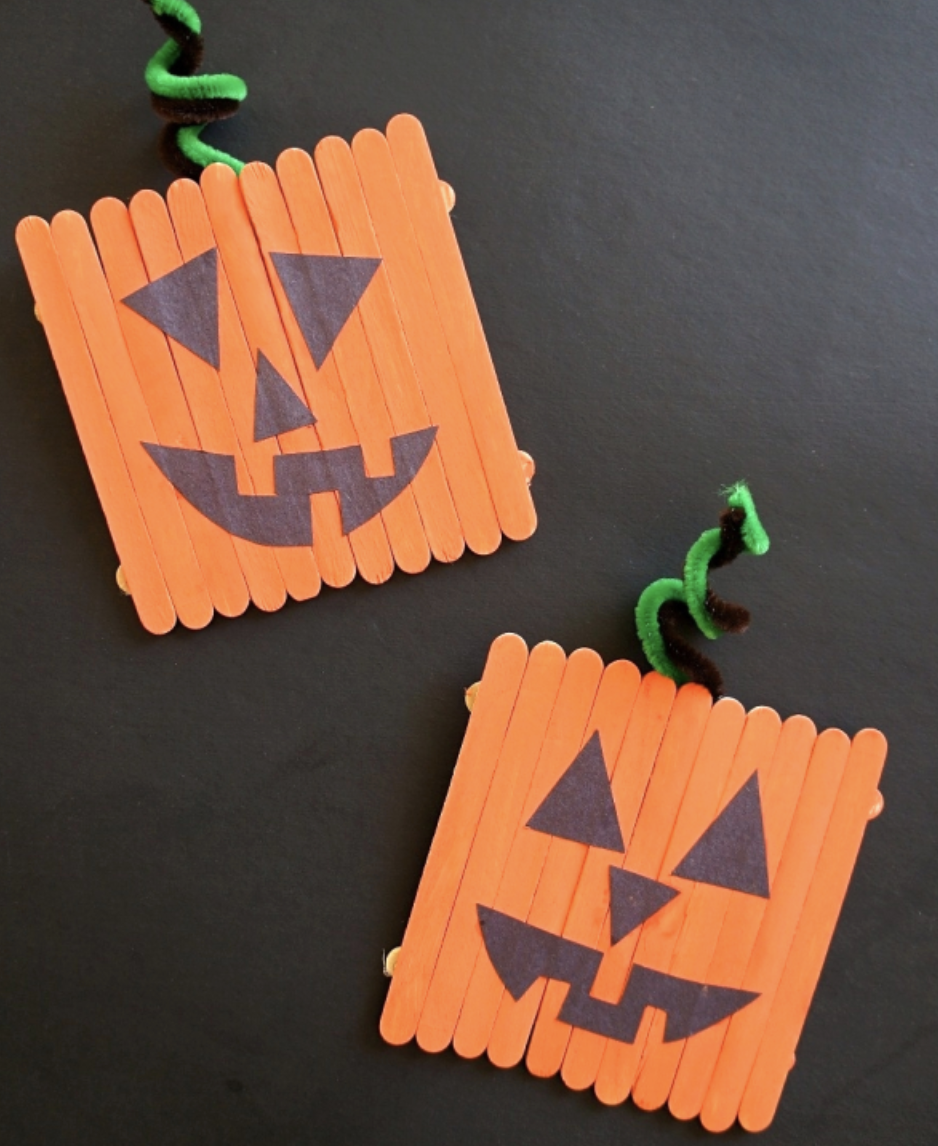
2. Craft Stick Jack-O’-Lantern
Supplies:
- Wood craft sticks
- Orange and black paint and brushes
- Glue
- Green pipe cleaners
Instructions:
- Lay craft sticks side-by-side to form a square or rectangle, depending on the shape you want your pumpkin to be.
- Glue two craft sticks horizontally across the rest to hold them in place, and let it dry.
- Turn the craft sticks over and paint them orange. Let it dry.
- Use the black paint to add jack-o-lantern faces.
- Glue or tape a green pipe cleaner to the back on top and twist it to form a curly stem.
Supplies:
- Paper towel tube or toilet paper rolls
- Pipe cleaners
- Battery powered LED tea lights
- Construction paper
- Acrylic paint
Instructions:
- Cut the paper tube in half so you can make two bats or save the other half for another craft.
- Paint the outside of the tube black or purple and let it dry completely (apply a second coat if needed).
- Draw a simple bat face (eyes, nose, mouth) on the tube with a pencil, then carefully cut out the shapes.
- Fold down the top and bottom of the tube slightly to give it a more bat-like shape.
- Cut two squares of construction paper, fold them accordion-style to create pleated wings, then insert them into slits on each side of the tube and secure with glue if needed.
- Cut two short lengths of pipe cleaner and attach them to the bottom of the tube to form legs that can hook for hanging.
- Turn on the LED tea light, insert it into the bottom of the tube, and enjoy the glowing effect through the cut-out face.
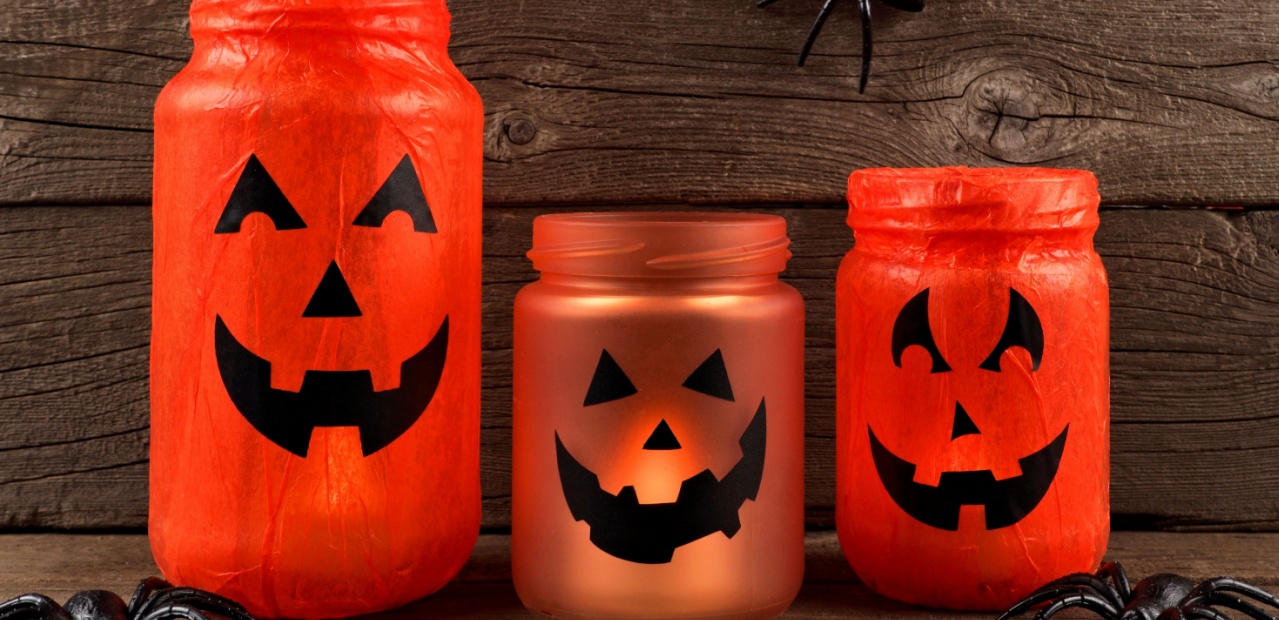
Supplies:
- Empty, clean glass jar
- Orange and black craft paint and brushes
- Green pipe cleaners
- Optional: Tea lights
Instructions:
- Paint the outside of the jar orange and let it dry.
- Use black paint to add a jack-o’-lantern face.
- Wrap green pipe cleaners around the rim of the jar to form a stem, using a few to make vine curlicues too.
- Add a tea light to turn your jar into a candleholder, or fill it with Halloween treats!
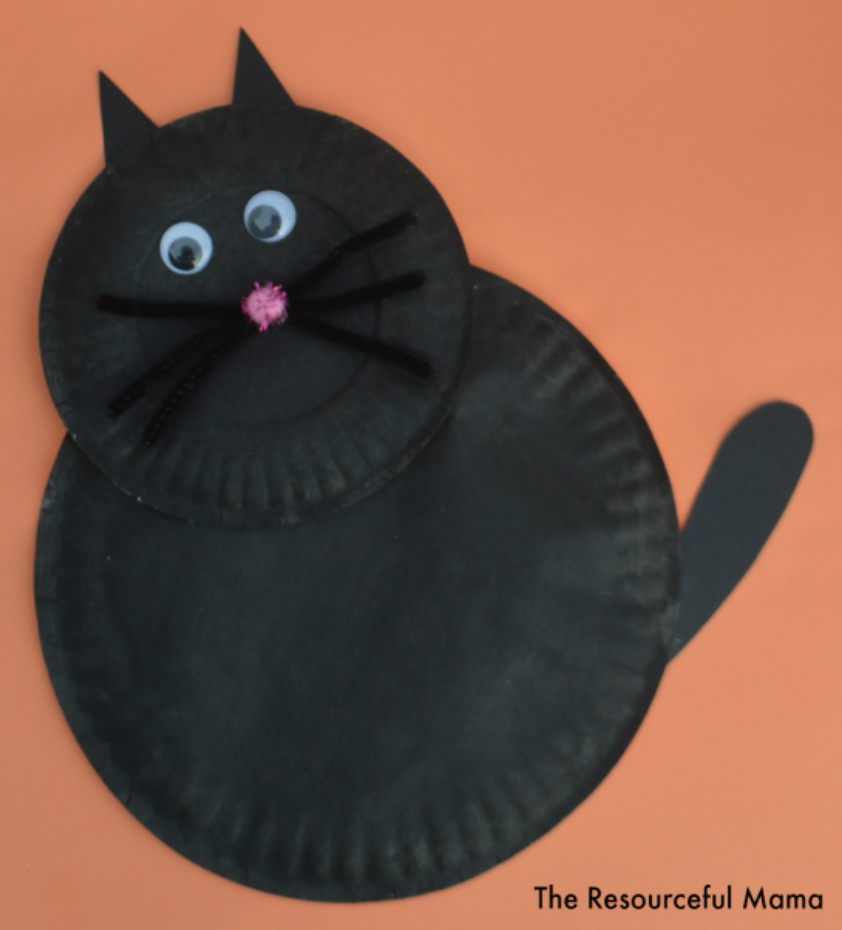
5. Paper Plate Black Cat
Supplies:
- Large paper plate
- Small paper plate
- Black paint and brushes
- Black pipe cleaners
- Googly eyes
- Pink pom pom
- Black construction paper
- Scissors
- Glue
Instructions:
- Paint the backs of both paper plates black and let them dry.
- Glue the smaller plate to the larger plate to form the cat’s head and body.
- Cut ears and a tail from construction paper and use glue to attach to the head and body.
- Twist three pipe cleaners together in the middle and spread them out to form whiskers. Glue them in place with the pink pom pom on top for a nose.
- Glue on googly eyes to finish the face.
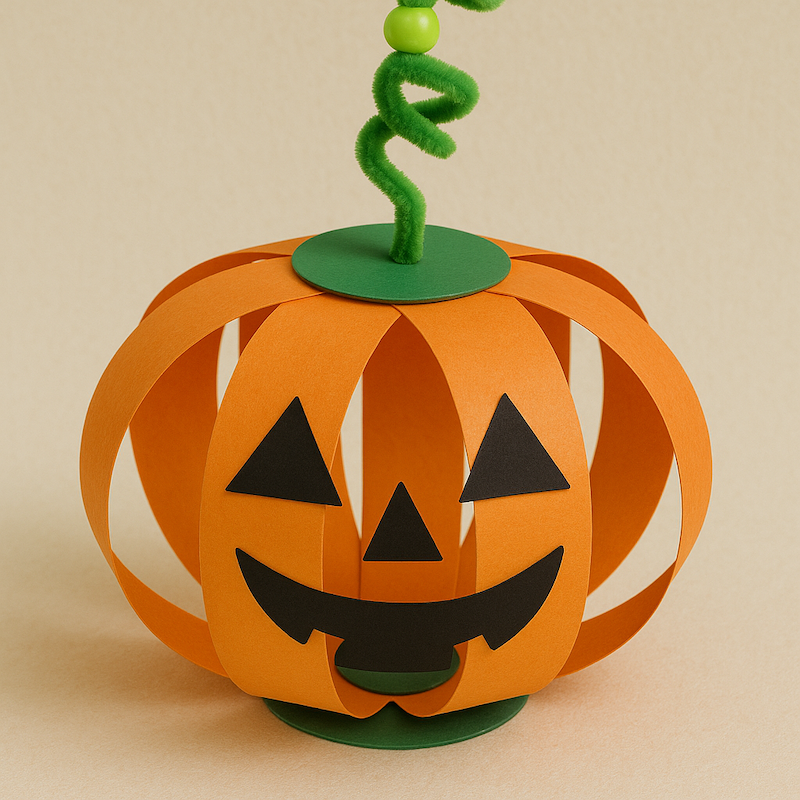
Supplies:
- Construction Paper (green, orange, and black)
- Scissors
- Green Pipe Cleaners
- Pencil or Pen
- Hole Punch
- Beads
- Glue Stick
Instructions:
- Start by taking two sheets of orange construction paper and layering them on top of each other. Cut four equal strips lengthwise from the paper.
- Using the green construction paper, cut out two circles, each about 2.5 inches in diameter.
- Take each of the orange strips and use a hole punch to punch holes at both ends of the strips. The holes should be about 3/4 of an inch from the ends. Then punch a hole in the center of each green circle—this is where you will thread the pipe cleaners through.
- Take one of the green circles and thread a pipe cleaner through the center hole. Bend the pipe cleaner into a U shape underneath the circle to secure it in place. This will be the base of your pumpkin.
- Take the other end of the pipe cleaner and thread it through one end of all the orange strips. Once all the strips are threaded onto the pipe cleaner, thread the pipe cleaner through the holes on the other end of the strips. Finally, thread it through the hole in the second green circle, which will be the top of your pumpkin.
- Once the pipe cleaner is threaded through the top green circle with about 4-5 inches to spare, you can add some beads onto the end of the pipe cleaner.
- Now take a pencil or pen and wrap the remaining pipe cleaner around it to create a curly stem. Once it’s twisted, slide the pencil out, and your stem will have a fun, curly shape, adding character to your pumpkin.
- Gently spread out the orange paper strips in all directions to form a round pumpkin shape. The strips should fan out evenly from the top to the bottom, creating the body of your pumpkin.
- Using black construction paper, cut out shapes to create a spooky or silly face for your pumpkin. You can also use markers if you prefer. Glue or tape the face onto one of the orange strips of your pumpkin.
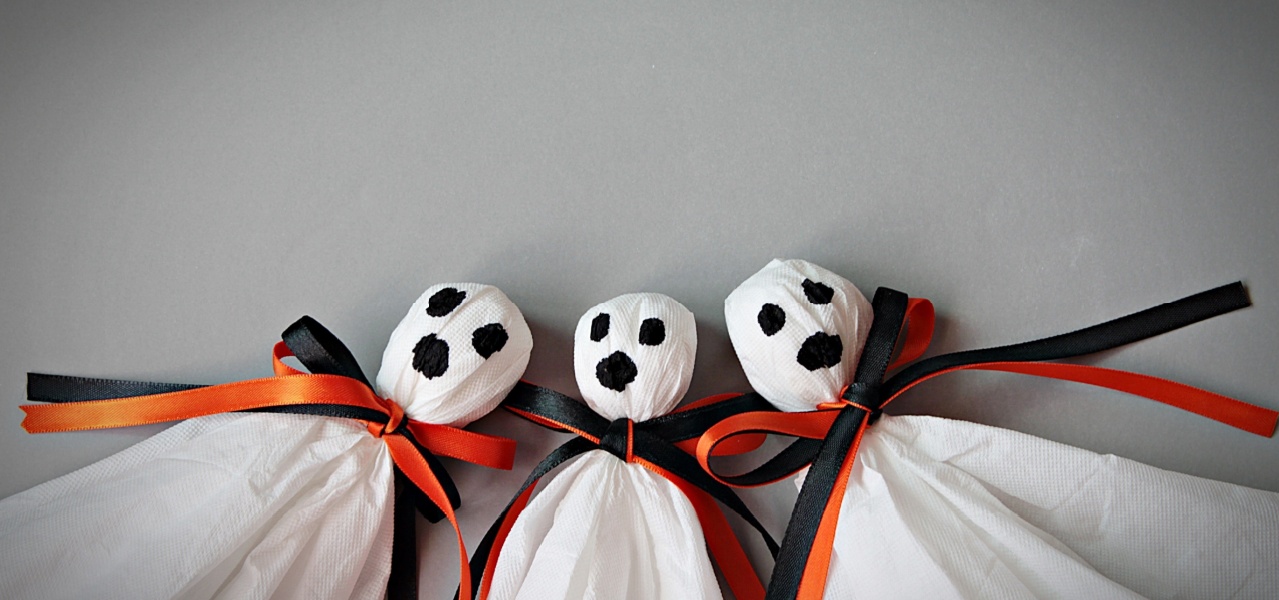
7. Ping Pong Ball Ghosts
Supplies:
- White tissue paper
- Scissors
- Ping pong balls
- Black marker
- Yarn or ribbon
Instructions:
- Set a ping pong ball in the middle of a piece of tissue paper and wrap the tissue around it, leaving the ends of the tissue hanging (to create the “body” of the ghost)..
- Use a piece of yarn to tie the tissue in place, then draw on ghost faces with the marker.
- If you like, attach another piece of yarn to hang your little ghost!
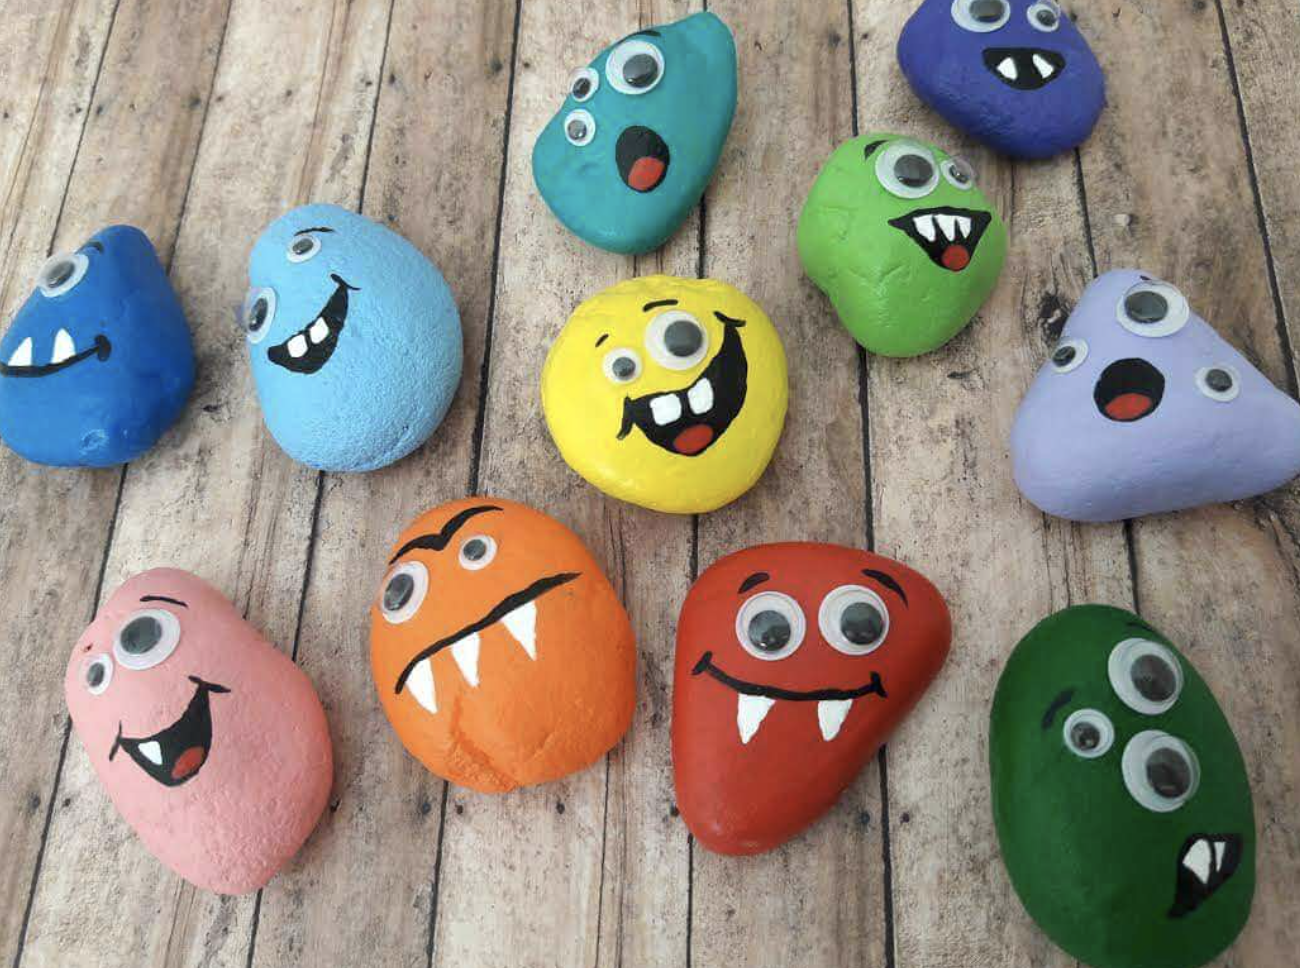
8. Painted Monster Rocks
Supplies:
- Clean, dry river rocks
- Craft paint and brushes
- Optional: Clear sealer spray; googly eyes, glitter, etc.
Instructions:
- Use your imagination to turn your rocks into monsters!
- Keep it simple with just craft paint (use clear sealer spray to protect them if you plan to display them outside).
- If you’d like, add fun embellishments like googly eyes, glitter, or stickers to personalize your creations.


9. Pinecone Bat
Supplies:
- Pinecones
- Black craft foam or construction paper
- Scissors
- Glue
- Yarn
- Optional: Googly eyes, other colors of construction paper
Instructions:
- Cut two bat wings for each pinecone from the construction paper or craft foam.
- Insert them in between the pinecone scales, using glue to hold them in place.
- If you like, add faces with googly eyes or bits of construction paper.
- Attach yarn to hang them for display.
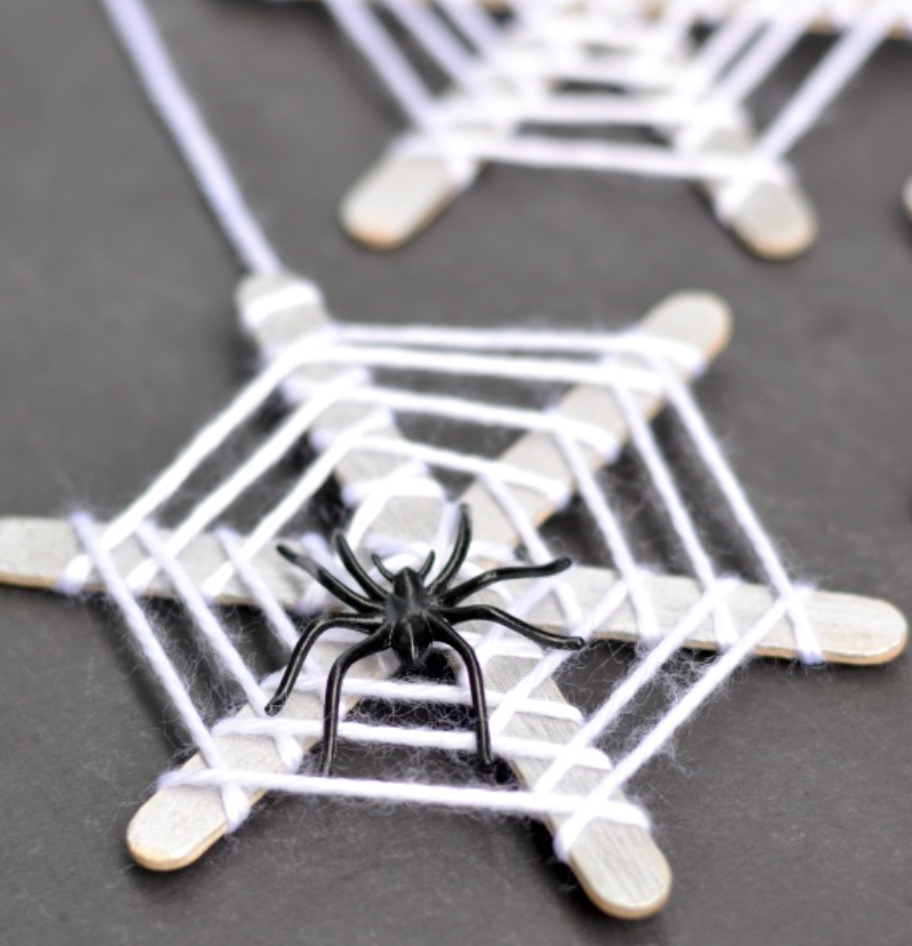
10. Craft Stick Spider Web
Supplies:
- Wood craft sticks
- White craft paint and paint brush
- Glue
- White yarn
- Plastic spiders
Instructions:
- Paint craft sticks white and let them dry.
- Cross three sticks in the middle to form the foundation of the web, and glue them in place.
- Tie a long piece of white yarn to one stick, close to the center.
- Begin wrapping the yarn around the sticks, spacing the yarn to form a web shape and tying it off at the end.
- Glue a plastic spider in place to finish.
11. Fork Painted Black Cat
Supplies:
- Plastic fork
- Black craft paint
- Blank paper
- Pink and white construction paper
- Scissors
- Glue stick
Instructions:
- Squeeze paint onto a flat dish or paper towel.
- Press the back of the fork tines into the paint, then press it onto the paper several times until the paint is gone.
- Repeat until you’ve formed a large circle for the cat head; space out the fork prints around the edges to create a “furry” effect.
- Once the paint is dry, cut out construction paper pieces and glue them in place to form eyes, a mouth, whiskers, and ears.
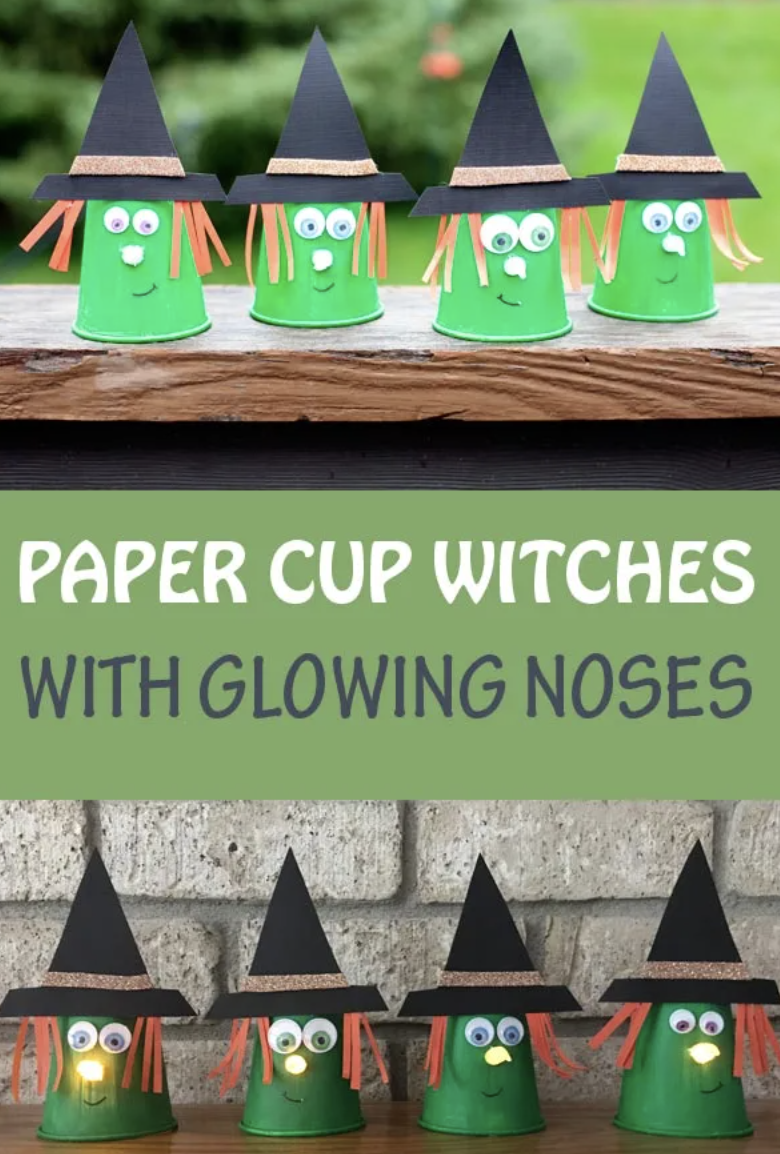
12. Paper Cup Witch
Supplies:
- Paper cup
- Green craft paint and brush
- Googly eyes
- Black and brown construction paper
- Battery-operated tea light
- Scissors
- Glue
- Tape
- Black marker
Instructions:
- Paint the paper cup green and let it dry.
- Cut a small hole for the nose, then poke the tea light’s “flame” through the cup from the inside out, securing the tea light in place inside with tape.
- Cut brown construction paper strips and fold them into crinkles, then glue them into place for hair.
- Craft a witch hat from black and brown construction paper and glue it in place.
- Use the black marker to draw a mouth and glue on the googly eyes.
- Switch on the tea light for a witch with a glowing nose!
Supplies:
- Trash Bag
- Cup
- Pipe Cleaners
- Markers
- Construction Paper
- Tape
- String
- Scissors
Instructions:
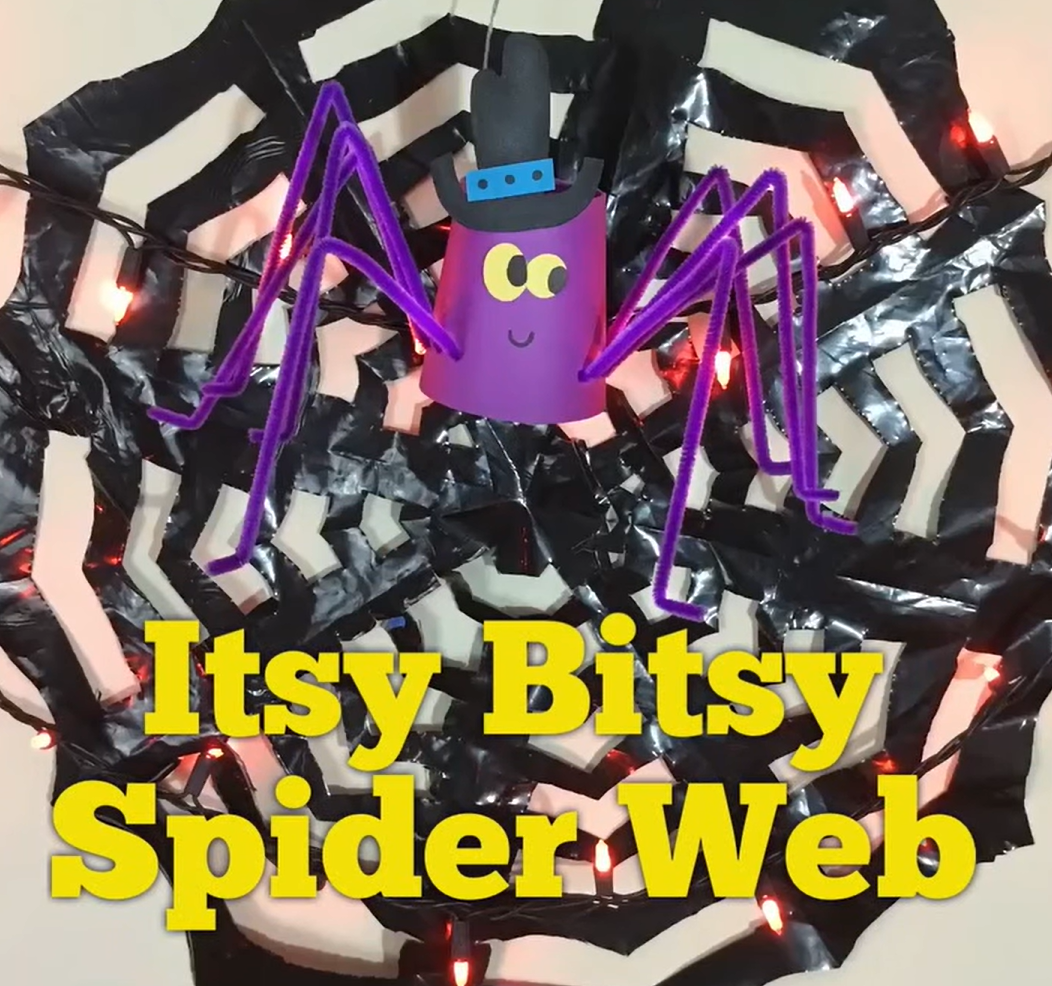
- Cut a square from the trash bag, fold it into a small triangle, tape it closed, and cut slits along the edges to create a snowflake-like web pattern.
- Carefully unfold the folded piece to reveal the spider web design. Attach it to a wall or window as your backdrop.
- Decorate the cup (with markers or paper). Punch four holes on each side and insert pipe cleaners. Bend them to form the spiders legs
- Thread a string through a hole in the top to hang the spider.
- Hang the web and dangle the spider from it.
Supplies:
- Orange Yarn
- Balloon
- White Craft Glue
- Green Pipe Cleaners
- Pencil
Instructions:
- Blow up a small balloon to a round pumpkin-like shape and tie it.
- Mix white glue with water (about 2 parts glue to 1 part water) in a bowl.
- Dip orange yarn into the glue mixture and coat it fully.
- Put on your disposable gloves. Wrap the gluey yarn around the balloon in different directions until mostly covered.
- Let it dry overnight until the yarn hardens completely.
- Pop and remove the balloon carefully from inside the hardened yarn shape.
- Twist green pipe cleaners into a stem and curly vines, then insert them into the top of the pumpkin.
15. You can also try this DIY candy corn craft…
Fun Halloween Printables and Learning Activities
Supplies:
- Cornstarch
- Googly Eyes
- Food Coloring
- Water
- Fun Cut Outs
- Glitter or Sequins
Instructions:
- Gather cornstarch, water, food coloring, a mixing bowl, googly eyes (or foam cutouts), glitter or sequins, and a smooth surface for the activity.
- Add a few drops of food coloring to the water and mix until evenly colored.
- Gradually pour the colored water into the cornstarch, stirring continuously until you form a thick, gooey paste (oobleck).
- Adjust the texture: if it’s too runny, add more cornstarch; if too stiff, add more water.
- Roll the mixture into a firm ball—it should hold its shape briefly before melting.
- Quickly press on features like googly eyes, mouths, or glitter onto the ball.
- Place your melting monster on a smooth surface and watch it slowly ooze and collapse.
- Use this activity to explore science: oobleck behaves like both a solid and a liquid depending on pressure.
19. Flying Balloon Bat: Learn about the Law of Motion!
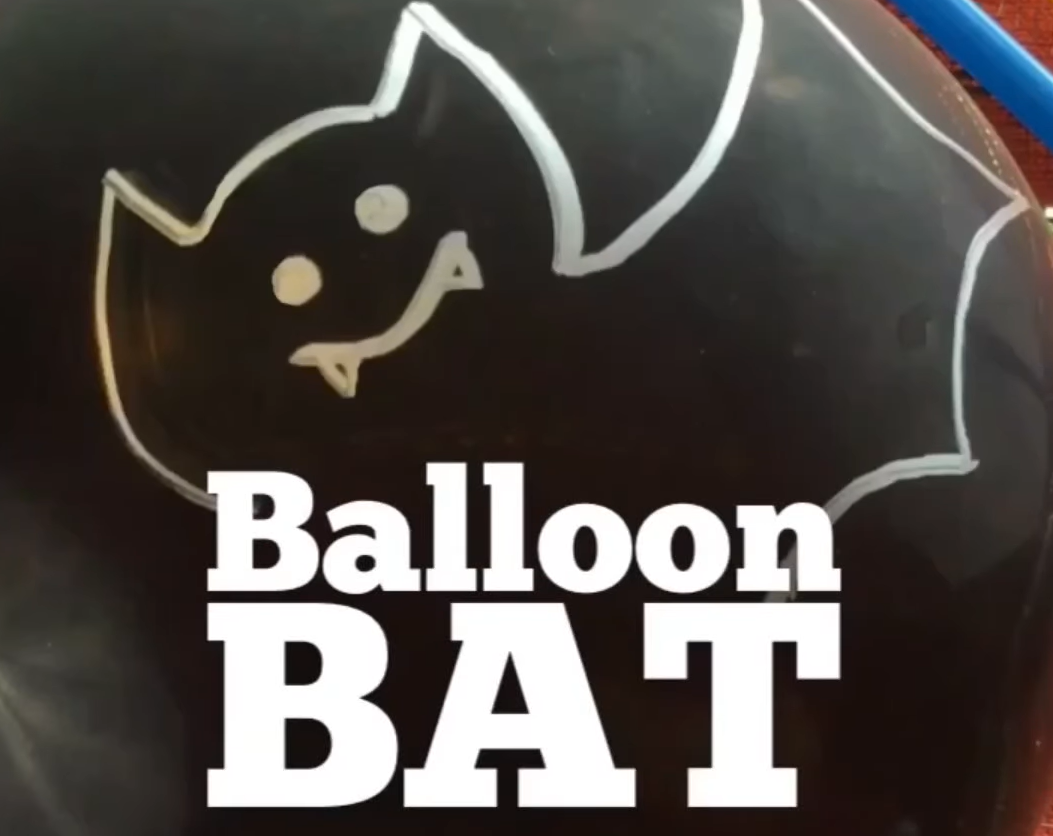
Supplies:
- Black Balloons
- Binder Clip
- Tape
- Silver Marker
- String
- Drinking Straws
Instructions:
- Wrap tape around the balloon’s neck to reinforce it.
- Inflate the balloon, then pinch and secure the opening with the binder clip (instead of tying it).
- Draw a bat face and wings on the balloon using the marker.
- Thread a string through the straw, then tape the straw horizontally on top of the balloon.
- Stretch the string tight between two anchor points (like chair backs or doorknobs).
- Remove the clip and watch the balloon bat zoom along the string as the air escapes.
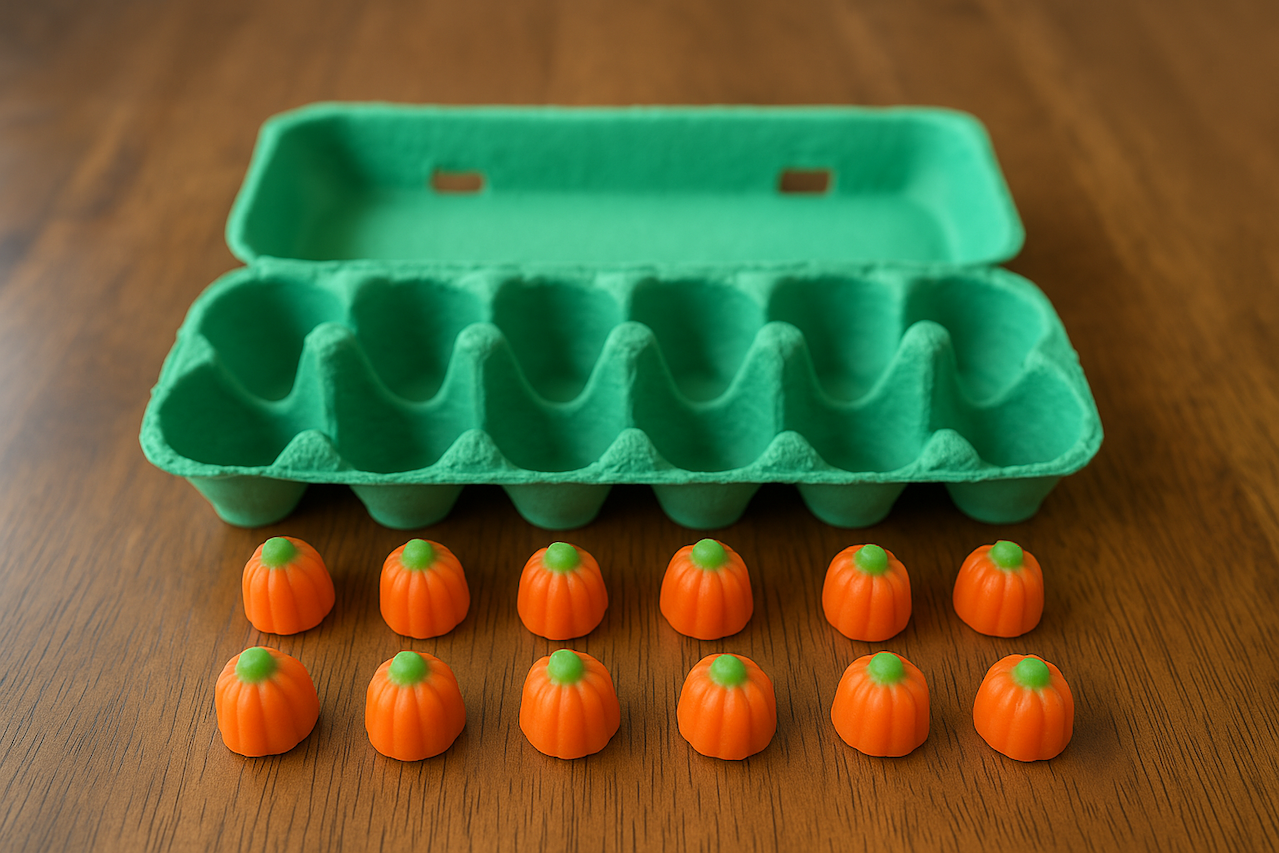
Supplies:
- Empty egg carton
- Green craft paint and paint brush
- Candy corn pumpkins
- Black food-safe marker
Instructions:
- Paint the egg carton green and let it dry.
- Write the numbers 1 through 12 inside each compartment with the marker.
- Write the same numbers on the bottom of 12 pumpkins.
- Ask your child to match each pumpkin to the correct compartment!
Alternate activities: Make dots on the bottoms of the pumpkins to represent the numbers, or fill each compartment with the matching number of individual candy corns.
Halloween Word Activities
Use our free printable list of Halloween words for kids for these fun, language-focused ideas!
21. Halloween Word Match
Supplies:
- Empty egg carton
- Green craft paint and paint brush
- Candy corn pumpkins
- Black marker
Instructions:
- Mix green slime or water with potion “ingredients” like plastic spiders and bugs, googly eyes or plastic eyeballs, small toy frogs and lizards, and letter beads or magnets that spell out “witch” and “cauldron.”
- Add a wooden spoon for stirring, a ladle for scooping, and empty jars to fill with spooky “potions!”
22. Shaving Cream Halloween Words
Supplies:
- Shaving cream
- Orange food coloring
- Rimmed baking sheet
Instructions:
- Use food coloring to turn a bowlful of shaving cream orange (just drop it in and mix well).
- Spread the shaving cream in a thin layer on the rimmed baking sheet.
- Practice writing Halloween words from the list on the sheet using a finger, smoothing the shaving cream over after each word to start again.
23. Sentence-by-Sentence Halloween Stories
Supplies:
- Index cards
- Marker
- Optional: Pencil and paper
Instructions:
- Select 15 to 20 words from the Halloween word list and write each one on an index card.
- Mix up the cards and place them face down.
- The first player starts a Halloween story by drawing the first card and using it in a sentence.
- The second player draws a card and uses it to continue the story.
- Keep going until all the cards are used, and the story comes to an end!
24. Mystery Halloween Word
Supplies:
- Index cards
- Marker
Instructions:
- Select 10 to 15 words from the Halloween word list, and write each one on an index card.
- Lay all the cards out face up on the table.
- One player selects the “mystery word” from the cards, but doesn’t tell the other player.
- The other player asks questions to try to narrow down which word they’re thinking of, like “Does it start with S?” or “Does it have a silent E?”
- After each question, the other player flips cards back over (face down) if they don’t match the question to help them keep track of how close they’re getting to the mystery word.
25. Halloween Words Sort
Supplies:
- Index cards
- Marker
- Plastic pumpkin pails
Instructions:
Write as many words as you like from the Halloween word list on individual index cards. Then, choose a way to sort the words, such as:
- Words starting with vowels and words starting with consonants
- Number of syllables
- Words with silent letters and words without
- Words with double letters and words without


DIY Halloween Snacks and Treats
Be sure to wash hands before and after creating these treats, and supervise little ones with any sharp kitchen tools.
26. Snack Pouch Mummies
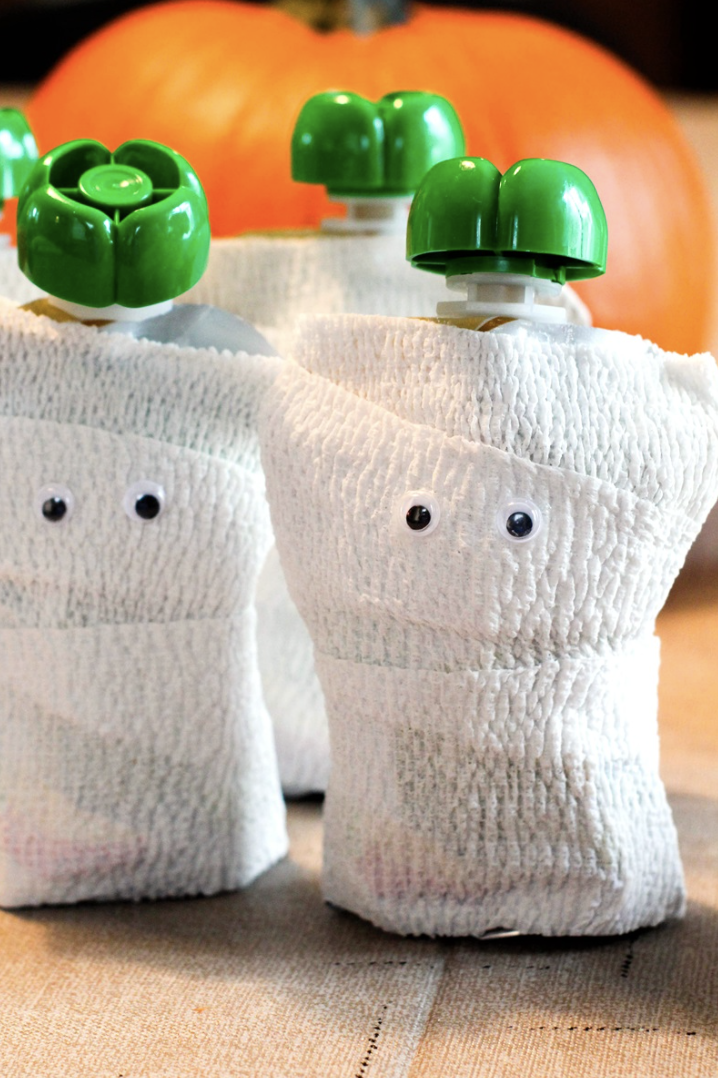
Supplies:
- Snack pouches
- White gauze bandages
- Black marker
Instructions:
- Wrap each pouch with gauze so it looks like a mummy. Use the marker to add fun faces, then enjoy your treats!
Supplies:
- Celery Stalks and Carrots
- Tortilla Chips
- Olives
- Shredded Cheddar Cheese
- Cream Cheese
Instructions:
- Blend equal parts cream and cheddar cheese until smooth.
- Grate the carrots to create an orange coating.
- Form the cheese mixture into small balls, then roll them in the grated carrots.
- Decorate each cheese ball using celery stalks (stems/arms), olives for facial features, and tortilla chips for wings.
- Arrange the finished treats on a plate and serve—with crackers or chips if you like.
Supplies:
- White Chocolate Chips
- Large and Small Pretzels
- Halloween Sprinkles
- Wax Paper
Instructions:
- Melt the white chocolate in a microwave-safe bowl in 30-second intervals, stirring until smooth.
- Dip the ends of the large pretzels into the melted chocolate, using a fork or tool to coat them evenly.
- While the chocolate is still wet, sprinkle on Halloween sprinkles to decorate.
- If you’d like, drizzle additional chocolate in patterns (stripes, zigzags) and add small candies or edible eyes.
- On wax paper, arrange the small pretzels in a web shape, spacing them while keeping them touching in the center.
- Drizzle more melted chocolate over the arranged pretzels in circular motions, ending with a dollop in the center to hold them together.
- Once the chocolate has hardened, transfer the snack to a festive plate and enjoy.
29. Ghost Marshmallow Fruit Skewers
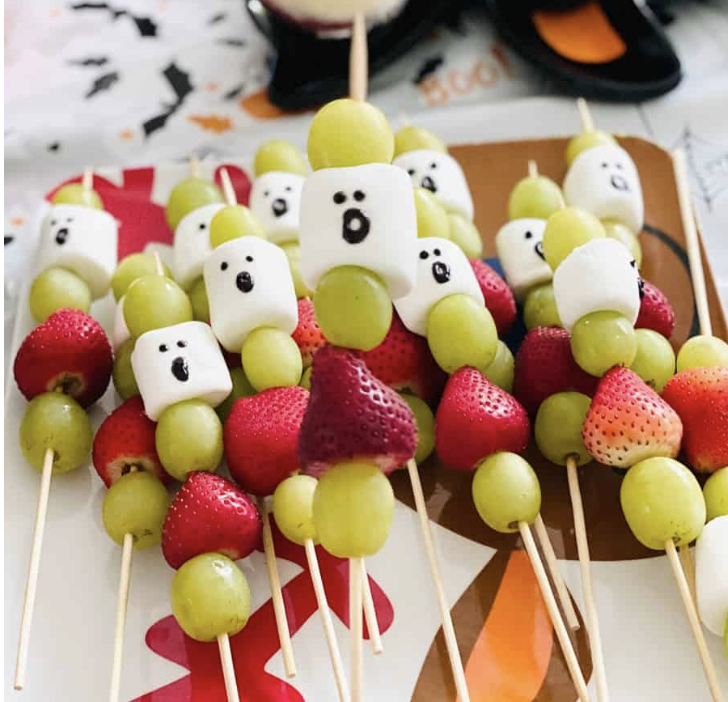
Supplies:
- Marshmallows
- Food-safe marker
- Fruit, small or cut up (berries, bananas, strawberries, etc.)
- Wood skewers
Instructions:
- Use the marker to draw ghost faces on the marshmallows. Then, create fruit skewers with a ghost marshmallow in the middle of each. Healthy snacks with a sweet treat in the middle!
Watch how these pretzel snack are made on ABCmouse’s Instagram channel!
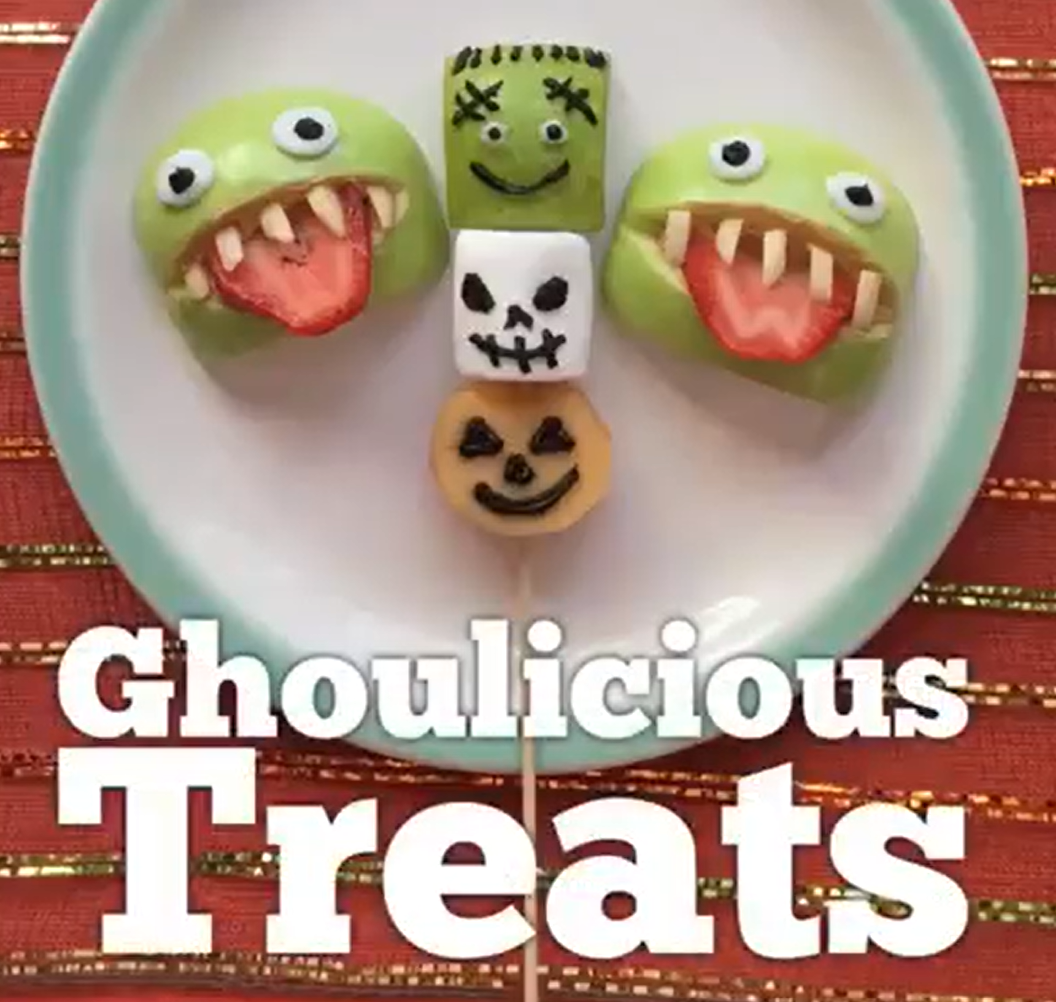
Supplies:
- Fruits or Vegetables
- Marshmallows
- Peanut Butter
- Black Icing
- Skewers
- Almonds (Optional)
Instructions:
- Gather fruits or vegetables (like apples, strawberries, bell peppers, pears, cantaloupe), marshmallows, peanut butter, white and black icing, skewers, and optional almonds for “teeth.”
- Flatten half an apple to create a base, then carve a mouth on the other half, fill it with peanut butter, and use icing to add eyes.
- Let children decorate further—add a strawberry tongue or almond “teeth” to make creative faces.
- Thread decorated marshmallows and fruits or veggies onto skewers for spooky kabobs.
- Create a “dip monster” by halving a bell pepper—use the bottom half as a head decorated with icing, and slice the rest as legs. Place it over hummus or another dip to resemble a creature emerging from the bowl.
- Arrange all treats on a platter and share with family or friends for a fun and festive snack spread.
Halloween Games
31. Halloween Bingo

32. Spoon and “Eyeball” Race
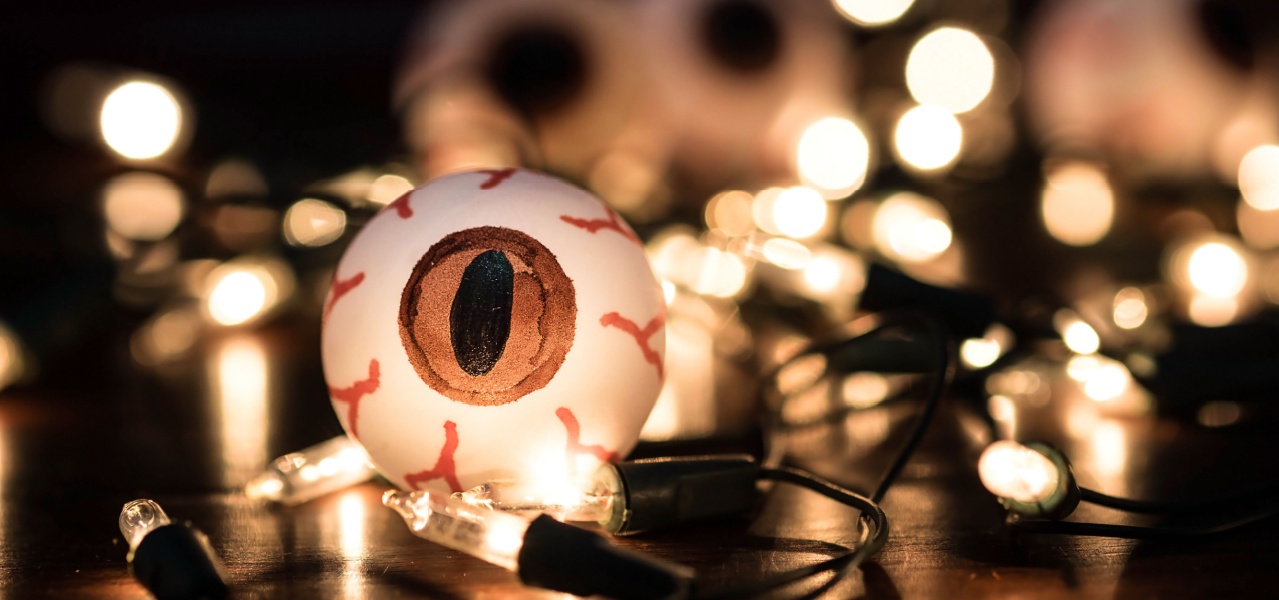
Supplies:
- Plastic spoons
- Toy eyeballs, or ping pong balls decorated to look like eyeballs
Instructions:
- Each player balances their eyeball on a spoon, holding it by the handle with one hand only.
- At the word “go,” each player moves as quickly as they can toward the finish line.
- If their eyeball falls off, they can stop and pick it up, but they can’t move toward the finish line until the eyeball is balanced on the spoon again.
- First across the line with their eyeball wins!
33. Halloween Pictionary or Charades

Supplies:
- Index cards
- Markers
- For Pictionary: a whiteboard and dry-erase markers, or paper for drawing
- Timer
Instructions:
- Select the Halloween words you want to use for your game and write them on individual cards.
- Mix up the cards and flip them over.
- Players take turns drawing a card and either acting it out or drawing a picture, trying to get their teammates to guess the word before the time is up (1 to 2 minutes works well).
- Keep track of the score, or just play for fun!
34. Witch Hat Ring Toss
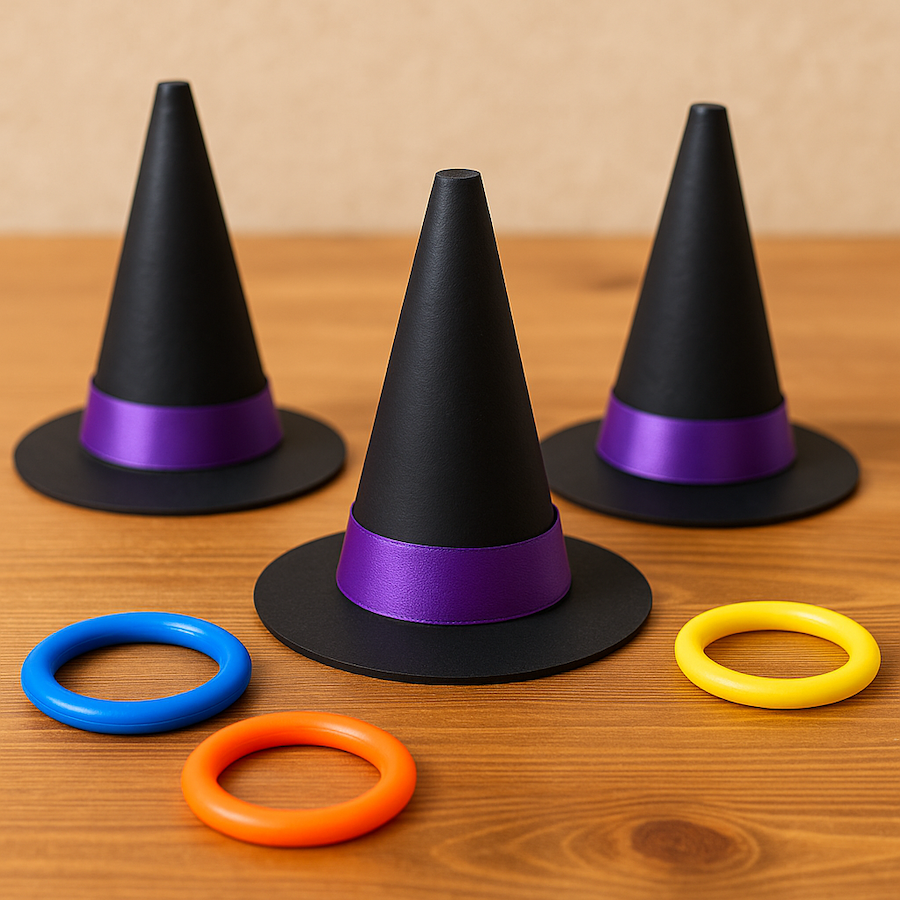
Supplies:
- Toy cones
- Black paint and brushes
- Purple ribbon
- Glue
- Rings
Instructions:
- Paint the toy cones black and allow them to dry, then wrap strips of purple ribbon around the bases to make hat bands.
- Lay the cones out and give each player a number of rings. See how many they can toss around the “witch hat” cones!
35. Jack-O’-Lantern Balloon Pop
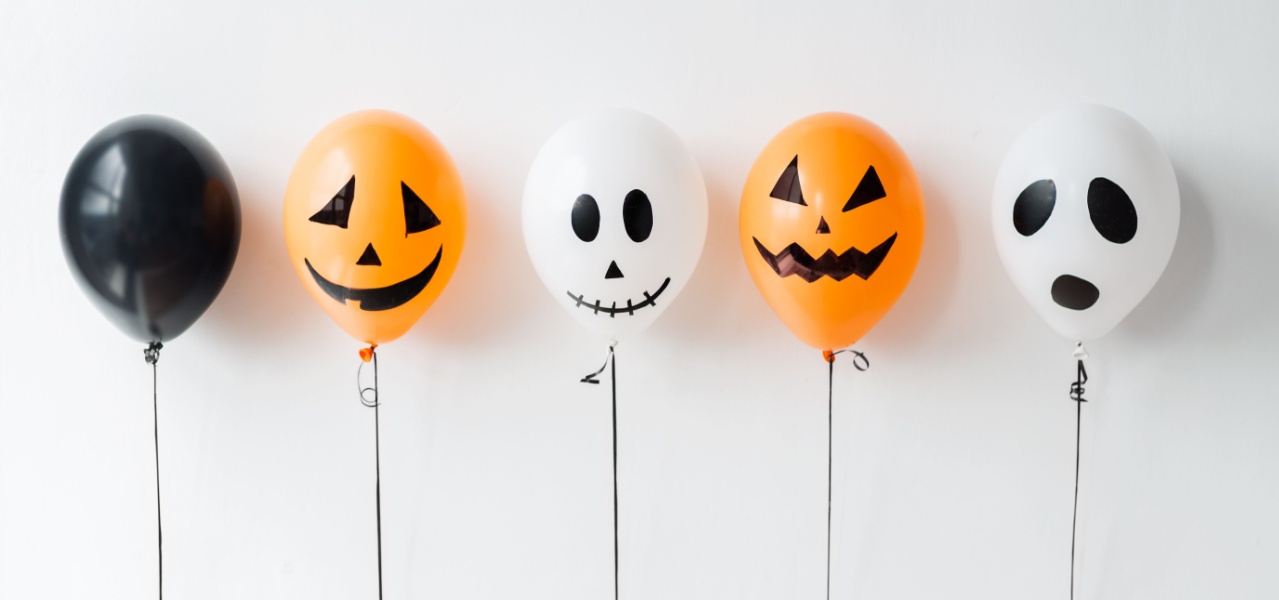
Supplies:
- Orange balloons
- Black marker
Instructions:
- Blow up each balloon, tie it off, and use the marker to make a jack-o-lantern face.
- Start the game by giving each player a balloon.
- On the count of 3, each player tries to be the first to pop their balloon by sitting on it, stepping on it, etc.
Tip: This game is simple but loud, and a lot of fun! Be sure to play it when other family members or classmates don’t need it to be quiet.
Halloween Sensory Bins
36. Witch’s Cauldron
Instructions:
- Mix green slime or water with potion “ingredients” like plastic spiders and bugs, googly eyes or plastic eyeballs, small toy frogs and lizards, and letter beads or magnets that spell out “witch” and “cauldron.”
- Add a wooden spoon for stirring, a ladle for scooping, and empty jars to fill with spooky “potions!”
37. Pumpkin “Guts”
Instructions:
- Scoop out the insides of a pumpkin and put the “guts” in a bin along with the seeds.
- Cut small chunks of the pumpkin itself and mix those in as well.
- Provide plastic utensils and small cups for kids to scoop, fill, and sort out the seeds.
38. Gourds and Ghouls
Instructions:
- Fill the bin with dried black beans and candy corn.
- Add small pumpkins and gourds in a variety of shapes and sizes, plus small Halloween toys like ghosts, witch hats, monsters, etc.
- Give kids small cauldrons or plastic pumpkin containers for scooping and sorting.
39. Creepy Crawlies
Instructions:
- Use food coloring to turn white rice dark brown, and let it dry.
- Mix in toy bugs, spiders, lizards, worms, snakes, and other “creepy crawlies,” and provide kids with tweezers or small tongs, magnifying glasses, and small jars to hold the “creatures” they find.
40. Graveyard Dig
Instructions:
- Fill a bin with a mix of dirt and small pebbles.
- Mix in toy skeletons and bones, alphabet beads or magnets spelling “skeleton,” and small toy insects or worms.
- Give kids small shovels and spoons for digging, and little toy coffins to hold the bones they dig up.
Legal Disclaimer: Any links to third-party resources are provided for informational purposes only. We are not affiliated with and do not sponsor/endorse these third parties and bear no responsibility for the accuracy of content on any external site.
-

Halloween Crafts & Activities for Kids
Keep kids entertained this Halloween with a variety of spooky crafts, snacks, and free printables. From creating balloon bats and yarn pumpkins to enjoying Halloween-themed snacks…
-

Halloween Riddles & Jokes
Get ready for Halloween laughs with over 120 kid-friendly jokes and riddles! Perfect for parties or family fun, this free printable list features silly jokes about…
-

Halloween Activity: Ghoulicious Monster Treats
Create spooky and fun Halloween snacks with this Ghoulicious Treats activity. Kids can make creepy apple faces, ghoulish kabobs, and a whimsical veggie dip, all while…
-

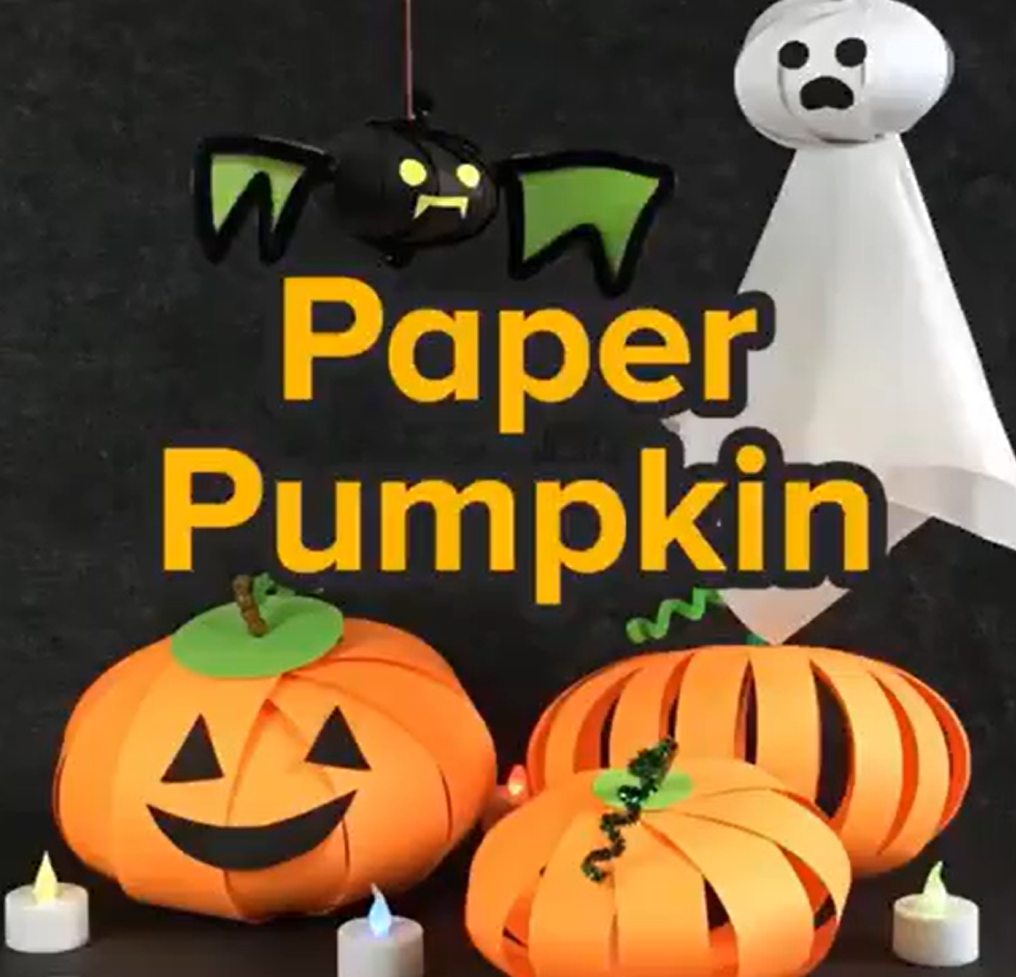
Halloween Pumpkin Paper Craft
Create festive Halloween decorations with this easy paper pumpkin craft for kids. Using simple materials like construction paper, pipe cleaners, and beads, children can make their…
-
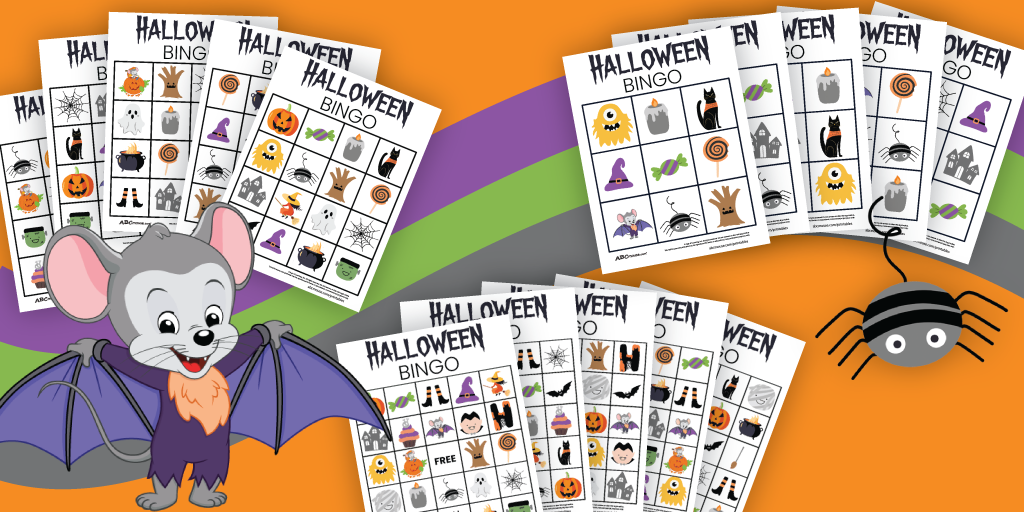
Free Halloween Bingo Cards for Kids
Discover free printable Halloween bingo sheets perfect for kids of all ages. From simple 3×3 cards for toddlers to challenging 5×5 grids for older kids, these…
-
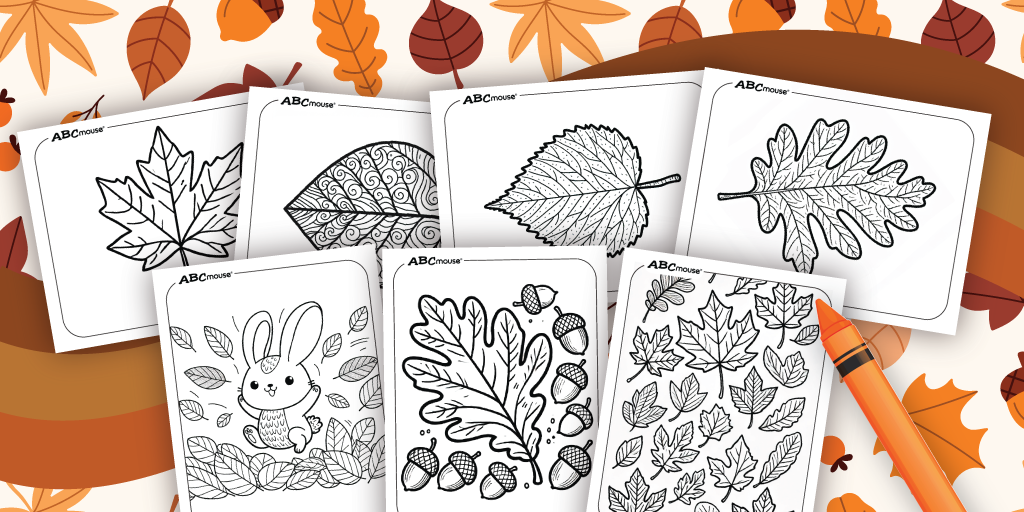
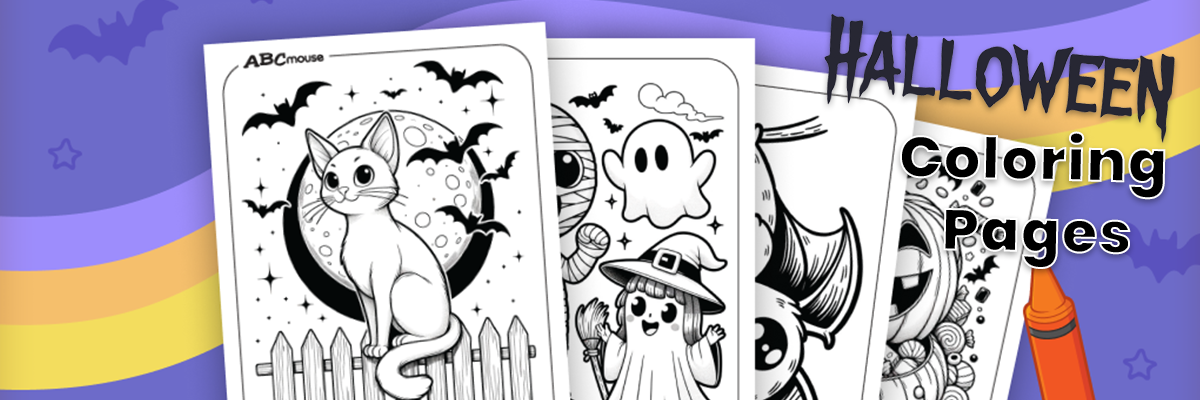
Fall Leaves Coloring Pages
Explore over 20 fall leaf coloring pages designed for kids, featuring single leaves, fall scenes, and cutting practice. Ideal for classroom or home activities, these pages…