14 Simple and Creative Summer Crafts for Kids
Share
Celebrate summer with creative crafts that reinforce early learning. Each one uses simple supplies and lots of imagination!
Keep little hands busy this summer with crafts that help kids connect with the season while learning about letters, nature, and more. Whether creating sun catchers and alphabet-inspired crafts or growing silly plant hair, there’s something here for every interest. Try these ideas at home, in the classroom, or during summer camp as a way to blend play, learning, and hands-on fun.
These summer crafts are designed for toddlers and up and use everyday supplies you likely already have at home. Some ideas require minimal time while others require a bit more prep, but each activity is designed to be relatively quick and easy. While each craft is suitable for young children to enjoy, it’s best to provide adult supervision while they work.
More Summer Fun, Creativity, and Learning!
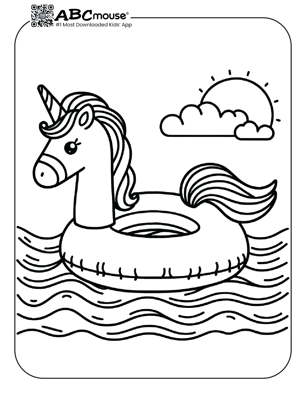
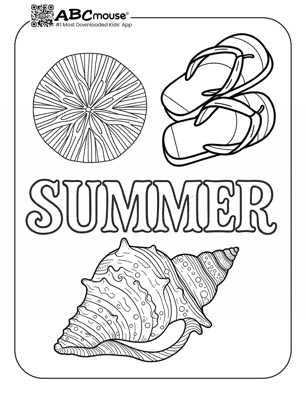
When you’re finished crafting, check out our 80+ free printable Summer Coloring Pages, free summer learning activities, summer boredom busters for kids at home, and our list of 170+ ideas for maximum summer fun!
Summer Paper Crafts
1. Ice Cream Cone Counting Crafts

Supplies:
- brown paper bags
- colored construction paper
- scissors
- marker
- glue
Instructions:
1. Make the Cones
Cut several ice cream cone shapes out of brown paper. Write a number (1–5) on each cone using a marker or pen.
2. Create the Scoops
Cut out ice cream scoop-shaped pieces from colored paper (a semi-circle with a wavy bottom). Make enough scoops to match the numbers written on your cones. For instance, in the example pictures above, you’d need a total of six ice cream scoops.
3. Start Matching
Invite your child to place the correct number of scoops on each cone based on the number written on it. Use the cones for number recognition, counting practice, or even pretend play in a make-believe ice cream shop! To turn this into a reusable activity with more number options, write numbers on sticky notes or scraps of paper rather than directly onto the ice cream cones.
More Ice Cream Fun!
Print out our free ice cream and ice cream truck coloring pages to keep the fun going.

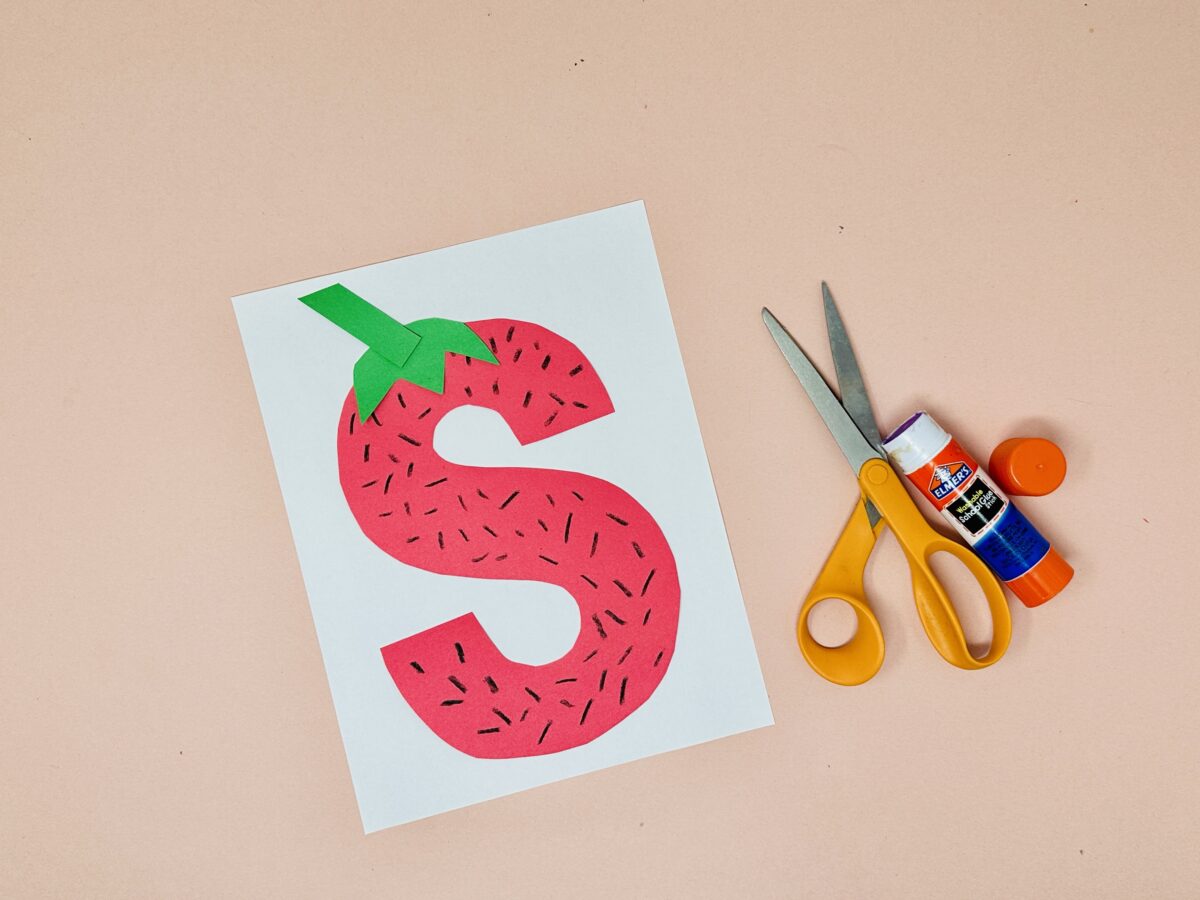
2. Letter S Strawberry Craft
Supplies:
- red and green paper
- black crayon or colored pencil
- scissors
- glue
Instructions:
1. Trace and Cut the Letter S
On red paper, trace a large letter S (use the letter S template in our letter S worksheets if needed). Help your child carefully cut it out—this will be the strawberry.
2. Make the Stem and Leaves
Cut out a small stem and a leafy top (the calyx) from green paper to go on the strawberry. Glue the green stem and leaves to the top of the red letter S.
3. Add the Seeds
Using a black crayon or colored pencil, have your child draw small seeds all over the strawberry. Then count up all the seeds for a little math practice!
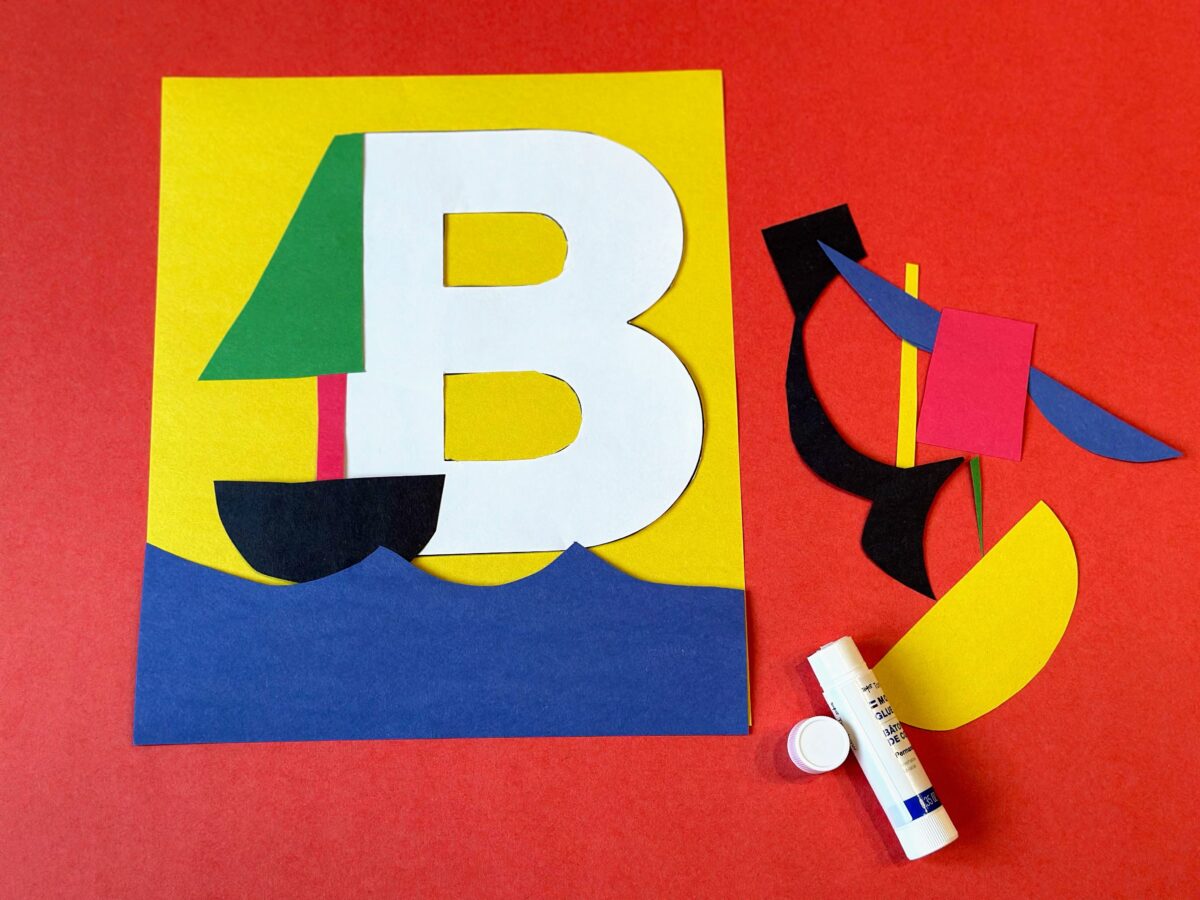
3. Paper Boat Craft
Supplies:
- construction paper
- scissors
- glue
Instructions:
1. Trace and Cut Out the Letter B and Waves
Trace a large letter B (use the letter B template from our letter B worksheets if needed) on to a piece of white paper. Then cut ocean waves from blue paper.
2. Create the Boat
Cut a simple boat shape from other colors, using a semi-circle shape for the boat, a tall, skinny rectangle for the boat’s mast, and a longer triangle shape to create the sail.
3. Glue the Pieces Down
Have your child arrange the paper pieces, placing the letter B and water down first, and then building their paper boat. Glue all the pieces down and set sail!
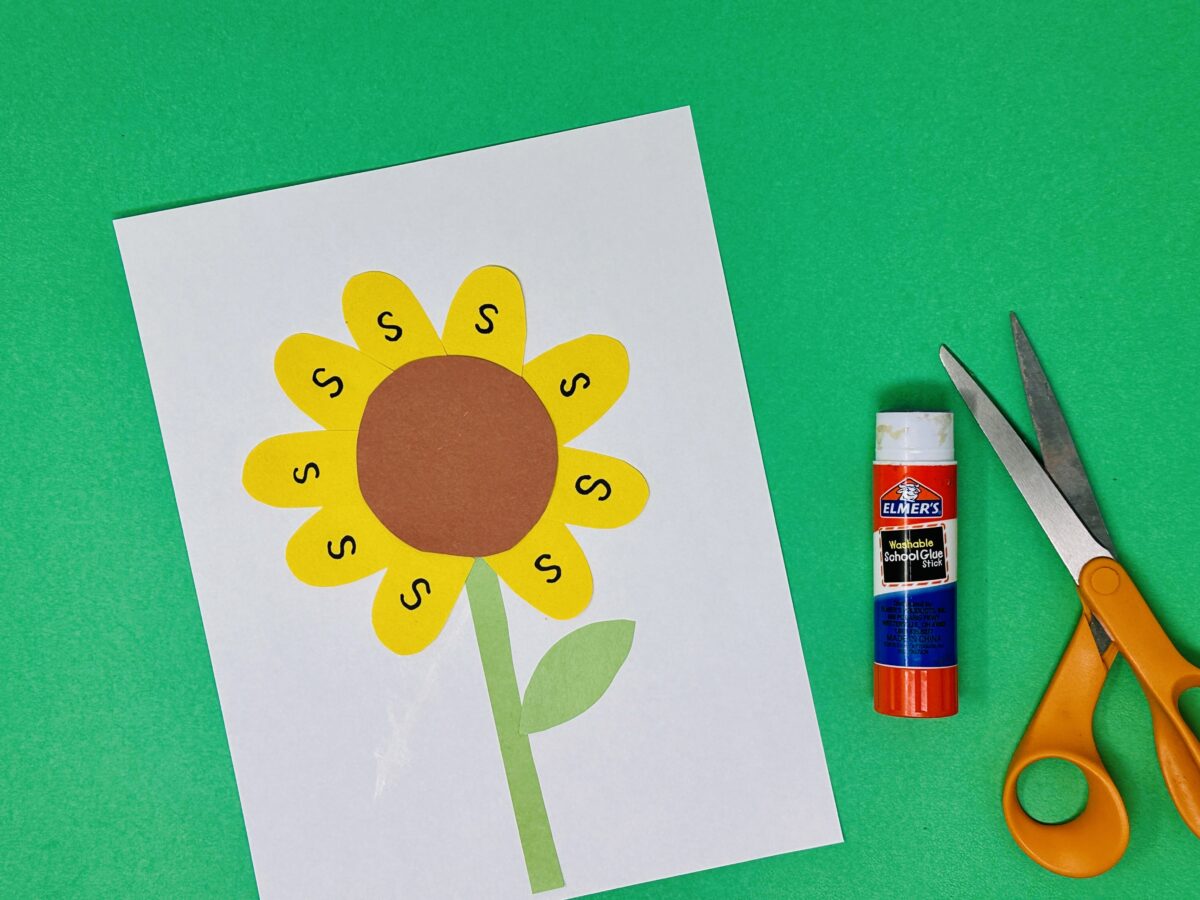
4. Sunflower Craft
Supplies:
- yellow, brown, white, and green paper
- marker
- scissors
- glue
Instructions:
1. Cut the Pieces
Cut a circle from the brown paper for the center of the sunflower, oval-shaped semi-circle petals from the yellow paper, and a stem and leaf from the green paper.
2. Assemble the Sunflower
Help your child glue the petals around the brown circle, then attach the stem and leaf to complete the flower.
3. Practice Writing the Letter S
In each yellow petal, have your child write the letter S using a pencil, marker, or crayon, practicing with the letter S shape. They can rotate the paper as needed to write comfortably around the flower. Then, practice saying “S is for sunflower,” to help your child get familiar with the letter S sound.
Add in Math Practice
Work on math skills by counting the number of petals you used to create the sunflower.
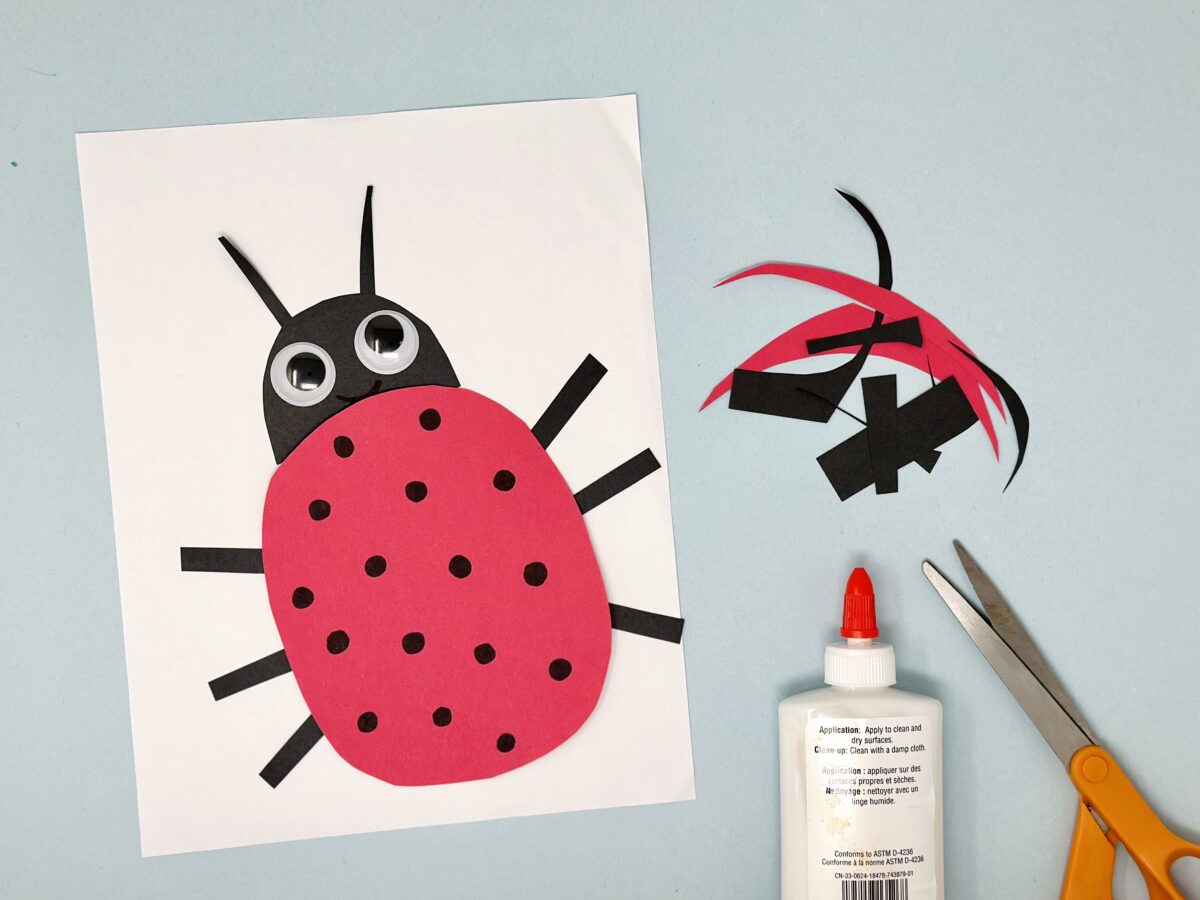
5. Ladybug Craft
Supplies:
- red and black construction paper
- black marker
- scissors
- glue
- googly eyes
Instructions:
1. Create the Ladybug’s Body
Cut a large red oval for the ladybug’s body and use a marker to draw small black spots all over it.
2. Cut the Ladybug Parts
From black paper, cut out a semi-circle for the head, six skinny rectangles for legs, and two skinny strips that end in a point for antennae.
3. Assemble and Name Your Ladybug
Glue all the pieces onto a sheet of paper to form your ladybug—then give it a fun name and hang it up for all to see!
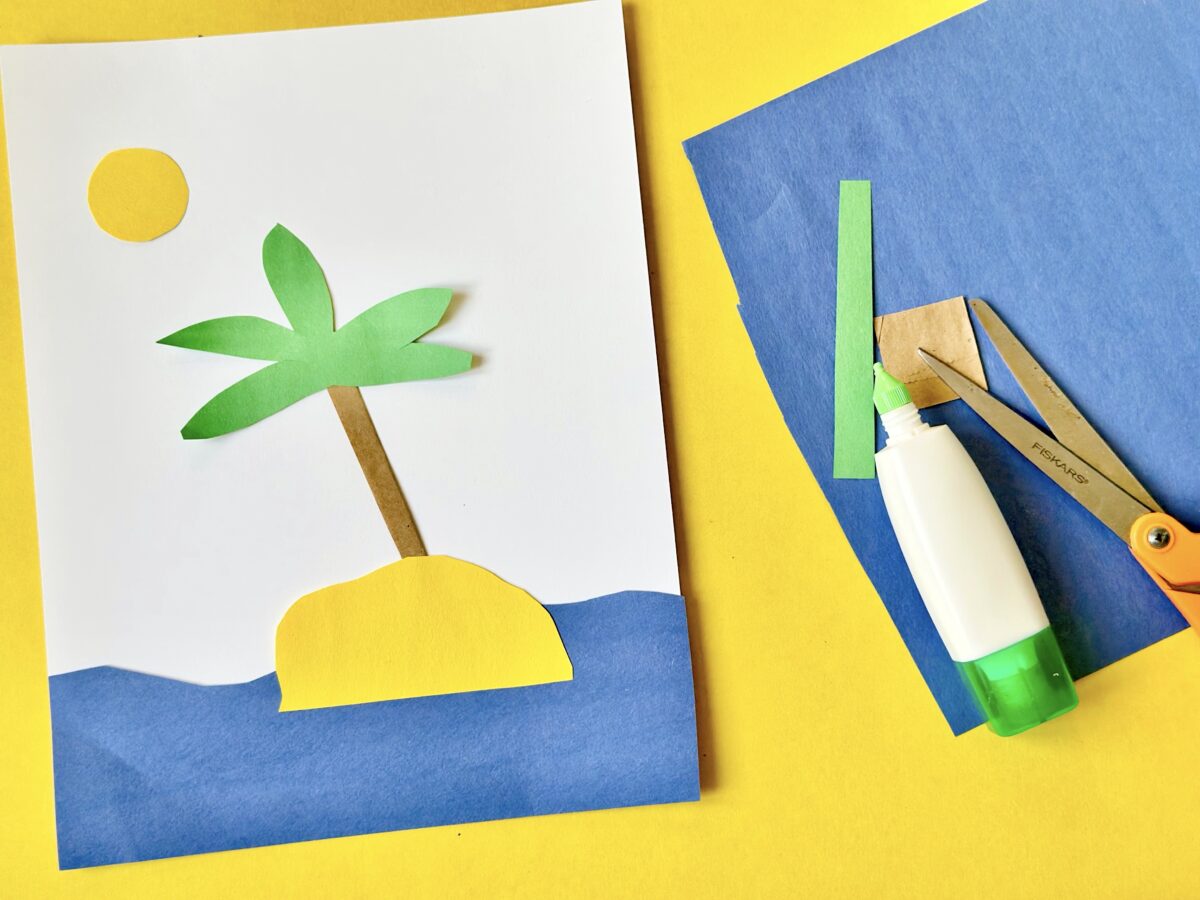
6. Tropical Island Craft
Supplies:
- various colors of construction paper
- scissors
- glue
Instructions:
1. Cut Out the Pieces
Help your child cut out shapes for the sun, water, island, and palm tree (green fronds and a trunk) from construction paper.
2. Build and Glue the Scene
Arrange the pieces to create a sunny island scene. Once everything is in place, glue the pieces down to complete your island adventure!
Create an Island Community
Make a larger scale island and fill the sea around it with cut outs from our ocean creatures coloring pages. Adorn the island’s sand with sea shells and even a mermaid.
7. Tree Craft
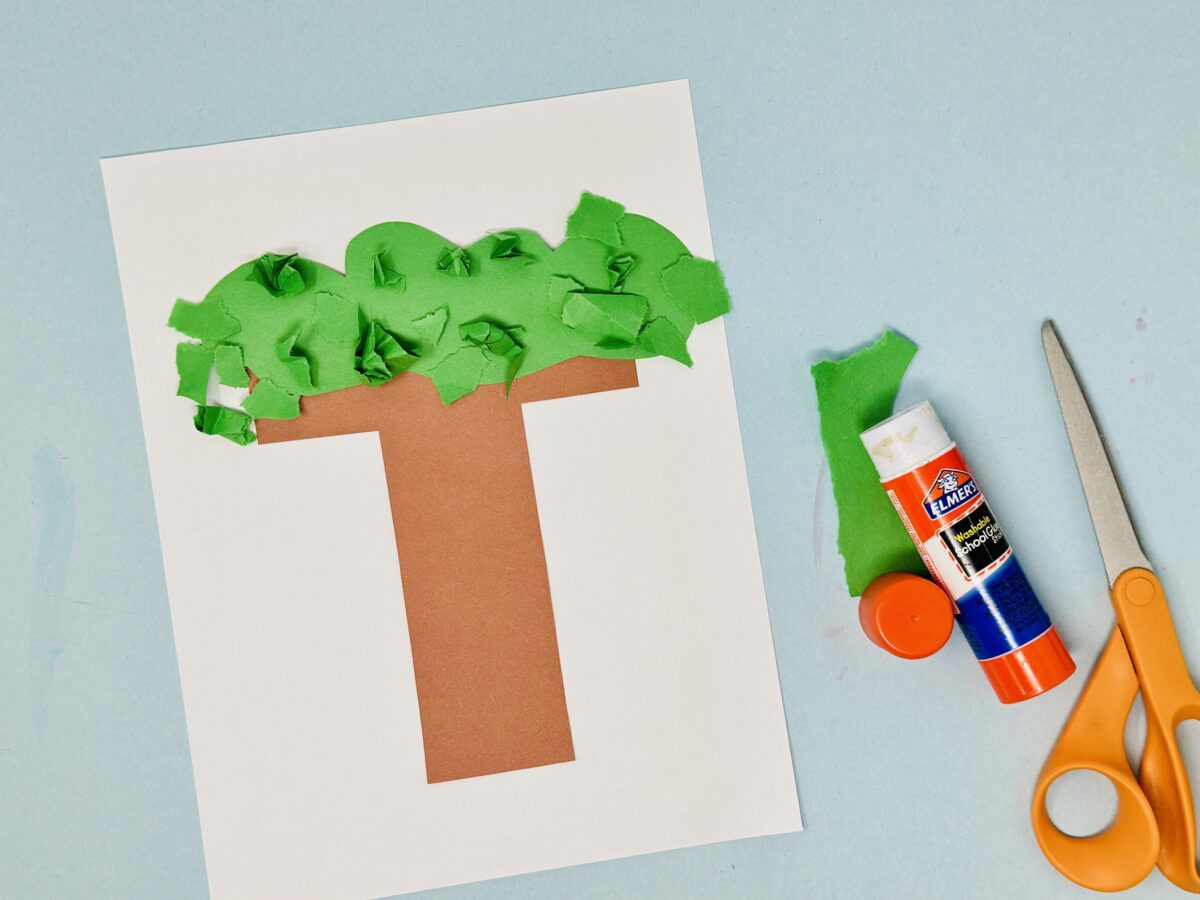
Supplies:
- brown and green paper
- scissors
- glue
Instructions:
1. Make the Trunk
Cut out a large letter T from brown construction paper to represent the tree’s trunk and branches.
2. Add the Canopy
Cut a cloud-like shape from green paper and glue it to the top of the T to form the tree’s canopy.
3. Create Leaf Texture
Crumple small pieces of green paper (or tissue paper) and glue them onto the canopy to add texture and leaf-like detail. If you’d like, draw in grass, flowers, and forest friends beneath your tree.
Check out these summer activity ideas from our Instagram page!
Summer Painting Crafts
8. Ocean Painting Craft
Supplies:
- tin foil
- paint
- cotton swabs
- marker
Instructions:
1. Set Up the Materials
Place a sheet of aluminum foil on a flat surface and squeeze small amounts of acrylic paint directly onto it.
2. Create the Ocean
Have your child use a cotton swab or paintbrush to swirl the paint around, mimicking ocean waves.
3. Add Details
Use more paint and cotton swabs to add sea plants and paint or glue on paper fish to complete the underwater scene.
Keep Deep Sea Exploring!
Continue exploring the ocean with our free printable Ocean Animal Coloring Pages.
9. Ice Painting Craft
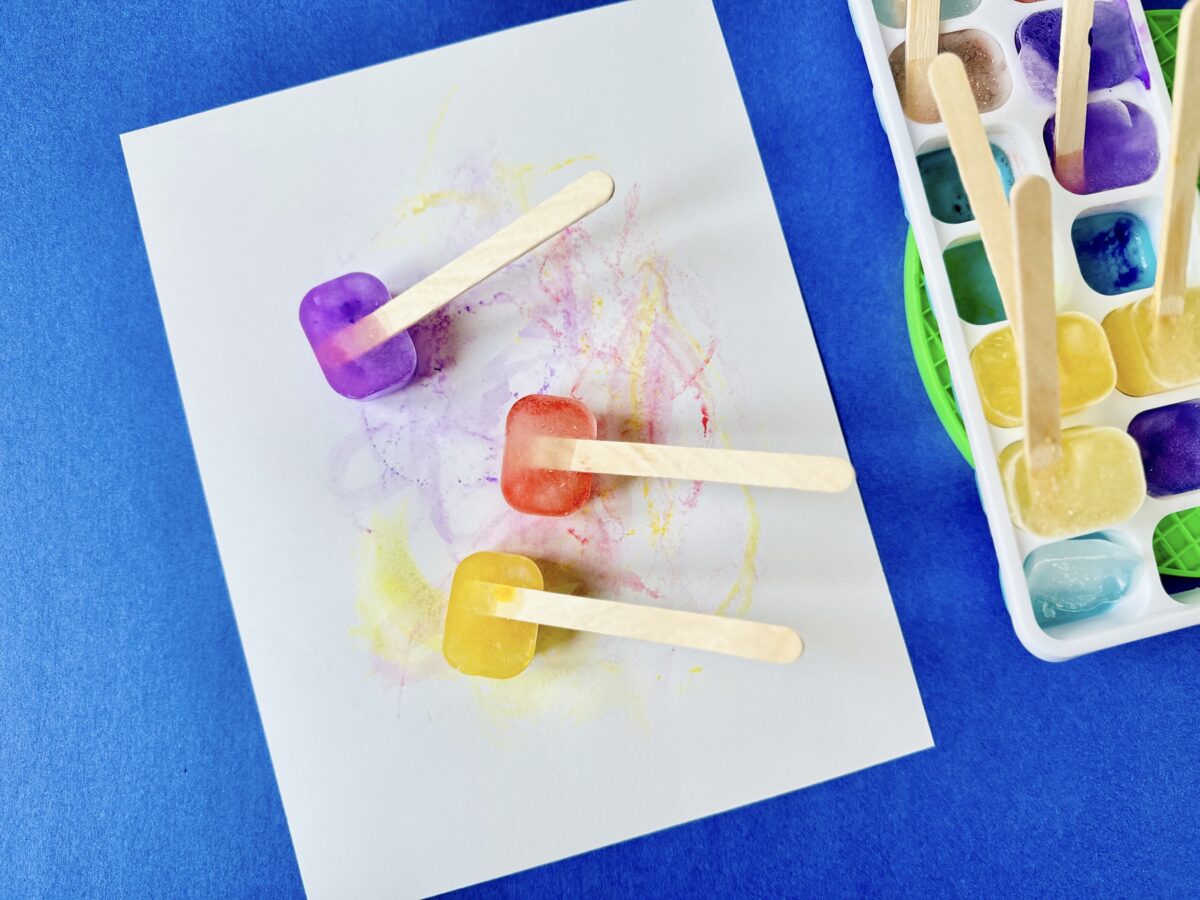
Supplies:
- ice cube tray
- water
- food coloring
- craft sticks
- thick paper or card stock
Instructions:
1. Prep the Ice Paint
The night before, mix food coloring with water in small bowls, pour the mixtures into an ice cube tray, and place a craft stick in each compartment. Freeze overnight.
2. Paint with Ice
The next day, give your child a thick sheet of paper or card stock. Let them use the colorful ice cubes to paint by holding the craft sticks as handles.
Mess Prevention Tip:
You may want to line your table with newspaper or place the card stock on baking sheets to add a layer of protection from any melting ice cubes.
See this craft in action…
10. United States Letter Craft
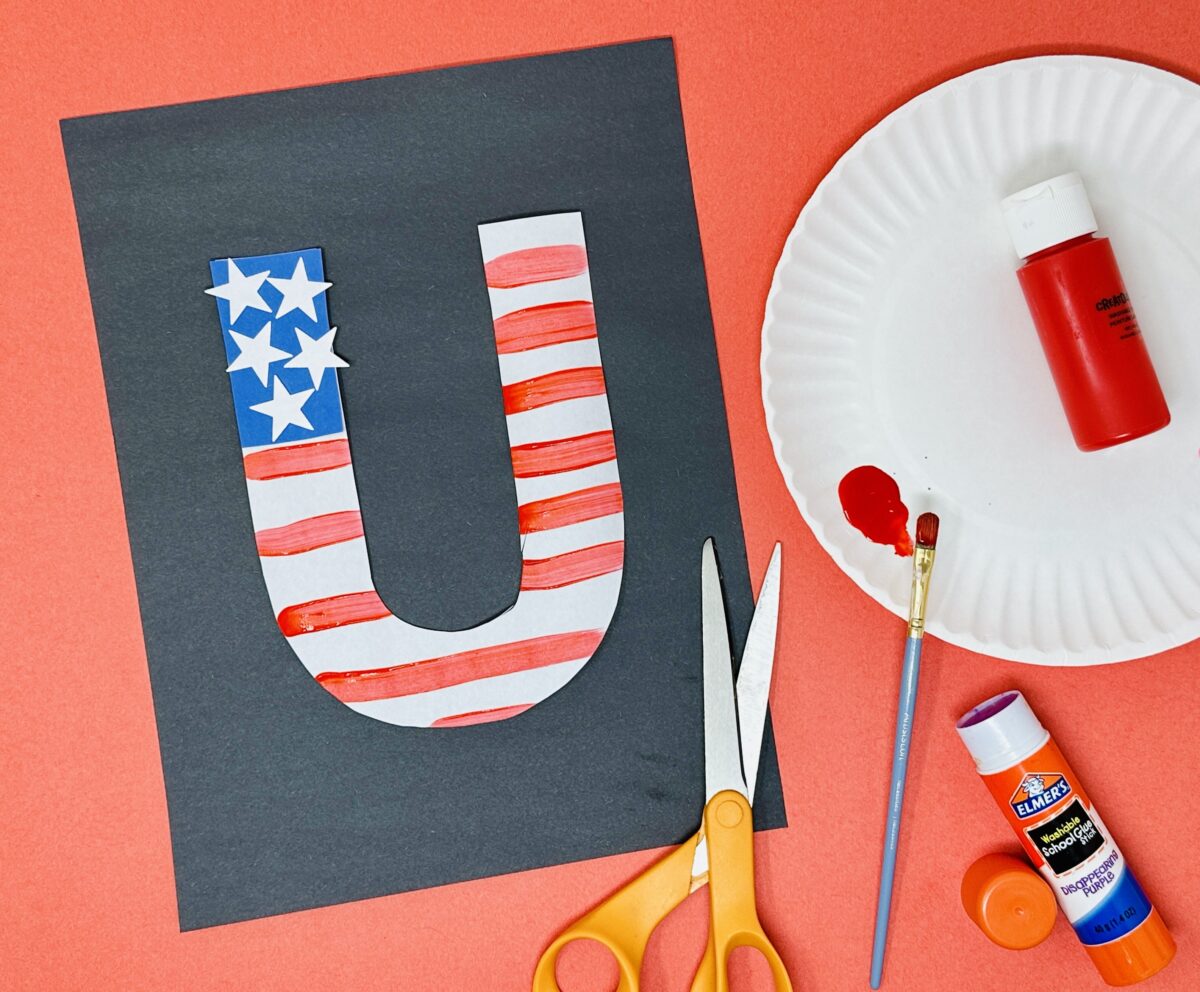
Supplies:
- letter U outline
- red paint
- blue construction paper
- paper plate or paint tray
- paint brush
- star stickers or paper shapes
- scissors
- glue
Instructions:
1. Cut Out the Letter U
Draw or print a large outline of the letter U, and glue a small blue square to the top left corner. Use this letter U template in our letter U worksheets if needed.
2. Add the Stripes
Have your child paint red stripes across the rest of the U to mimic the American flag.
3. Finish with Stars
Add white star stickers or glue on small paper stars to the blue square for a patriotic touch.
More Summer Holiday Fun:
If you’re looking for more patriotic activities, check out our Memorial Day and Fourth of July coloring pages!
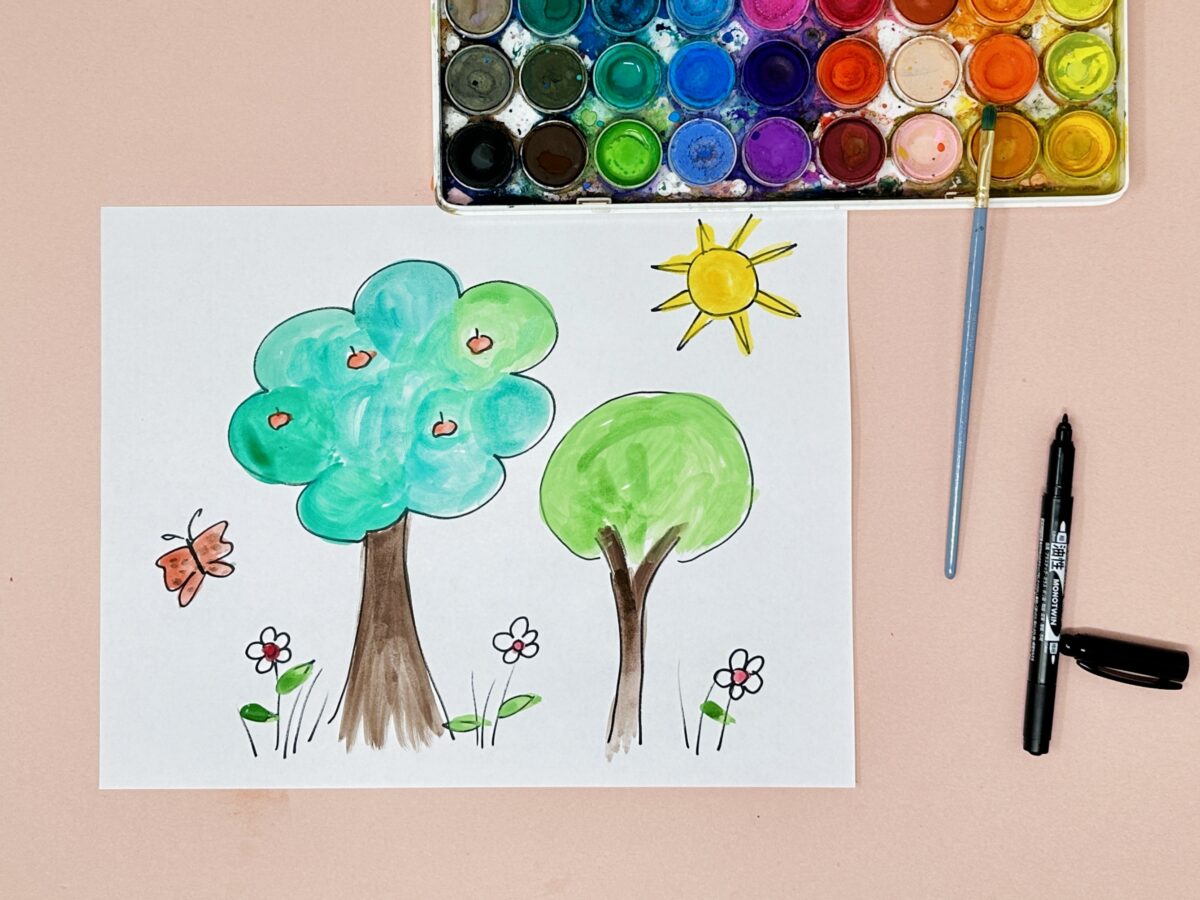
11. Nature Painting Craft
Supplies:
- thick paper or card stock
- watercolor paints
- pain brush
- marker
Instructions:
1. Set Up Outside
If the weather’s nice, head outdoors with your child, bringing along painting supplies, a clipboard, and a bin to hold everything.
2. Create a Nature Scene
Have your child use crayons, markers, or paint to draw what they see in nature.
3. Practice Observation Skills
As your child works, encourage them to observe and talk about the things they see, smell, and hear and then try adding those elements into their art.
Summer Hands-on Crafts
12. Silly Plant Hair
Supplies:
- soil
- a photograph
- a plastic or paper cup
- grass seed
- glue
Instructions:
1. Prepare the Cup
Begin by gluing your selected photograph to the side of your paper or plastic cup, lining the top of the person’s head up with the top edge of the cup. Then fill the cup with soil, leaving about an inch of space at the top.
2. Plant the Seeds
Sprinkle the grass seed on top of the soil and gently sprinkle a little bit more soil over the seeds. The seeds do not need to be completely covered in soil.
3. Water the Seeds
Place your cup in a sunny window and spritz the seeds with water every day, being careful not to get your photograph wet. Watch the grass grow, forming long flowing hair that seems to sprout from the top of the photograph!
13. Sun Catcher Craft
Supplies:
- glue
- tissue paper
- paint brush
- scissors
- construction paper
Instructions:
1. Create the Template
Draw an animal shape (like a fish or turtle) on black paper and cut it out, including the center, to make an outline.
2. Cut the Tissue Paper
Cut tissue paper into small pieces—stacking sheets makes it faster.
3. Glue and Fill the Shape
Brush glue onto the outline and then start adding tissue paper, gluing it down from the edges inward until the whole shape is filled.
4. Add Details and Hang
Once dry, decorate your animal with features like eyes or a mouth. Then, punch a hole at the top, thread a ribbon or string through, and tie a knot for hanging. Hang your sun catcher in a sunny window and enjoy the colorful glow!
14. Slithery Snake Craft
Supplies:
- wire
- paper or plastic straws
- construction paper
- scissors
- beads
- wide marker
Instructions:
1. Cut Straws and Coil Wire
Cut several straws into small pieces. Then, grab your marker and wrap the wire around the marker, creating a coil. Stretch the coil out slightly.
2. Create the Snake
Slide a bead onto one end of the wire and bend the wire slightly so the bead stays in place. On the other end of the snake, slide the small pieces of straw on until half of the coil has pieces of plastic straws on it. Bend the remaining end of the wire in so the straw pieces stay in place. This is also where your snake’s head will go.
3. Cut Out and Glue on the Snake’s Head
Cut out two small oval shapes from the construction paper, creating the snake’s head. Draw on eyes and cut out a forked snake’s tongue. Glue one oval on to the top portion of the wire you bent in to keep the straws in place. Glue the other oval to the bottom. Let it dry completely.
4. Watch the Pieces Move
Once dry, turn your snake back and forth, watching the plastic straw pieces slide up and down the coil, creating an awesome visual effect.
Note: Excluding the ABCmouse YouTube videos, the ideas and pictures for this post were provided by Smitha Katti from smilingcolors.com
-

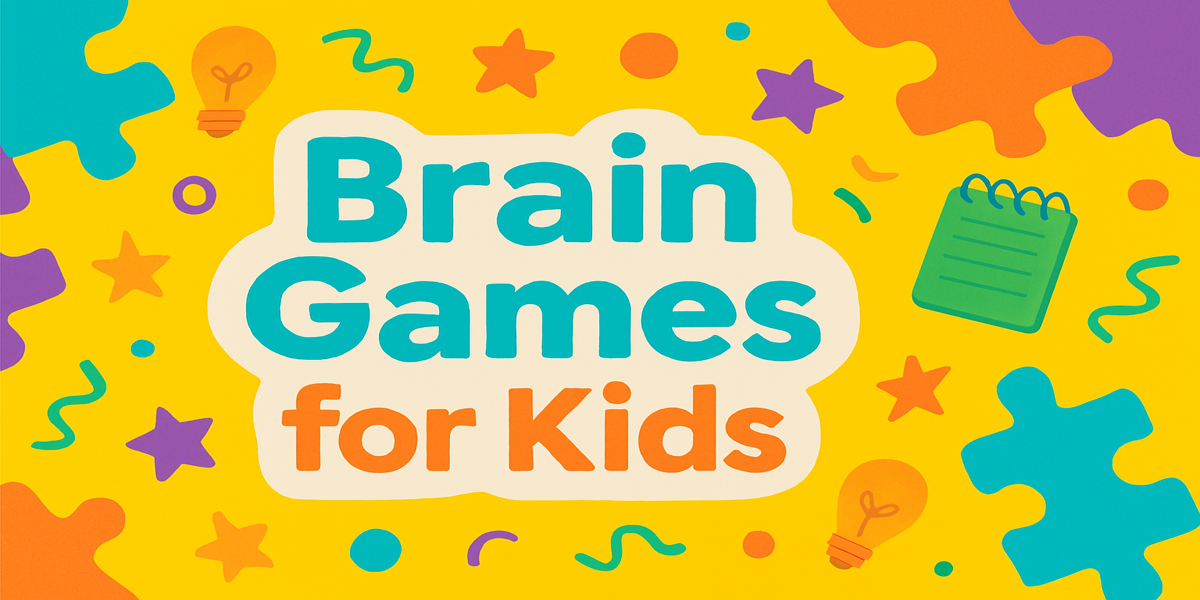
Free Brain Games for Kids (Online + Printable Fun!)
Free brain games for kids that build memory, logic, and early learning skills through fun puzzles, mazes, and matching games.
-
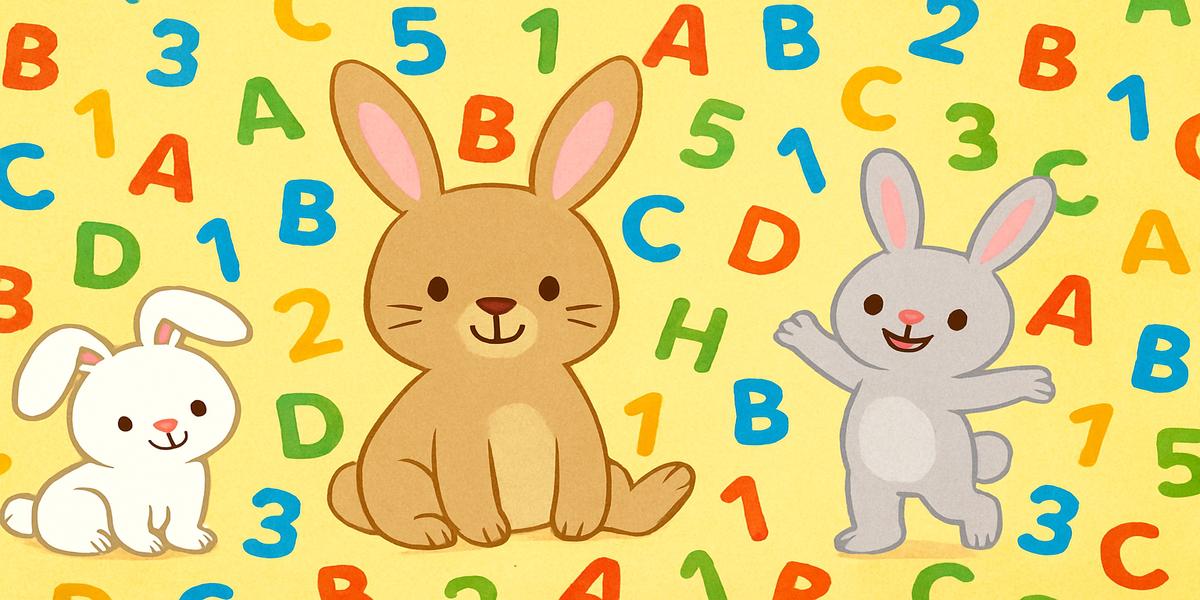
Free Online Bunny Themed Games for Kids
Play free bunny-themed games that build early math and reading skills with fun mazes, alphabet hops, and adorable activities for kids.
-

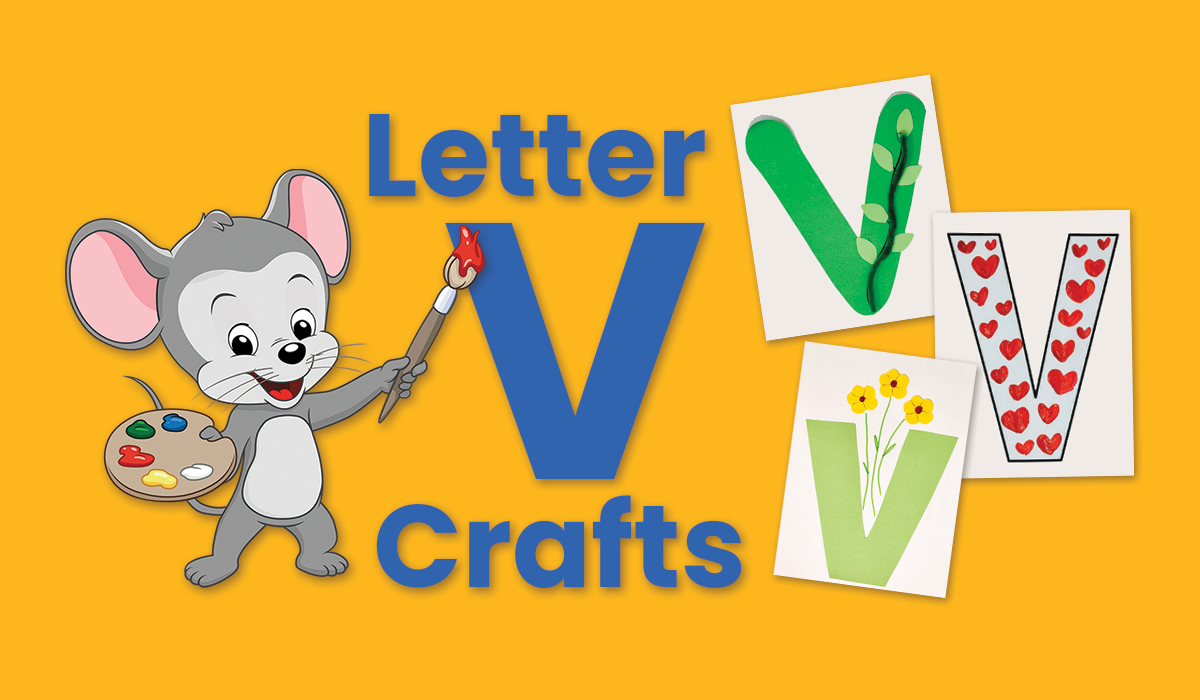
Letter V Crafts & Activities for Preschoolers
Explore fun, hands-on crafts for the letter V—perfect for preschoolers learning through creative alphabet activities and art projects.
-
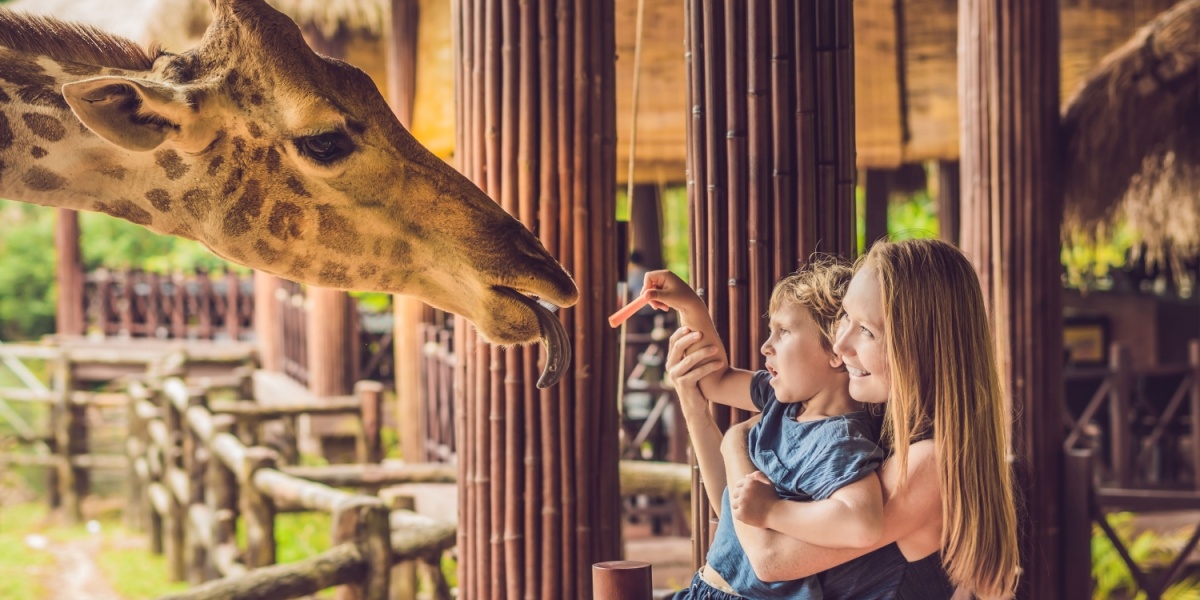
25+ Zoo Themed Activities and Games for Kids
Zoo games, crafts, and coloring pages spark learning fun for kids who love animals and hands-on activities—online or at the zoo!
-

Short Mother’s Day Poems for Moms and Grandmas
Celebrate Mother’s Day with heartfelt poems for moms and grandmas! Find sweet, short, and rhyming verses perfect for cards, crafts, and special messages.
-

40+ Spring Activities for Kids: Ideas for Inside & Outside
Get 40+ fun spring activities for kids! Discover creative indoor crafts and outdoor adventures perfect for rainy and sunny days.